

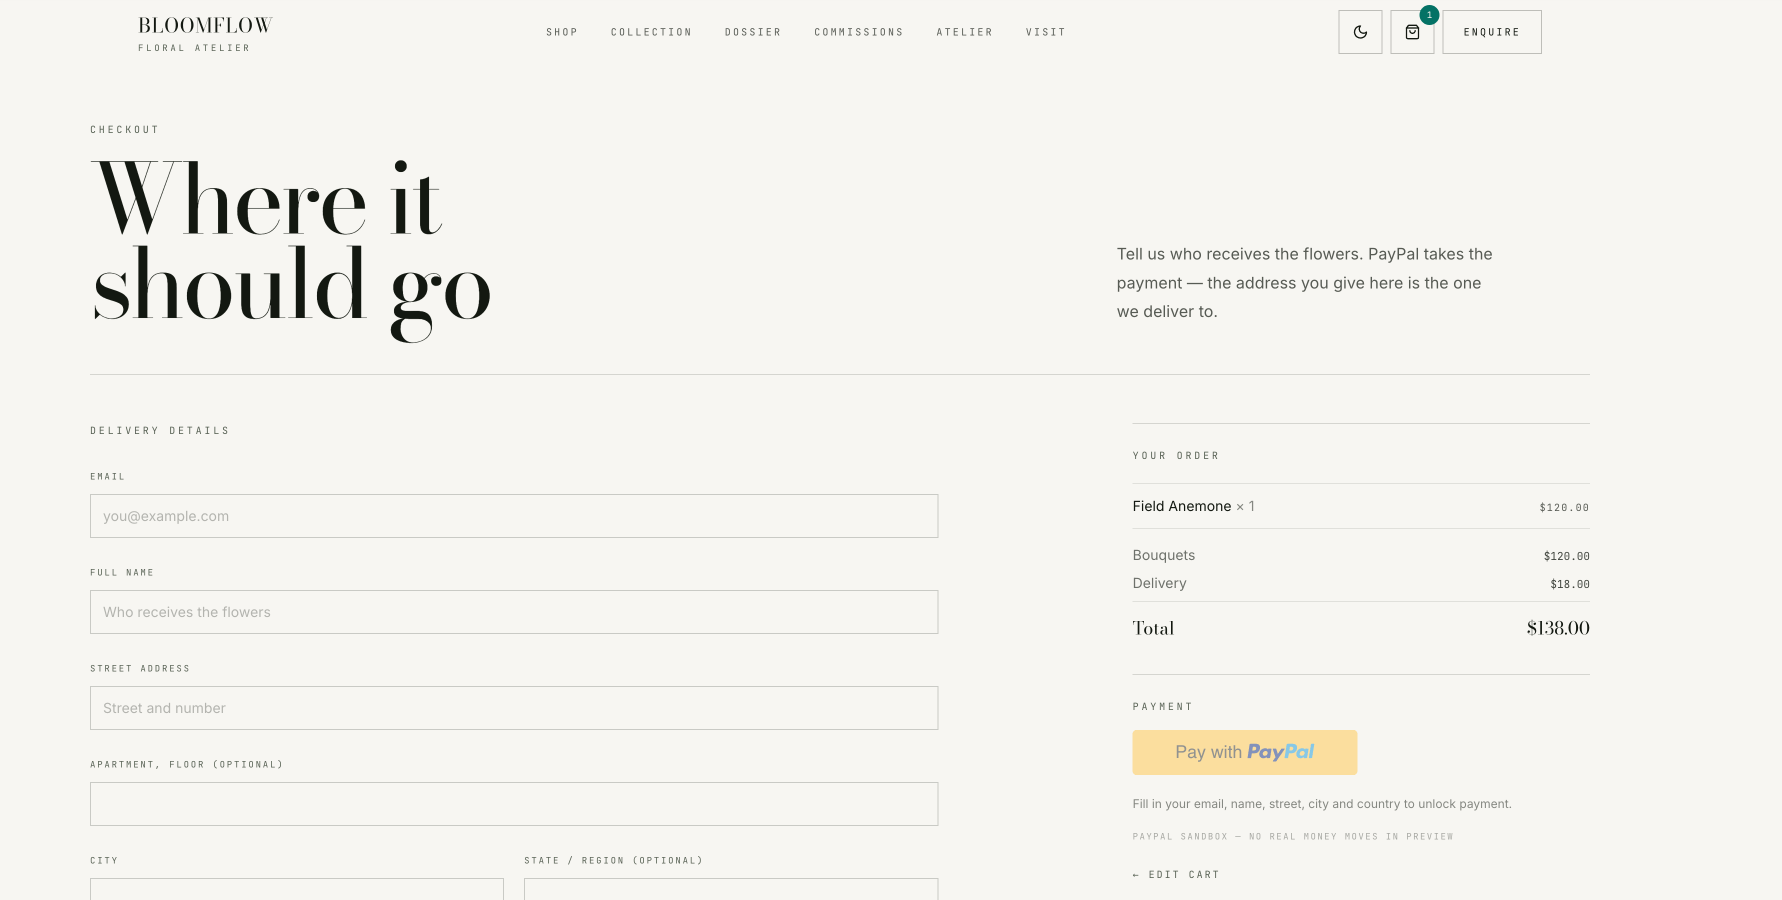
PayPal checkout in your app
Step 1 | Connect PayPal
Connect PayPal from the Integrations page in your app dashboard. Base44 takes you to PayPal to sign in or create an account, then brings you back to your app when you’re done. When PayPal is ready to take payments, a message in the AI chat tells you that PayPal is now connected to your app.Before you connect PayPal:
- PayPal account: Have your PayPal login ready, or be ready to create a PayPal account during signup.
- Card payments: To accept card payments as well as PayPal, you need a PayPal business account.
- Go to your app editor.
- Click Dashboard.
- Click Integrations.
- Click Add connector.
- Search for PayPal and click PayPal.
-
Click Connect.

Connecting your PayPal account
- Sign in to PayPal, or create an account, and follow PayPal’s steps to finish signing up.
Step 2 | Check your status
To see whether your app can take PayPal payments yet, click Integrations in your app dashboard and check the message under PayPal. Once you’re live, you also see your PayPal merchant ID, so you can tell which PayPal account an app is paid into.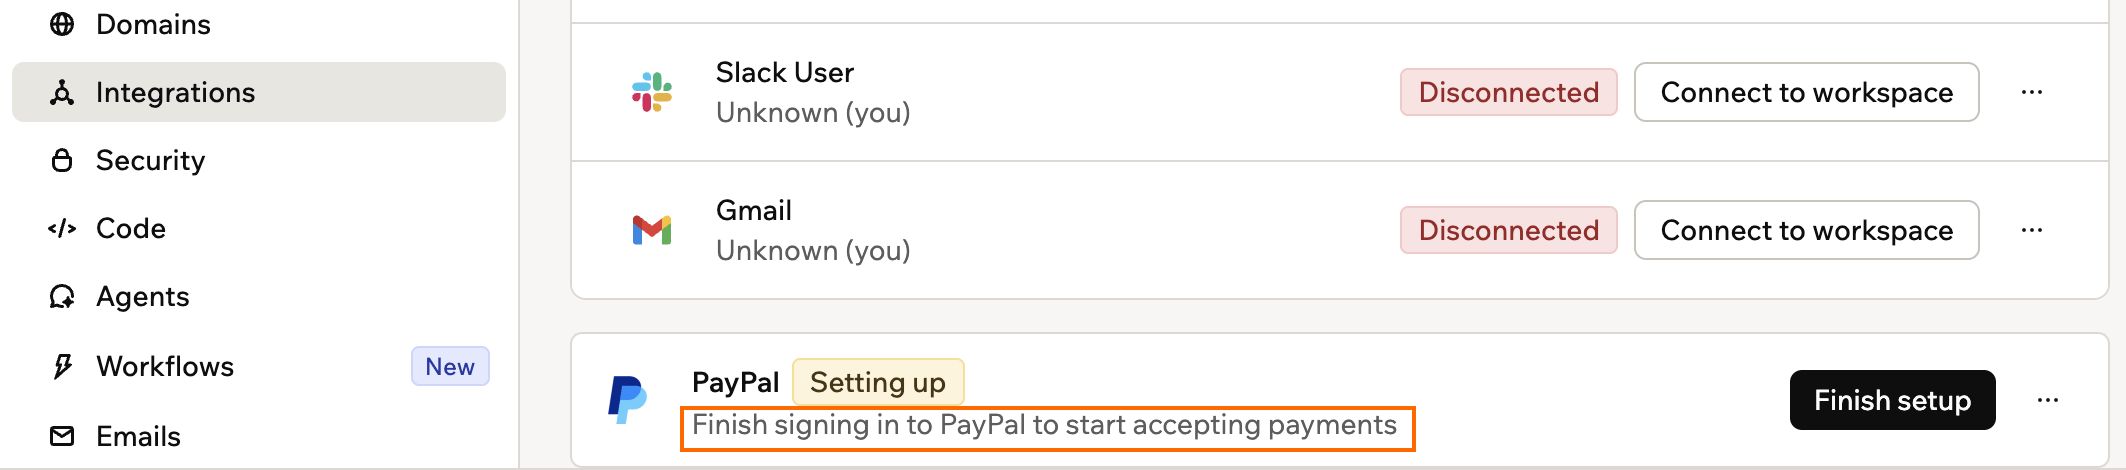
Checking PayPal's status on the Integrations page
PayPal may need you to finish a step on its side first. The message under PayPal updates automatically once you do.
Step 3 | Add checkout
Once PayPal is connected, ask the AI chat to add PayPal checkout. Your customers click the PayPal button on your checkout page and approve the payment with PayPal, without leaving your app. If your PayPal account accepts cards, your customers can also pay by card. You don’t need to paste any PayPal keys into the chat. If PayPal isn’t connected yet, the AI chat asks you to connect it from the Integrations page first, then come back and tell it you’re done.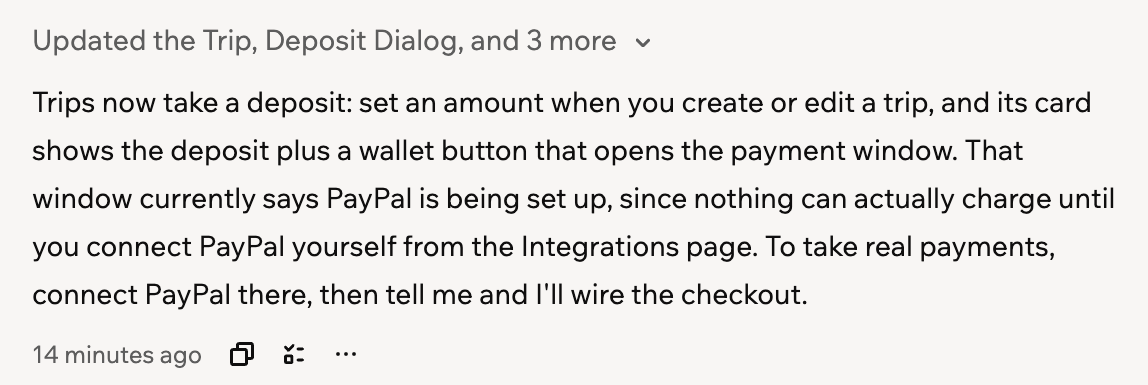
The AI chat asking you to connect PayPal first
- Go to your app editor.
- Describe what you sell and how customers should pay in the AI chat. For example:
Step 4 | Make a test payment
Check that your PayPal account takes payments by paying a $1 test order on PayPal’s checkout page. You need a different PayPal account or a card, because PayPal doesn’t let you pay the account you connected. It’s a real payment, and you can refund it afterwards. If you’d rather not make a payment, the AI can check your checkout for you instead. Open the Payments page in your app dashboard, then click Review under Ask the builder to check it. The AI reviews your products, checkout and what happens after a payment, and fixes anything that would stop a customer from paying.
Asking the AI to check your checkout
- Go to your app editor.
- Click Dashboard.
- Click Payments.
- Under Make a test purchase, click Test with $1.
- Pay with a different PayPal account or a card.
Tracking and refunding payments
Your PayPal payments appear on the Payments tab in your app dashboard, with your revenue, transactions and subscriptions. You handle disputes, payouts and receipts in your PayPal account, which you can open from the PayPal account link above your transactions on the Payments tab. See Tracking payments in your app. Base44 doesn’t take a fee on PayPal payments. PayPal charges its standard fees, and may keep its fee when you refund a payment.If you’re new to selling with PayPal, PayPal may hold some of your first payments for up to 21 days before you can use them.
- Go to your app editor.
- Click Dashboard.
- Click Payments.
- Click Transactions.
- Click the payment you want to refund.
- Click Refund.
- Enter the amount to refund. It can be less than the full payment.
- Click Refund, then click Yes, refund to confirm.
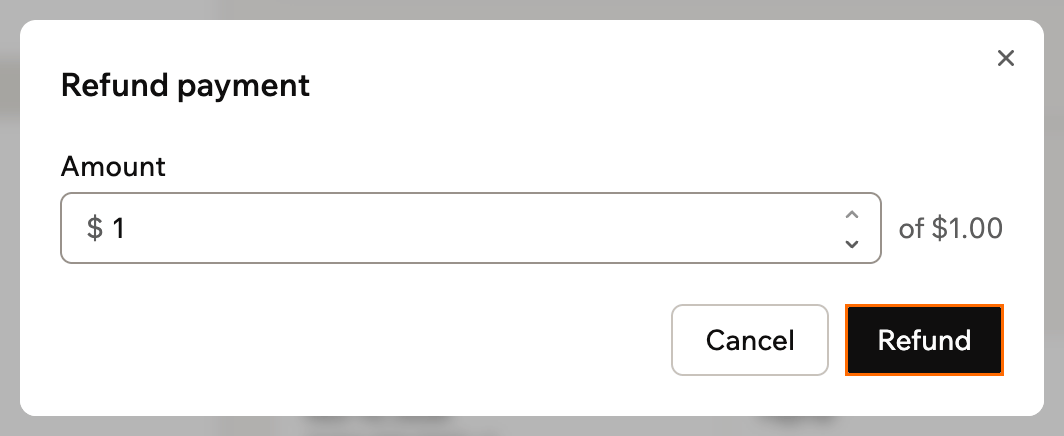
The Refund payment window
Managing subscriptions
With PayPal subscriptions, you can cancel, pause or resume a customer’s plan from your app. Ask the AI chat to add these actions to an admin page, and it sets up your app to handle each one. For example:- Cancel: PayPal stops the plan right away, so it shows as Canceled, not Canceling, on your Subscriptions tab. Your customer keeps access until the end of the period they’ve already paid for.
- Pause: Billing stops, and your customer loses access while the plan is paused.
- Resume: The plan becomes active again, and your customer has access while their plan is paid for.
- Refund: A full refund of the latest subscription payment ends your customer’s access. A partial refund keeps their plan running.
Disconnecting PayPal
Disconnecting PayPal stops your app from taking new payments right away. Your past transactions stay in your records. To disconnect PayPal:- Go to your app editor.
- Click Dashboard.
- Click Integrations.
- Click the More actions icon next to PayPal.
- Click Disconnect.
Troubleshooting
If PayPal isn’t working as expected, find your situation below.My PayPal signup didn't work
My PayPal signup didn't work
PayPal may not let sellers in your business country receive payments. You can take payments with Base44 Payments or Stripe instead.
PayPal says my app already takes payments
PayPal says my app already takes payments
Your app already takes payments through another provider or a store, and each app can use only 1. Disconnect your current provider, then connect PayPal.
My checkout says PayPal is being set up
My checkout says PayPal is being set up
Your checkout waits until PayPal is connected and ready. Check the message under PayPal on the Integrations page, finish any step it asks for, then ask the AI chat to finish your PayPal checkout.