

If you are on the Free or Starter plan, you can preview and test the built-in emails, but designing your own emails and customizing the built-in ones needs the Builder plan or higher.
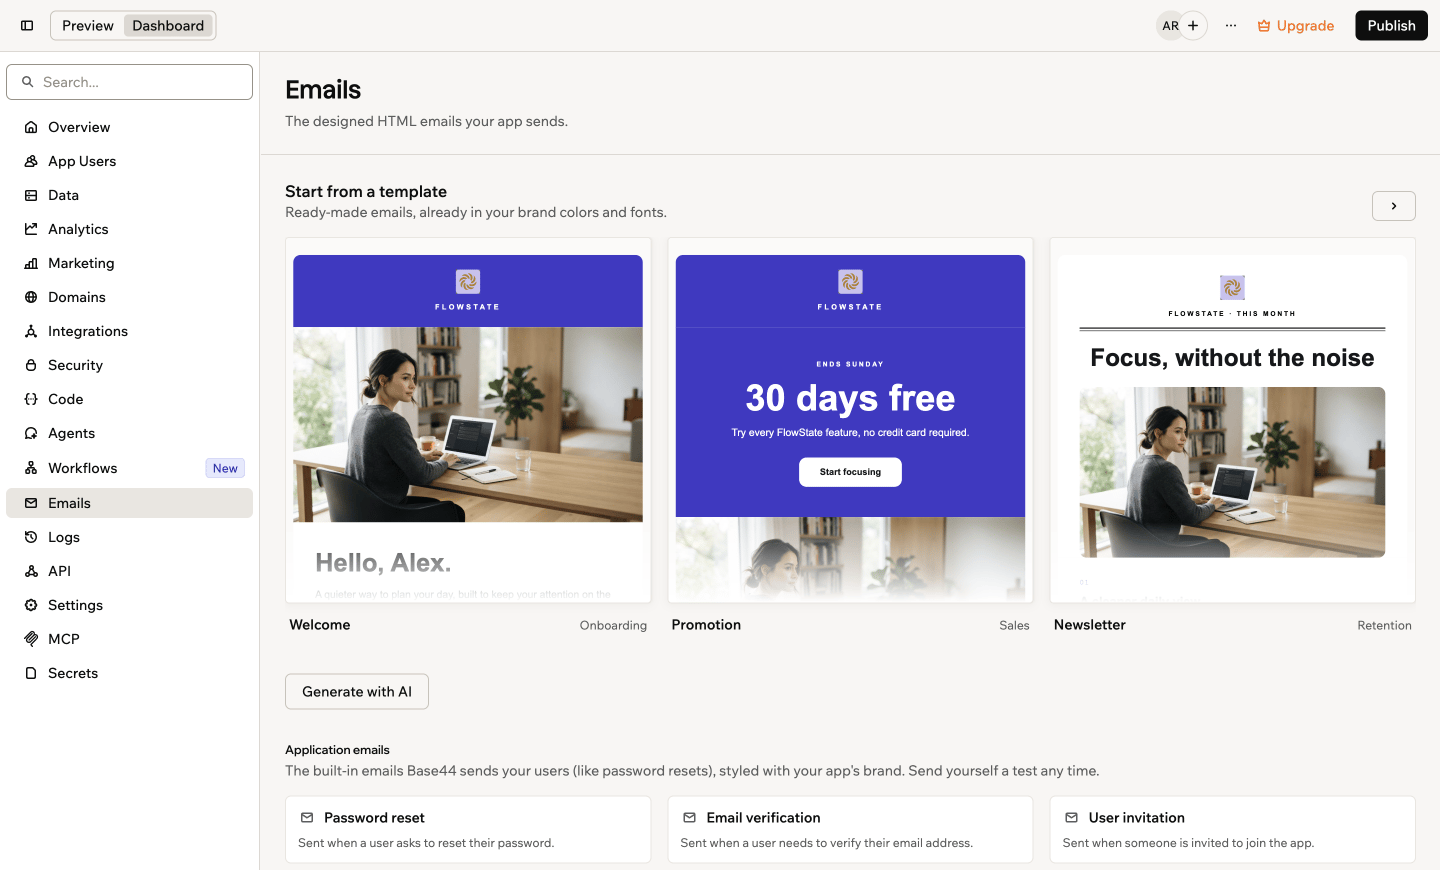
Designing your app's emails in Base44
Starting from a template
Base44 writes a set of starter emails for each app, already styled with your app’s logo, colors, and fonts. Pick one to save it as your own email. It opens in the preview, ready to change as much as you like. To start from a template:- Click Dashboard in your app editor.
- Click Emails.
- Under Start from a template, find the template you want. If your app has more than 3 templates, use the arrows to see the rest.
- Hover over the template and click Use this template.
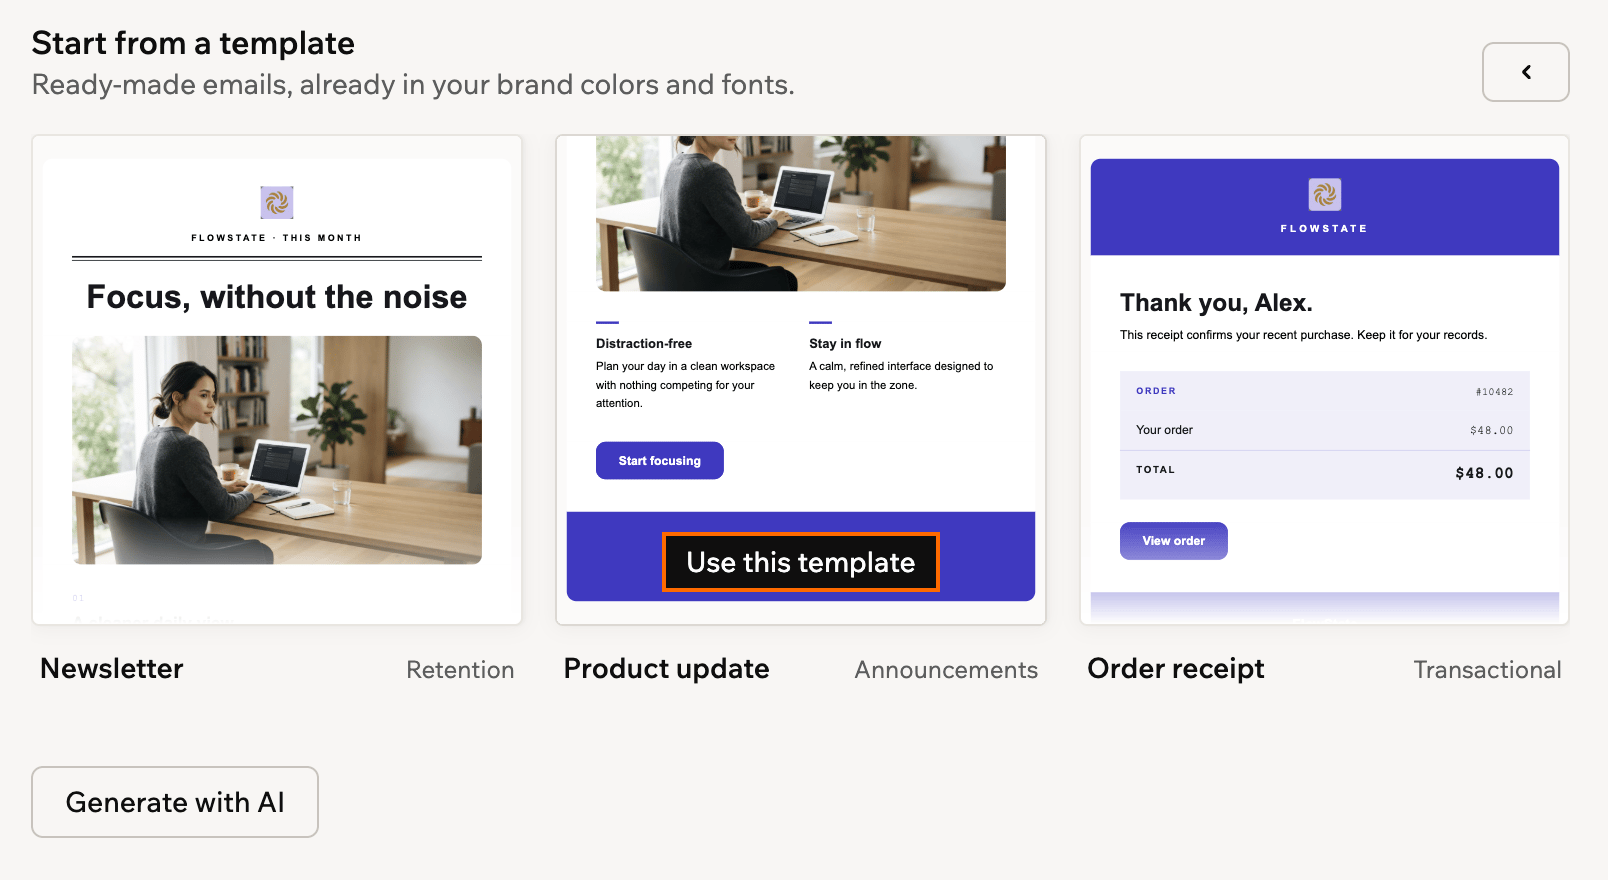
Starting from a template in Base44
Designing with AI chat
Describe the email you want in the AI chat, and it designs the email for you in your app’s style. For example,Design a welcome email that thanks new members and links to their profile page. You can type it straight into the AI chat, or start from the Emails tab.
To design an email with the AI chat:
- Click Dashboard in your app editor.
- Click Emails.
- Click Generate with AI.
- Describe the email in the AI chat and send your message.
Previewing and testing
Open any email to see exactly what your app users receive, check how it looks on different screens, and send yourself a test copy.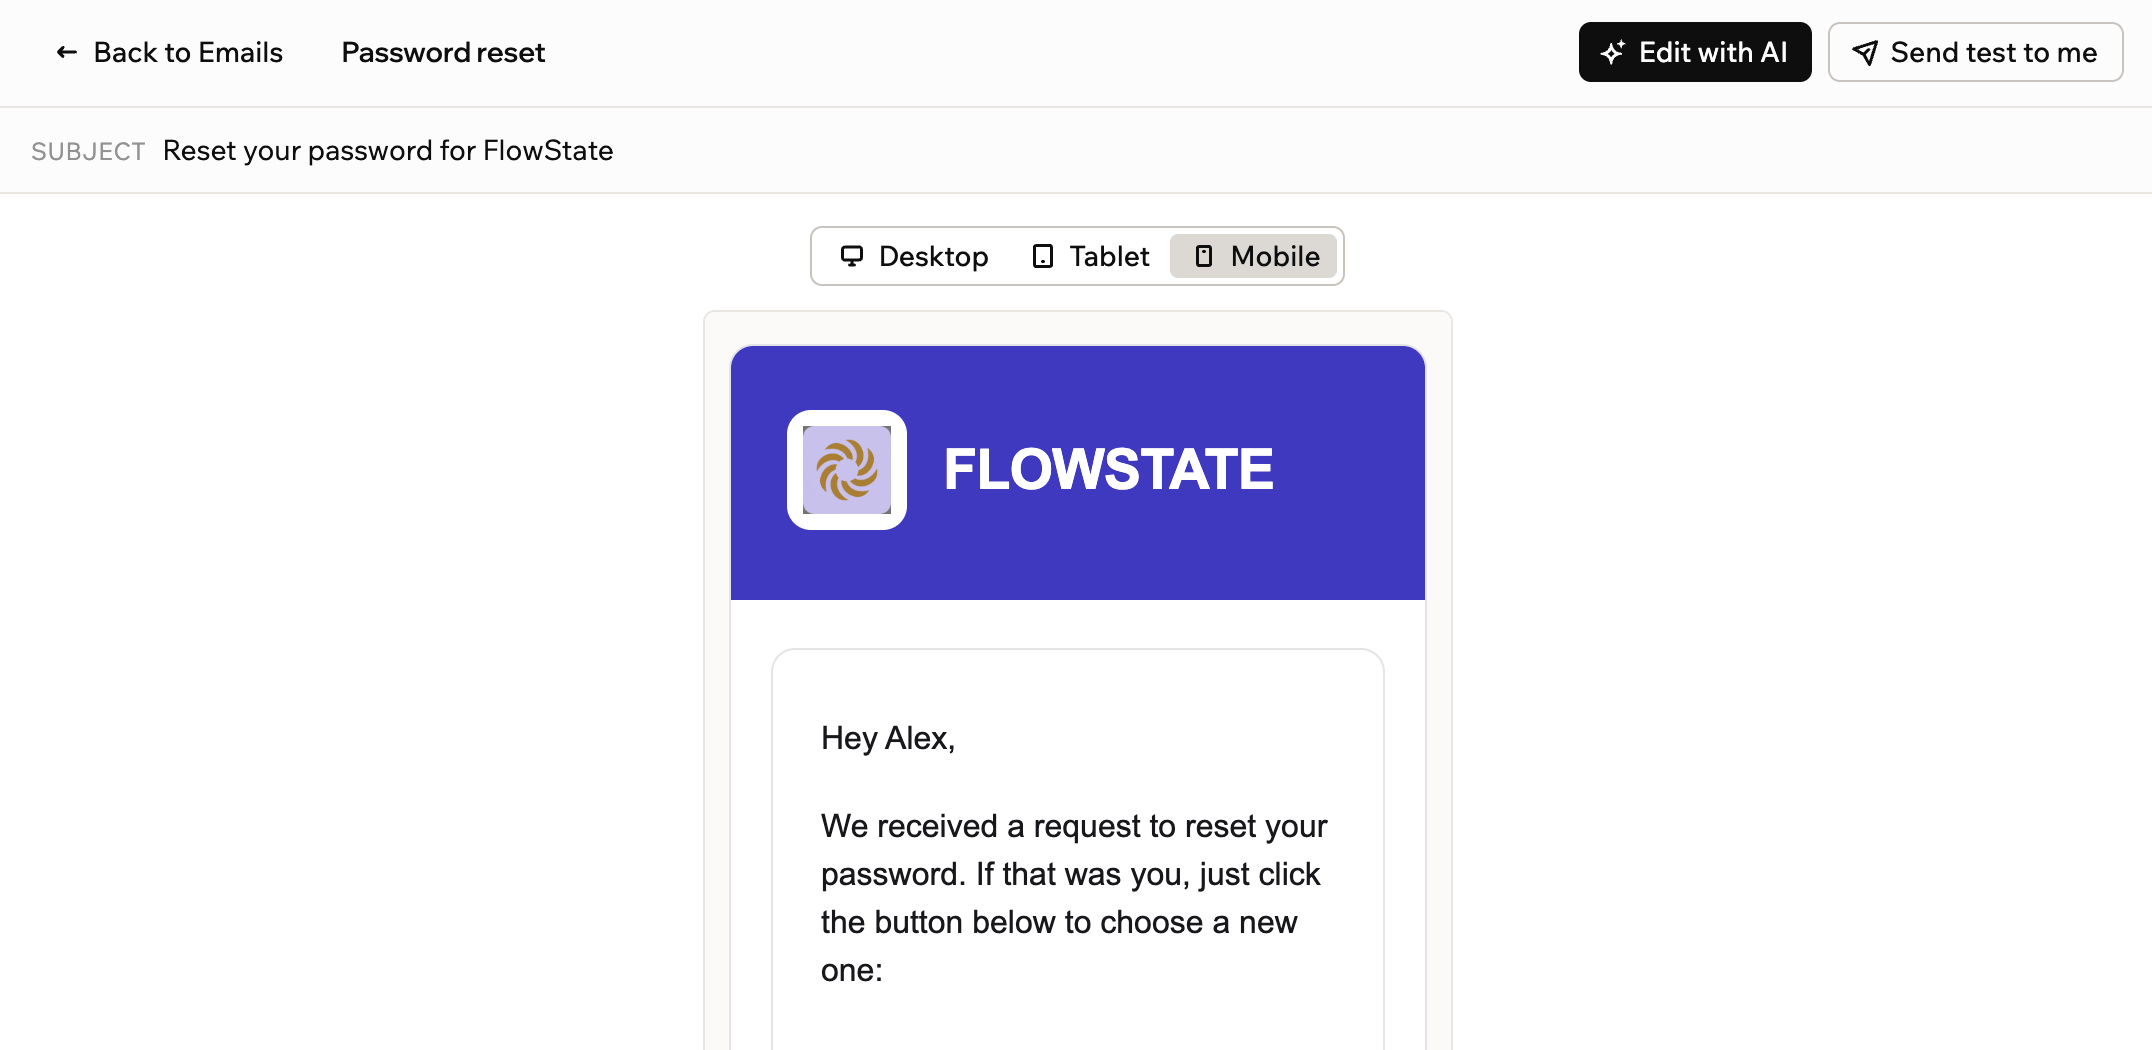
Previewing an email in Base44
- Click Dashboard in your app editor.
- Click Emails.
- Click the email you want to open.
- Choose what you want to do:
- Check other screen sizes: Click Desktop, Tablet, or Mobile above the preview.
- Send a test: Click Send test to me to get a copy in your own inbox.
- Change the email: Click Edit with AI and describe what to change in the AI chat.
- Delete the email: For emails you designed, click Delete, then click Delete template to confirm.
Customizing built-in emails
If your app has a login, it automatically sends 4 account emails to the people who use it. You don’t need to set them up or turn them on. Base44 sends them as part of your app’s signup and login, already styled with your app’s logo and colors.- Password reset: Sent when a user asks to reset their password.
- Email verification: Sent when a user needs to verify their email address.
- User invitation: Sent when someone is invited to join the app.
- Access approved: Sent when an app access request is approved.
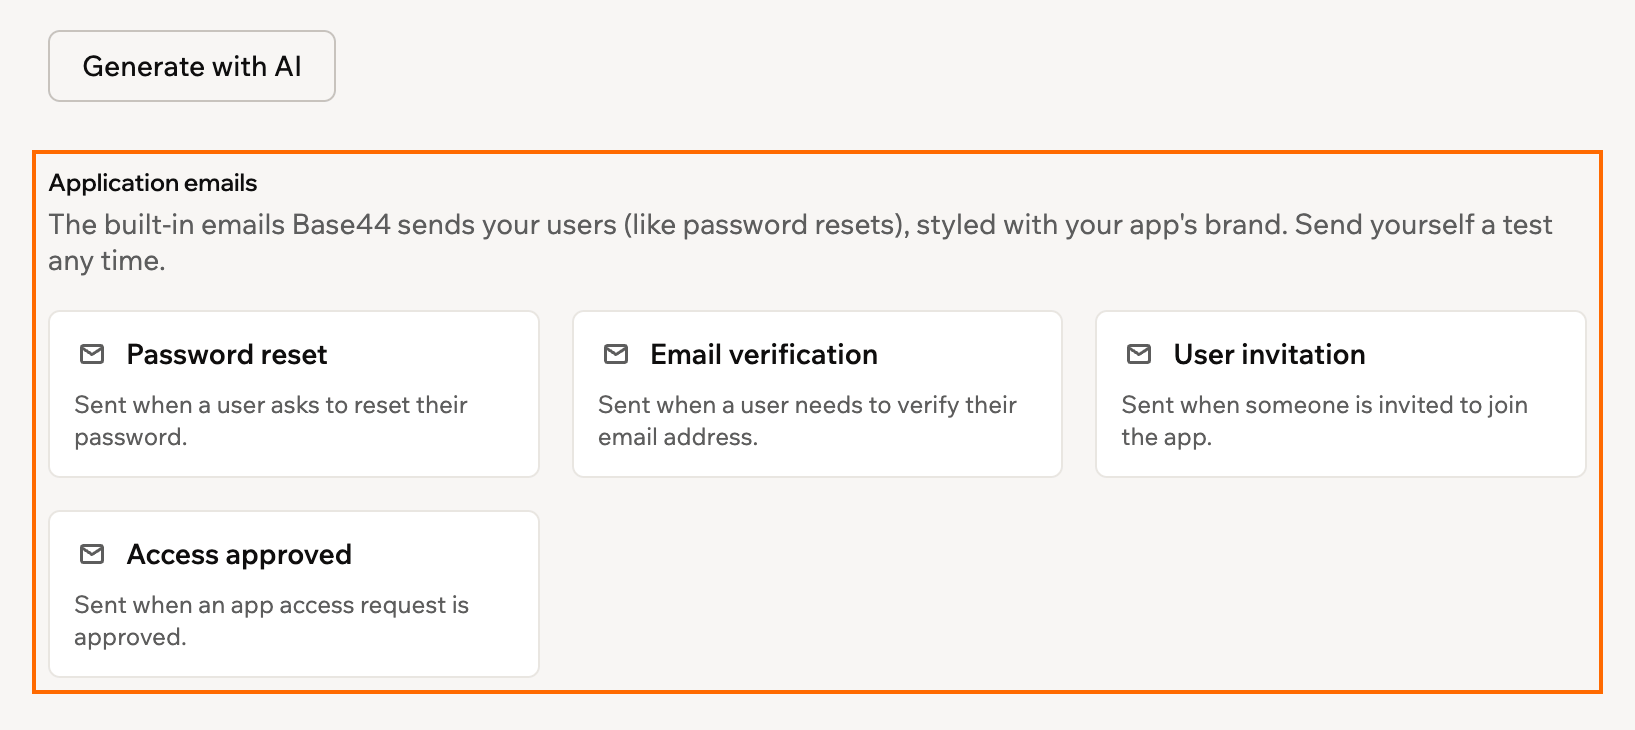
Customizing built-in emails in Base44
- Click Dashboard in your app editor.
- Click Emails.
- Under Application emails, click the email you want to change.
- Click Edit with AI and describe what to change in the AI chat.
The email verification email goes to people who are still signing up, so your version has a few extra checks before it sends. Your app needs its own custom email domain, your version must show the verification code, and it is reviewed first, which can take up to an hour. Until then, your app users get the Base44 version, and the preview shows why under Sending.
Sending from workflows
Any email you design can be a step in a workflow, so it sends automatically when something happens in your app, such as a new signup or a completed order. To add one, ask the AI chat, for exampleWhen a new user signs up, send them a welcome email. The AI designs the email and adds it to the workflow as a Send email step, ready to run. When you open the workflow, the step shows who the email goes to, its subject, and which template it uses.
Learn more about creating workflows, and about who your app can email.