/, /Home, or /Products) and appears in the page drop-down at the top of the app editor. You can add new pages, access pages, and decide which pages are visible in your menus or used for login and landing experiences.
Adding pages
You can add pages at any time. The fastest way is to describe the page you want in AI chat.Adding a new page
- Go to your app editor.
- In AI chat, describe the page you want. For example:
Create a new About page with a hero section, text about our company, and a contact button.
Duplicating a page
- Open the page you want to reuse in the editor.
- In AI chat, describe what you want to duplicate. For example:
Duplicate this page and keep the same layout, but change the title to "Pricing". - After the AI chat has finished, open the new page from the page drop-down to customize the content.

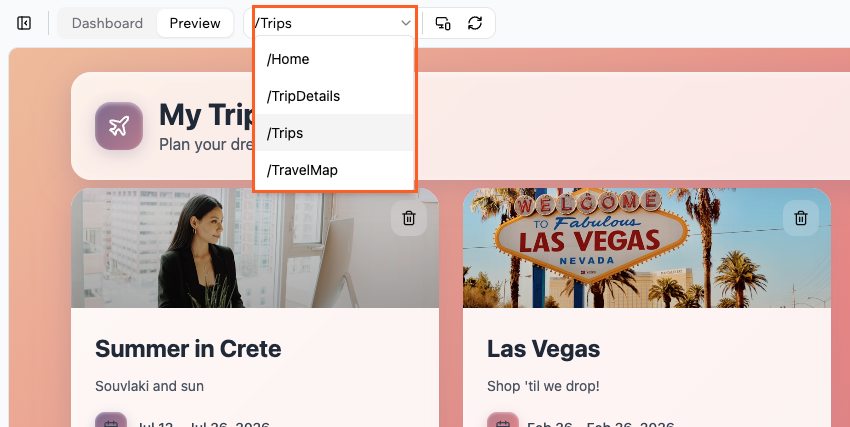
Switching between pages
You can move between pages from the page drop-down above the preview. To switch pages in the app editor:- Go to your app editor.
- Click the page drop-down.
- Click the page you want to open.
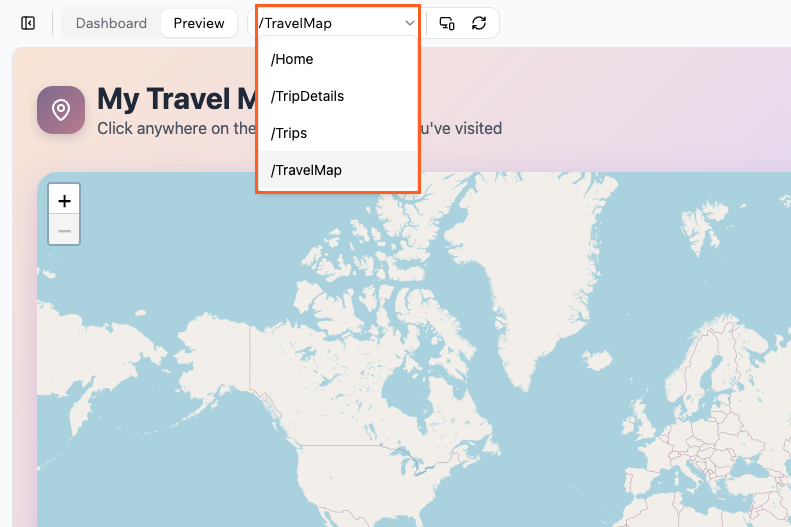
Searching for pages
When your app has many pages, it can be hard to remember every page name. Start typing the page name in the pages drop-down to search for the one you need.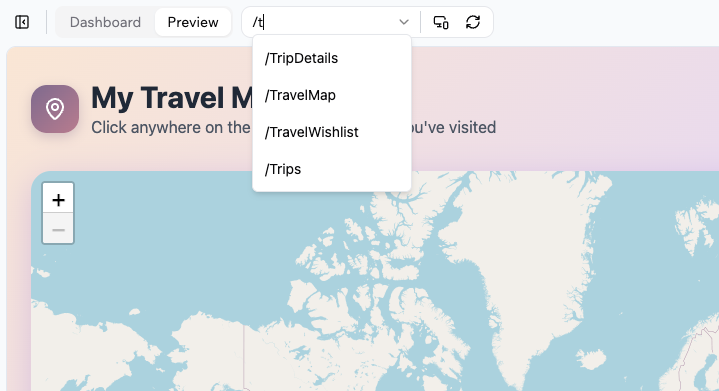
Managing your page navigation
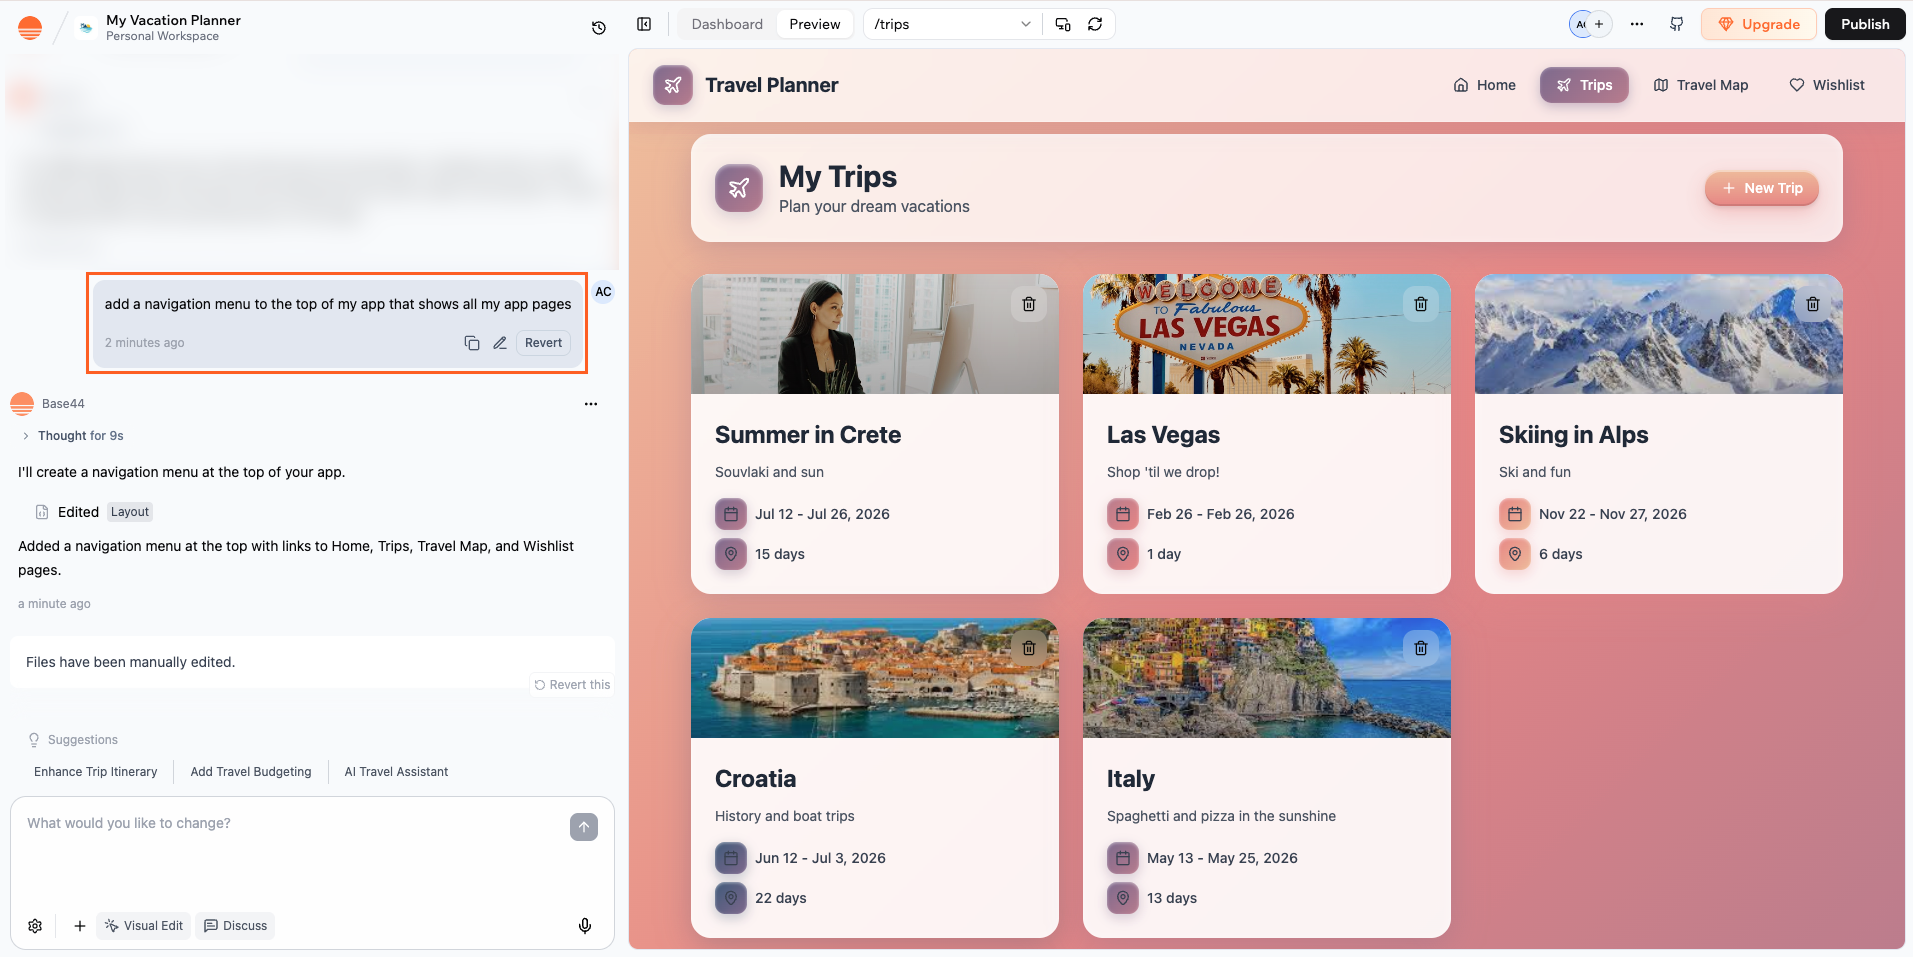
A clear navigation menu helps people move between pages, discover key areas of your app, and understand how your content is organized. It also improves internal linking, which can help search engines understand your app structure. Some apps start with a single page and do not have a visible navigation menu at first. As you add more pages, you can ask the AI to create a header, sidebar, or footer menu and wire it up to your main routes. Use the AI chat to create a navigation menu when your app does not yet have a header, sidebar, or footer with links.Adding a header menu
- Go to your app editor.
- In the AI chat, describe the menu you want. For example:
Add a header navigation bar with links to /Home and /Products.Create a top navigation menu that includes Home and Contact.
- Once the AI has finished, check the preview to make sure the new navigation appears where you expect and test the links.
Adding a sidebar menu
- Go to your app editor.
- In AI chat, explain what you need. For example:
Add a vertical sidebar navigation on the left with links to /Dashboard, /Reports, and /Settings.Add a footer navigation with links to Privacy Policy and Terms of Service.
- Once the AI has finished, check the preview to make sure the new navigation appears where you expect and test the links.


Changing the menu style
You can use different navigation styles to match your app’s layout and audience, such as a horizontal bar, tabs, or a hamburger menu that collapses on smaller screens. To change your navigation style with AI chat:- Go to your app editor.
- In AI chat, describe the style you want. For example:
- Tabs:
Change the main navigation into a tab-style menu at the top of the page. - Sidebar:
Move the navigation into a vertical sidebar on the left. - Hamburger menu:
Turn the main navigation into a hamburger menu that opens a panel on the right.
- Tabs:
- Once the AI has finished, check the preview to make sure the navigation appears where you expect and test the links.
Changing the menu items
Once a navigation menu exists, you can add, remove, or rename links so people can reach the right pages. Make sure the page you want to link to already exists if you are adding a new item. To manage your menu items with AI chat:- Go to your app editor.
- In AI chat, describe how the menu should change. For example:
Add a "Shop" link to the main navigation that points to the /Products page.Add an "About" item to the top menu that links to /About and place it after Home.Remove the "Blog" link from the header navigation.Rename the "Shop All" menu item to "All Products".Reorder the menu so that Home, Shop, About, and Contact appear in that order.
- Check the preview and click your menu items to confirm that everything looks and behaves as expected.
Working with hidden pages
Some pages are meant to be internal, such as admin dashboards, success screens, or callback pages. You may want them available in your app without showing them in navigation or search results.Hiding pages from your menu
You can remove any page from your visible menus while still keeping it live and functional. To hide a page from your navigation with AI chat:- Go to your app editor.
- In AI chat, describe what should be hidden. For example:
Remove the /Success page from all visible navigation, but keep it working as a redirect after checkout. - Check that the link no longer appears in the header, sidebar, or footer.
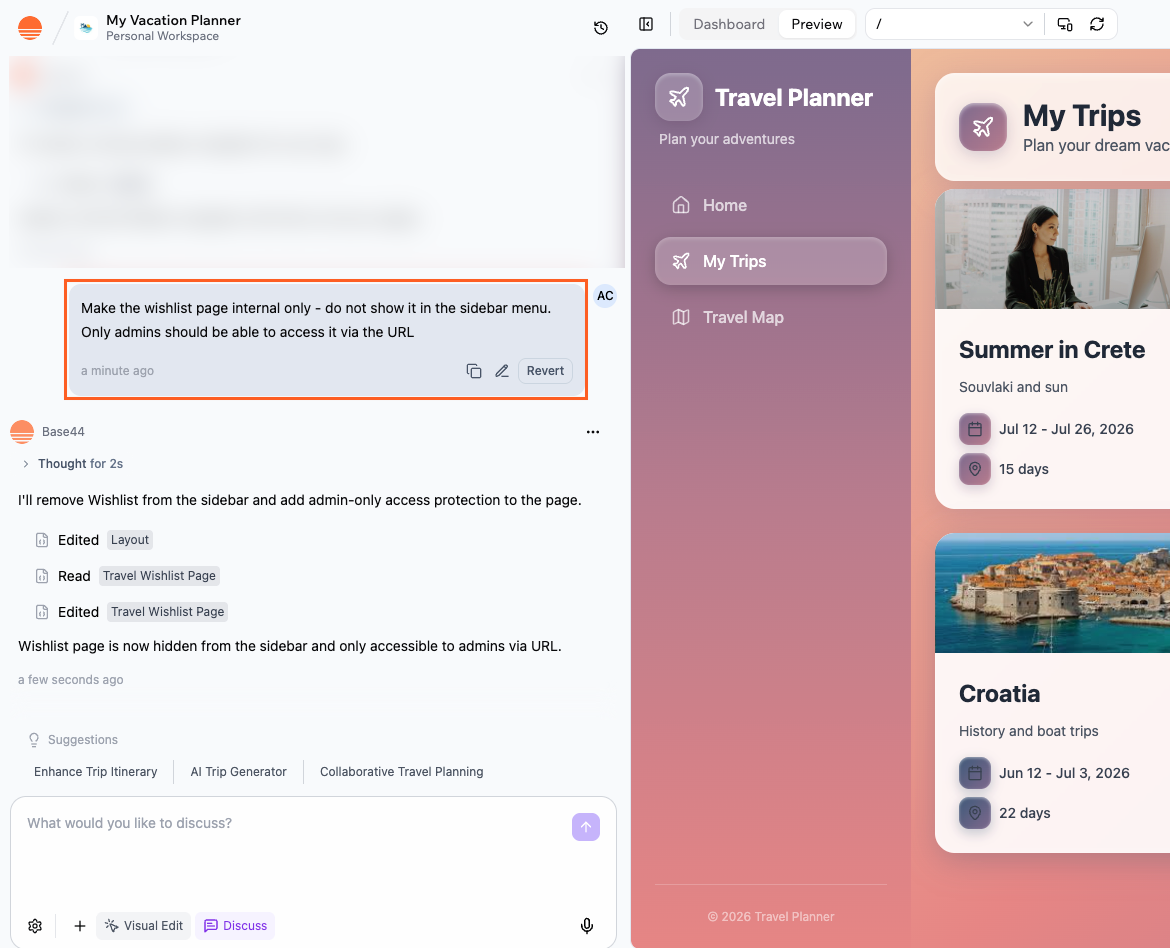
A page that is hidden from your navigation can still be opened directly if someone knows its URL, or if you add a button or link to it elsewhere in your app.
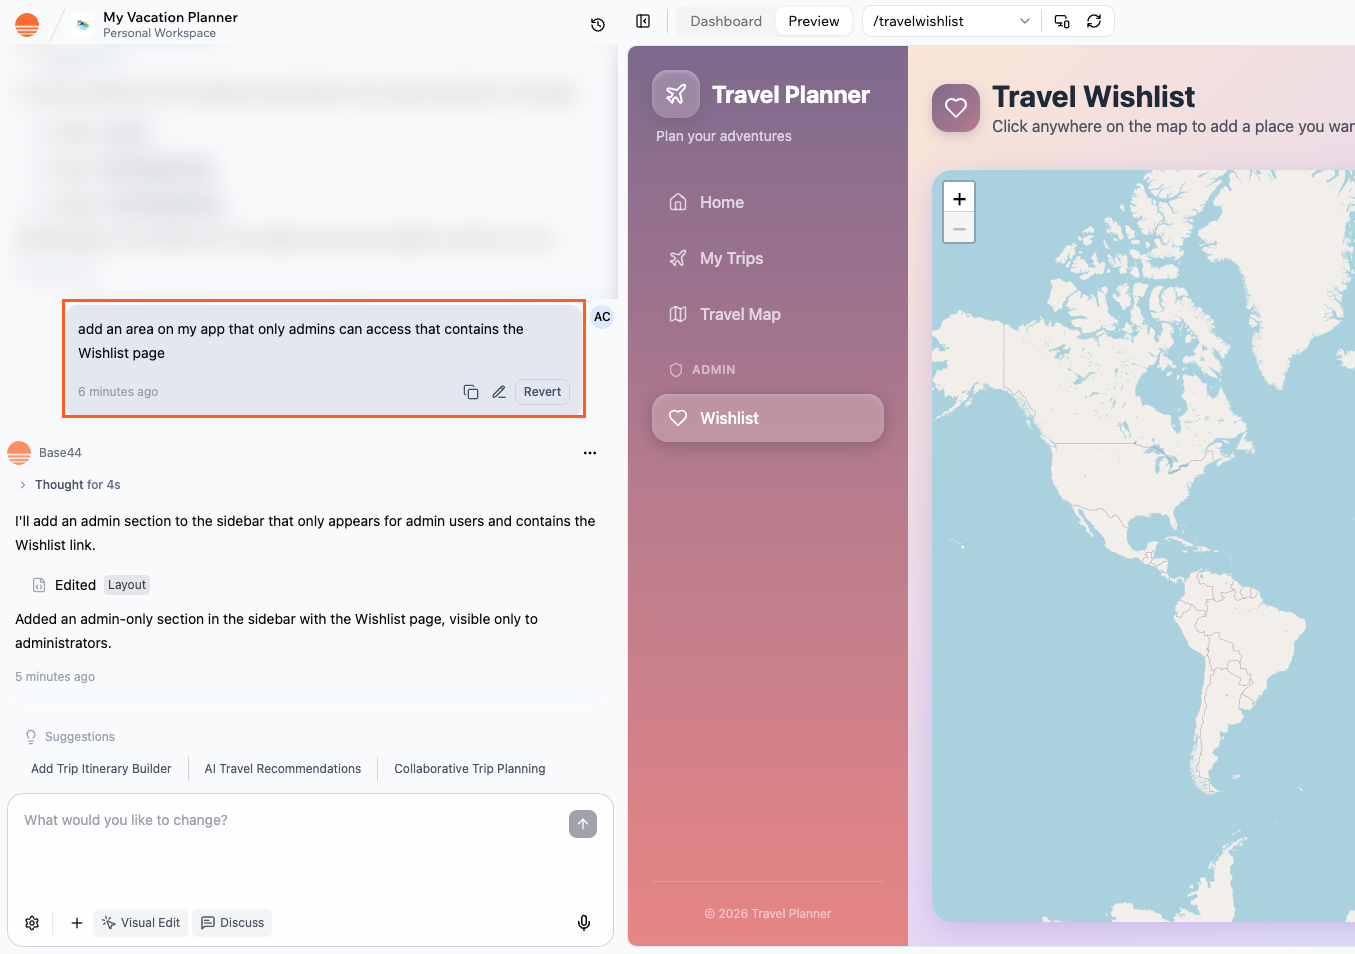
Creating an admin-only area
You can keep sensitive pages, such as dashboards or management tools, available only to admins by placing them in an admin section of your navigation and protecting access. To create an admin-only navigation area with AI chat:- Go to your app editor.
- In AI chat, describe the admin section you want. For example:
Add an Admin section in the sidebar that only admins can see, and move the /Wishlist page into it.Create an admin-only area in the header navigation with links to /AdminDashboard and /Reports.
Hiding pages from search results
Base44 automatically includes all public, published pages in your sitemap at/sitemap.xml so search engines can find them. There are no per-page SEO switches such as “noindex” or page-level robots.txt controls.
To keep a page out of search engines, make sure the page is not public, or avoid linking to that page from any public parts of your app.
For full details on how indexing works, see our SEO guide.
Public landing page with private pages
Base44 does not currently support making some pages public and others private using visibility settings alone. Instead, you can use a combination of a public landing page and logic that redirects people to login for private areas. To set up a public landing page with login for other pages:- Set your app to Public (no login required) in your app visibility settings.
- Use the AI chat to create a landing page, for example:
Create a landing page with login and sign-up buttons and make it my main page. - Ask the AI to require login on the rest of your app. For example:
Require login for all non-landing pages and redirect visitors who are not logged in back to the landing page.
FAQs
Click a question below to learn more about pages, login, and navigation.How do I change the page people see first when they open my app?
How do I change the page people see first when they open my app?
To change your landing page:
- Click Dashboard in your app editor.
- Click Settings and then App Settings.
- In the Main Page drop-down under General Settings, select the page you want as your default landing page.
Are there limits on how many pages my app can have?
Are there limits on how many pages my app can have?
Yes. Base44 apps support up to 600 pages. However, page count is not the only factor that affects build stability — the total number of files in your app and your overall source size also matter.If your app has more than 600 pages, or has a very large number of files or source code (for example, thousands of JavaScript files or tens of megabytes of source), you may see issues such as:
- The builder becoming unavailable or very slow.
- Pages not loading correctly in the editor or live app.
- Publishing failures or out-of-memory errors when you build or deploy updates.
- The AI returning incomplete edits.
- Review your existing pages and remove any that are no longer needed.
- Consolidate similar content into fewer pages when possible.
- Use entities and filtered views instead of creating a separate static page for every item.
- Keep your overall file count and source size as lean as possible, especially if your app has many components.