Note: AI integrations are available on the Builder plan and above. If you’re on the Free plan, you’ll need to upgrade your app to use backend functions and payment features.
Step-by-step setup
Part 1: The AI provider’s side
If you already have your secrets or API keys, you can skip ahead to “The Base44 side” setupVisit your AI provider’s developer portal
-
Open your provider’s developer portal in a new browser tab
 We’re using OpenAI for this example and their developer portal is at: https://platform.openai.com
 - Log in or create a new account
- Go to the API keys section
New Enable API access if needed
-
Go to your provider’s billing or **payment **section.
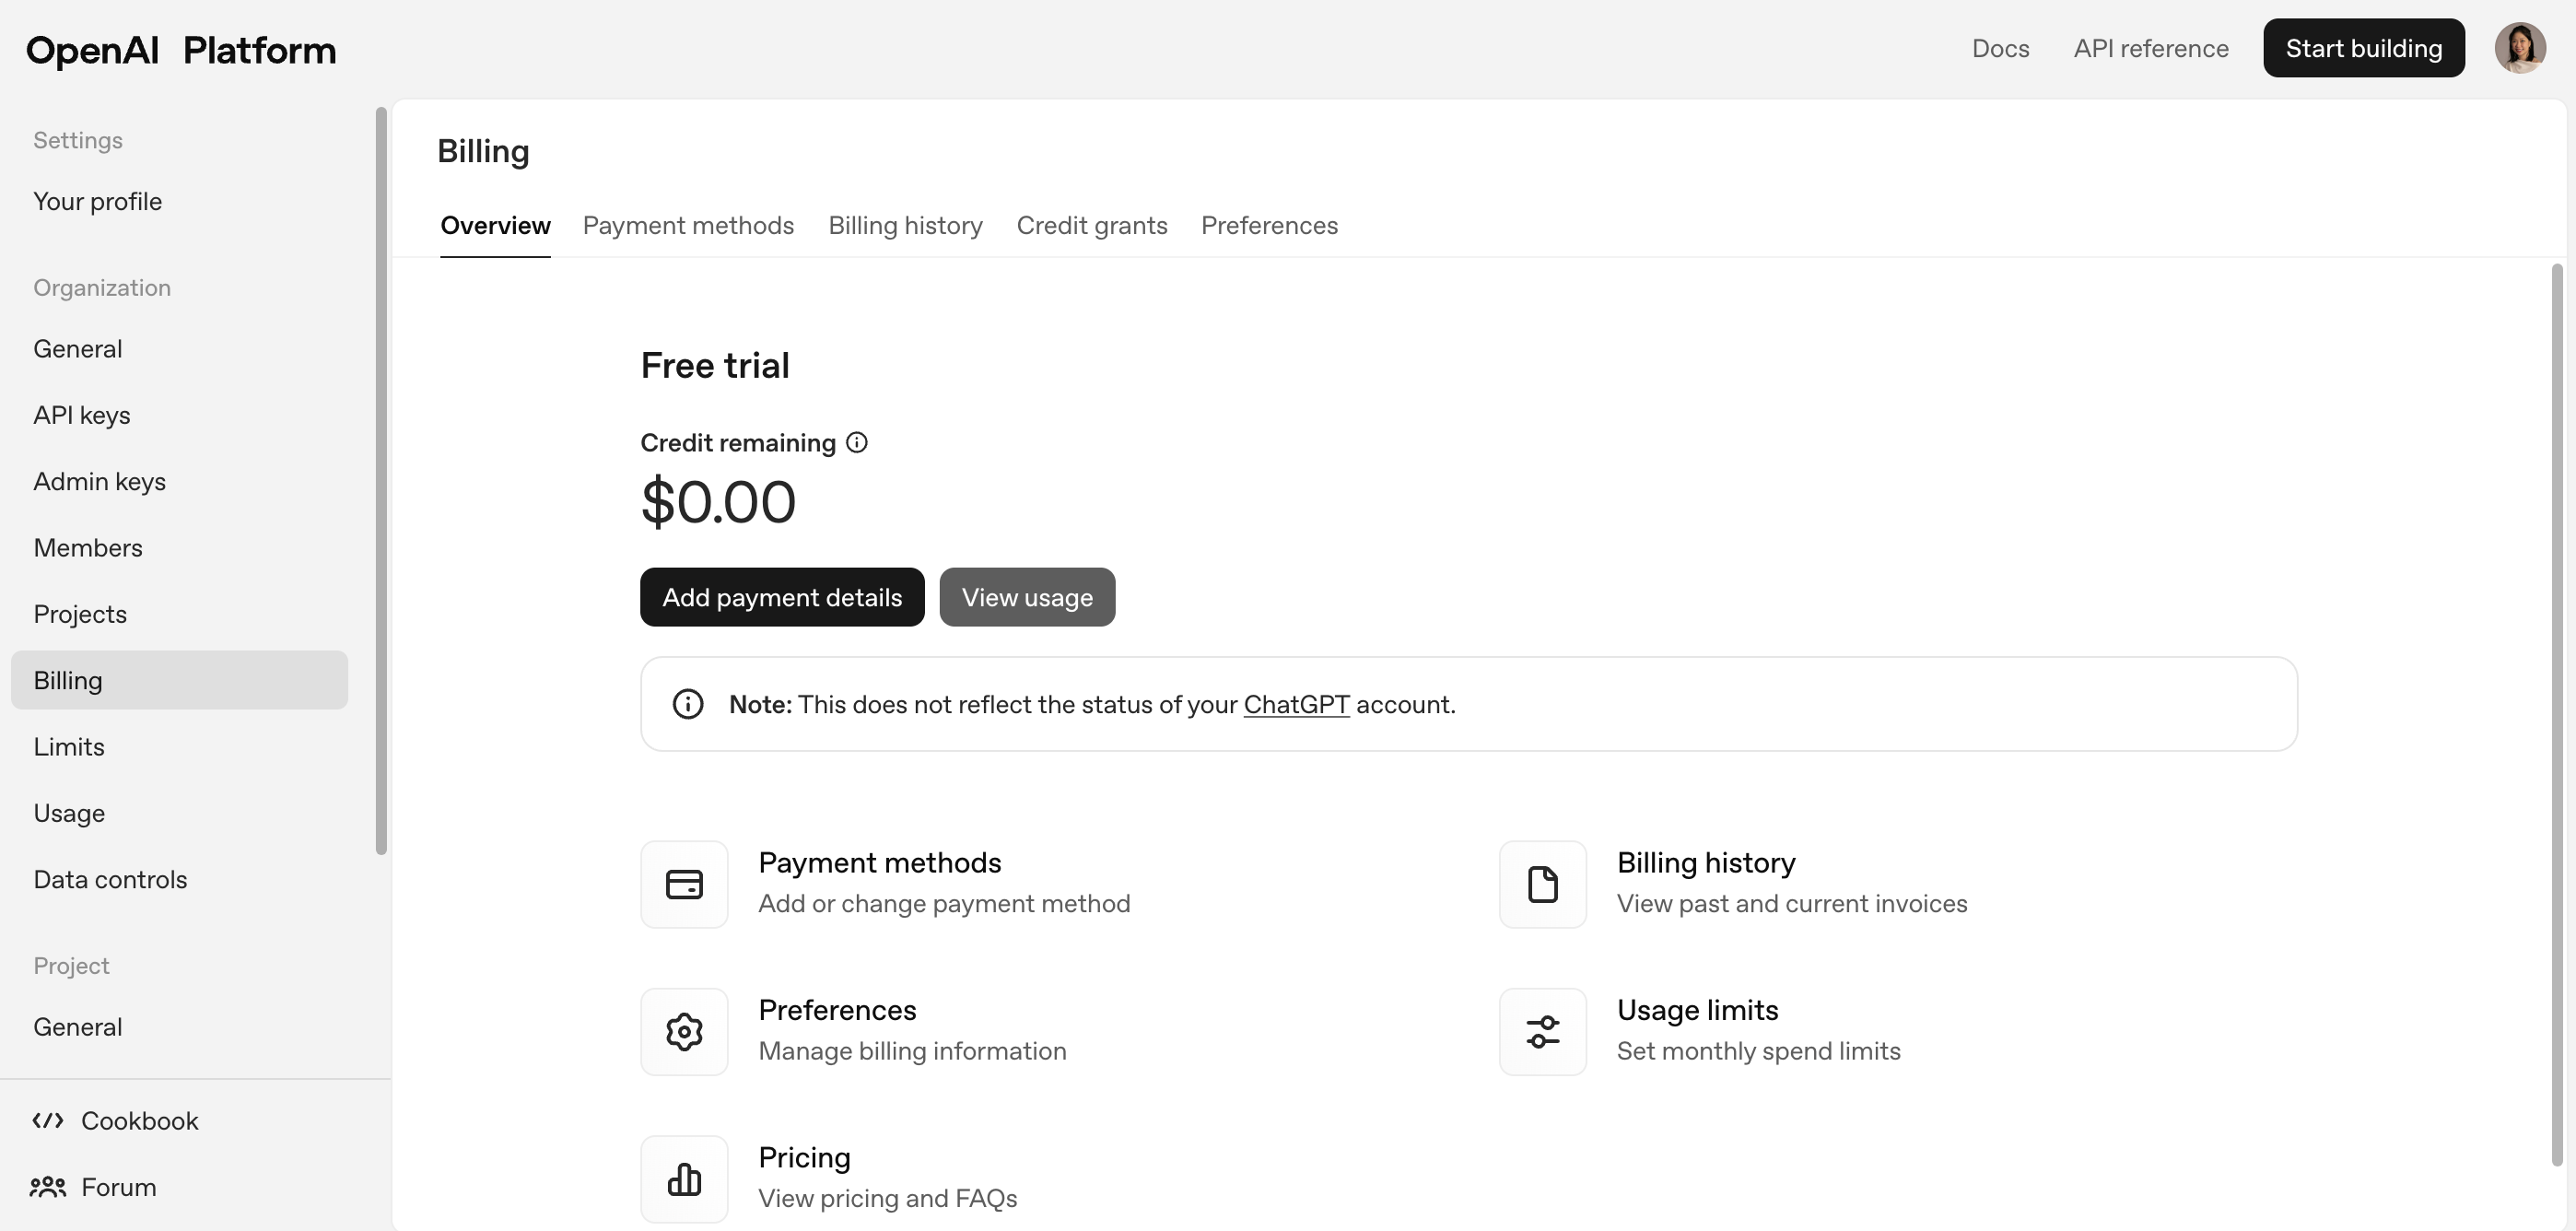
- Add a valid payment method such as a credit card or PayPal.
-
(Optional) Set up a spending limit to control costs.

- Make sure your account has active credits if your provider requires it.

Part 2: The Base44 Side
Go to the Base44 integration catalog
Head to Base44 and click on Integrations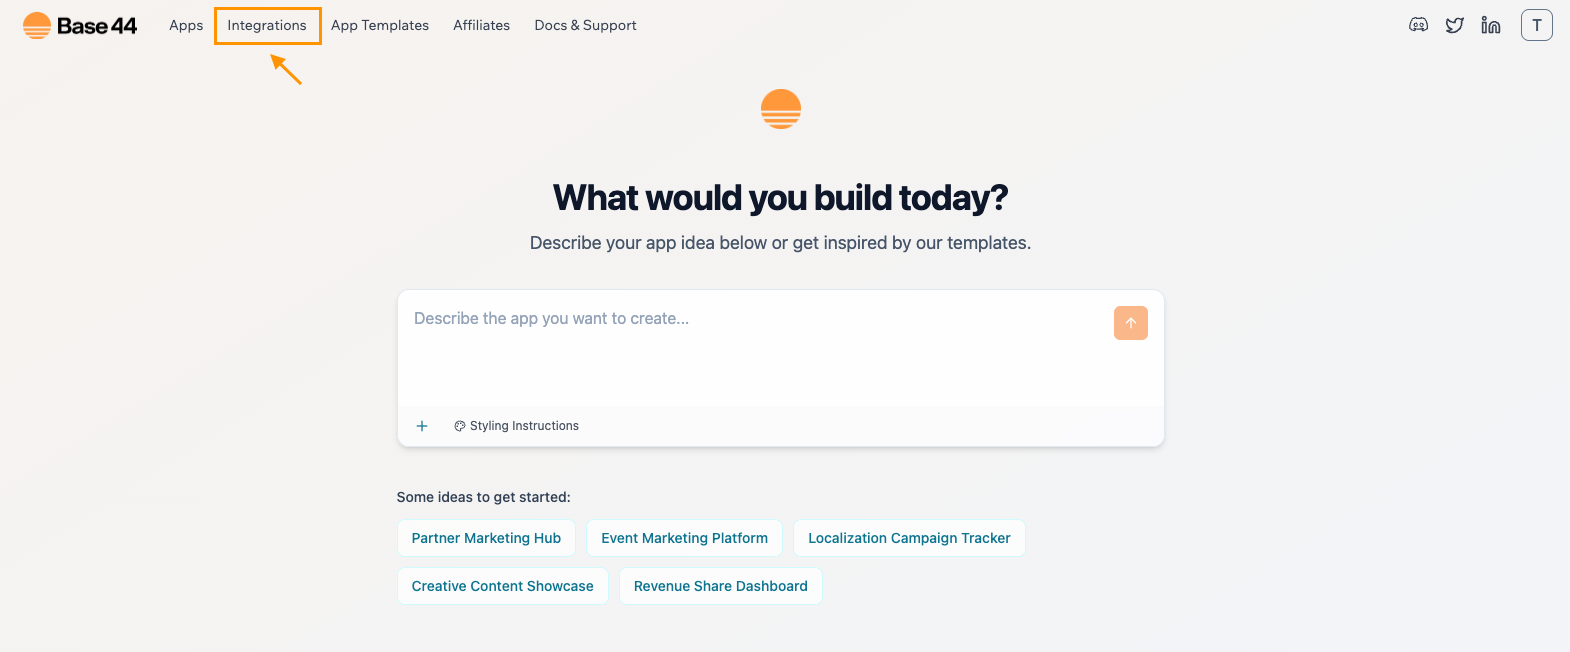
Make sure you’re logged into Base44 to view the Integrations catalog page
- Use the search bar or scroll to find your AI provider
-
Select your AI provider and click “Use this integration”
(in this example we are using OpenAI)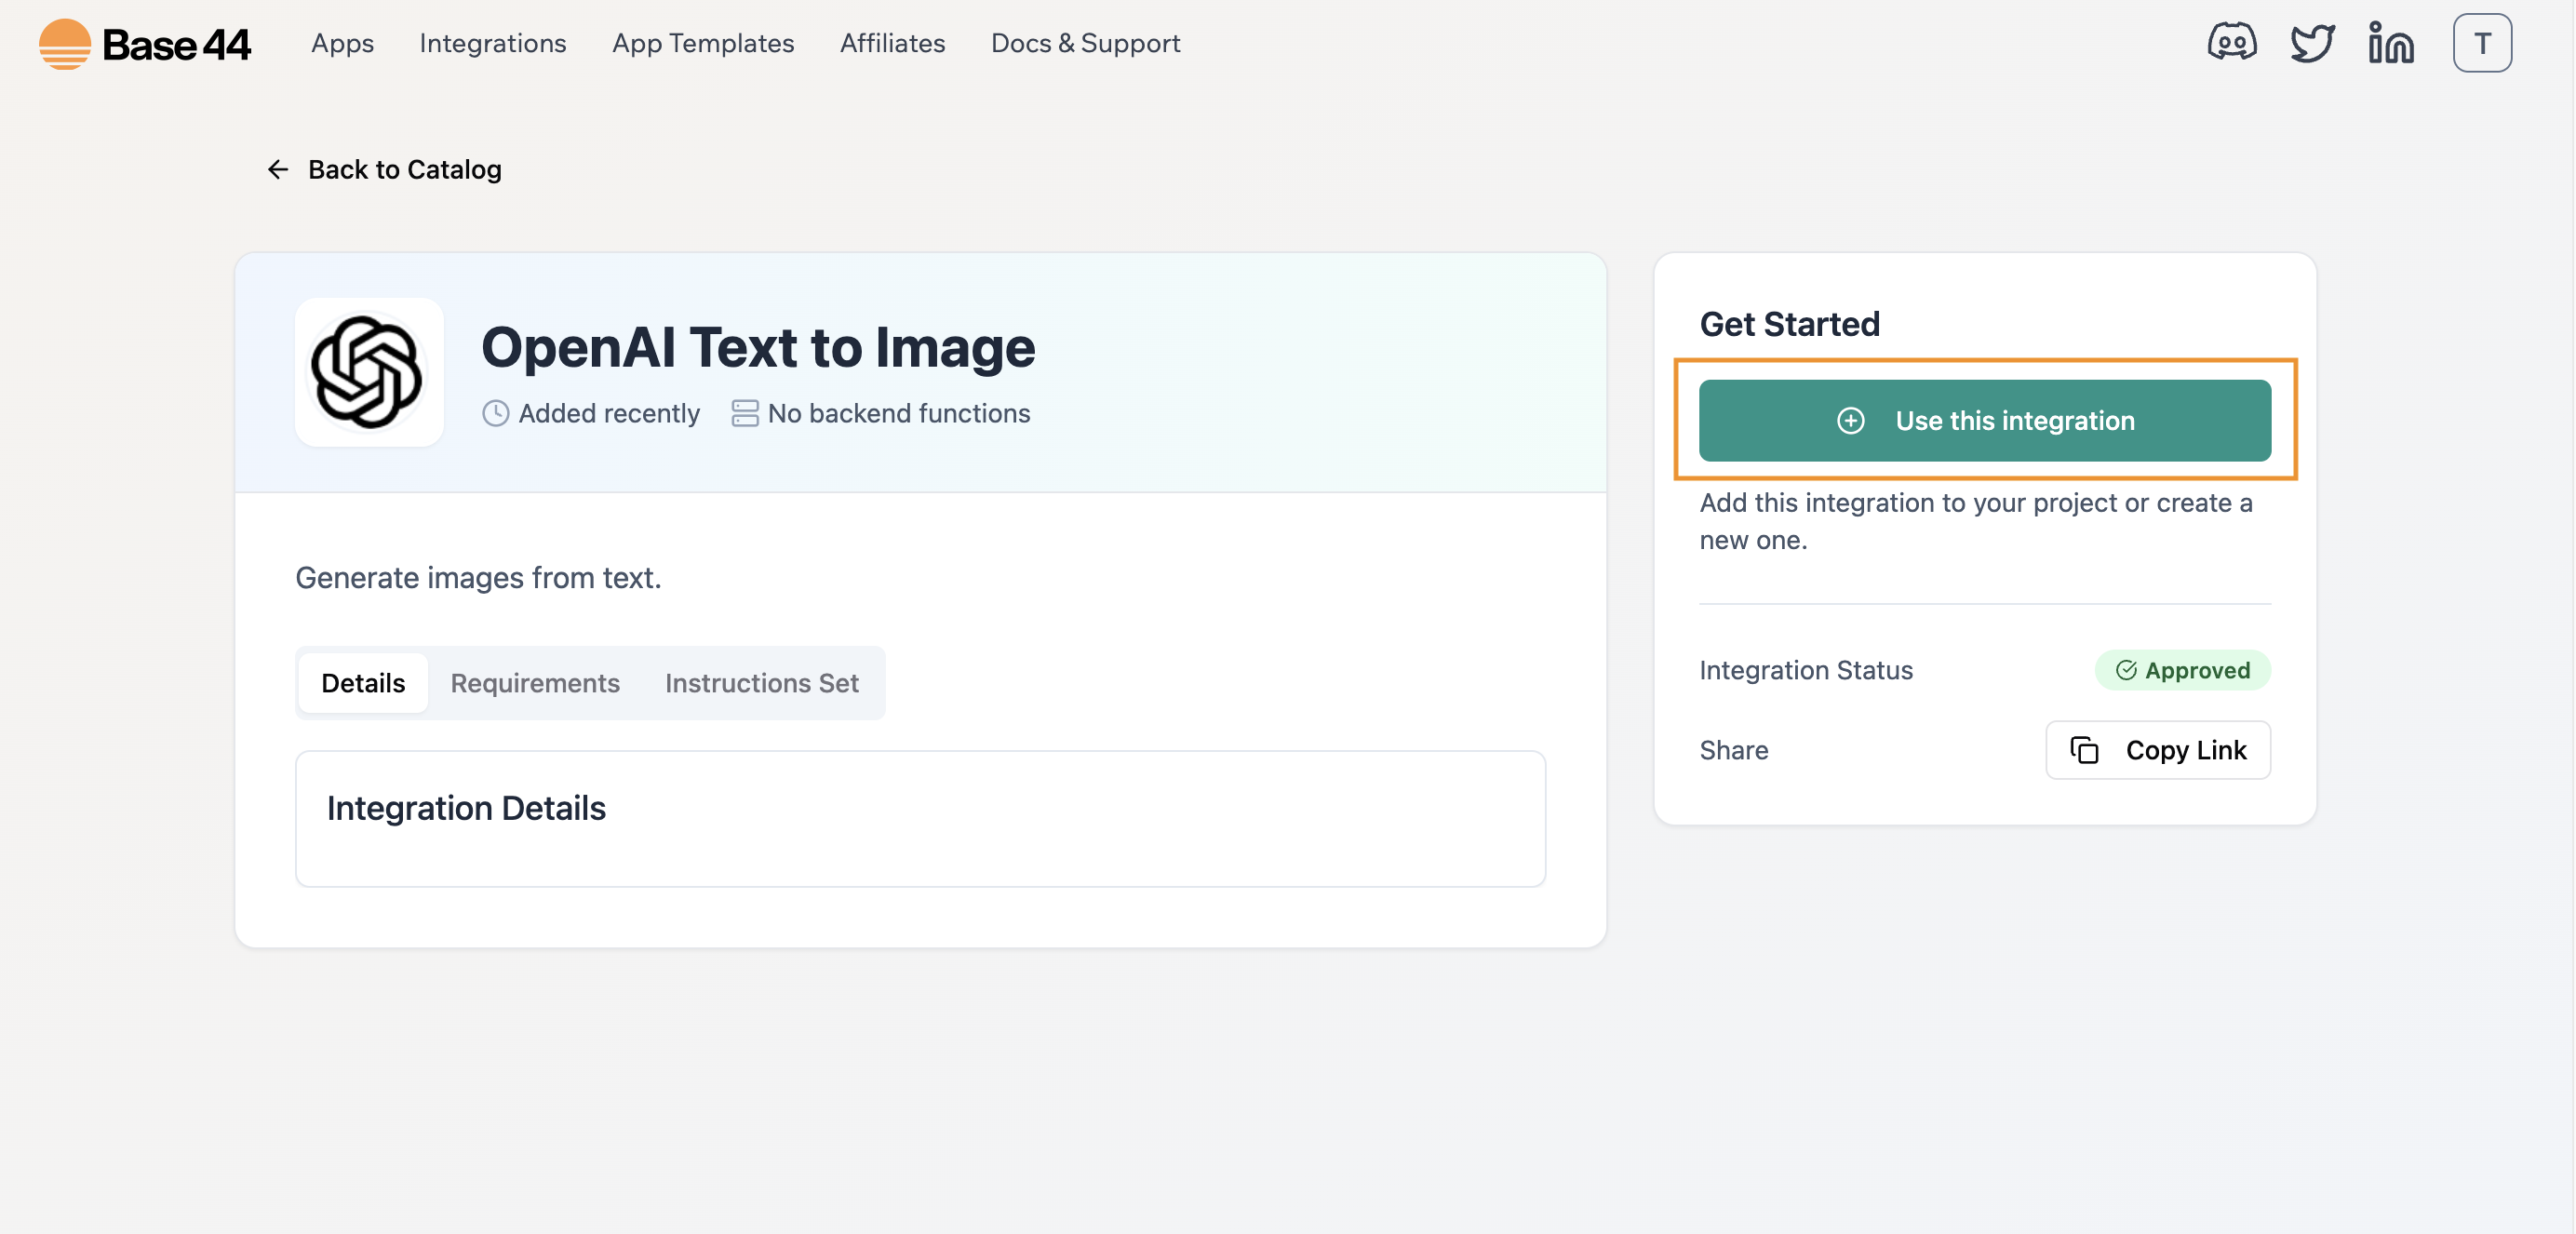
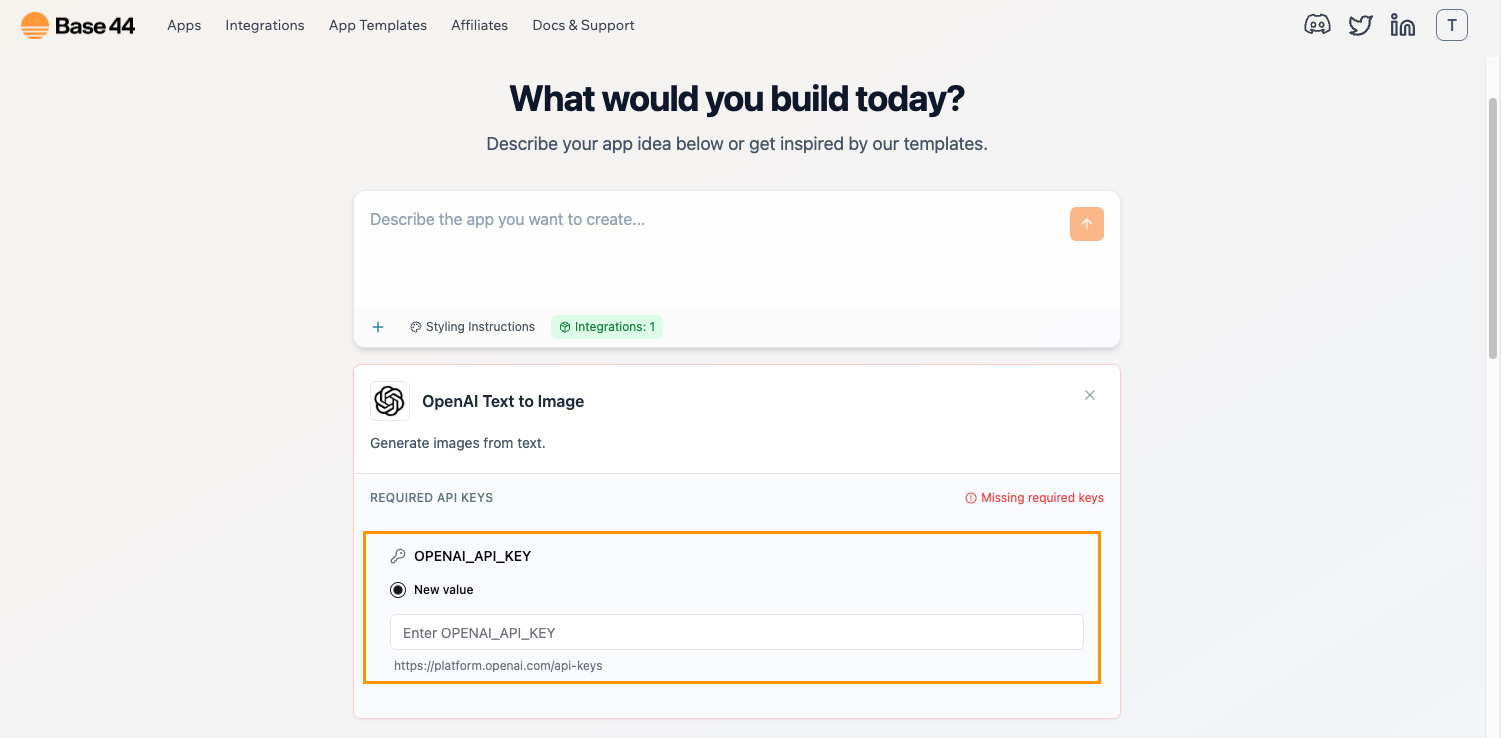
Add your API key to Base44
- Type out your app idea inside the AI chat box
-
Paste the key when prompted
Tell the AI what to do
-
Once your app has been created, in the Base44 chat, describe the task you want the AI to perform
- Base44 will create the backend and frontend components for you.
- You can improve the AI’s behavior with follow-up prompts.
Test your AI integration
-
Try your AI feature with test inputs or example prompts.

- Check the AI’s output.
- Experiment with different styles, tones, or examples until it works the way you want.
When running tests, do not paste real customer data. Use sample or dummy content.
Recap
What you did (no coding required)- Selected an AI provider for your use case.
- Connected it securely with an API key.
- Let Base44 handle the backend setup.
- Used prompts to design your AI’s behavior.
- Tested and launched your AI-powered app.
FAQ
What if my provider is not listed in the catalog
What if my provider is not listed in the catalog
You can still connect it with help from the Base44 AI. The process is a little more manual, but the AI will guide you step by step.Say:
"Use the provider “[provider name]”. I have an api key. Help me connect it and create a simple test. Ask me for the details you need."Keep your API key somewhere safe until the AI asks for it. You will also need a few details from your provider’s documentation.Some important requirements for manual setup
Your provider needs to offer a standard online API that works over https (often called a “REST API”). This means:
Your provider needs to offer a standard online API that works over https (often called a “REST API”). This means:
- A web address (URL) where Base44 can send requests.
- An API key for authentication.
Instructions from the provider on what information to send and how it should be formatted. - Details on how the provider will send responses back, ideally in a format like JSON (a common way to send structured text).
How do I keep my API key safe?
How do I keep my API key safe?
Store it in Base44’s Secrets section or a password manager. Never share it in public code, screenshots, or chat messages.
What happens if I run out of credits with my provider?
What happens if I run out of credits with my provider?
Your AI integration will stop working until you add more credits or update your billing settings with the provider.
Do I need to know how to code to use AI in Base44?
Do I need to know how to code to use AI in Base44?
No. You can set everything up by following the steps in the guide and writing prompts in plain language.
Can I change my AI provider later?
Can I change my AI provider later?
Yes. You can connect to a different provider at any time. You will need to add the new API key in Base44 and may need to update your prompts or components so they work with the new provider’s API.
How can I limit costs?
How can I limit costs?
Most AI providers let you set spending limits or usage caps in your account’s billing settings. You can also monitor your usage in their dashboard. For testing, try shorter prompts or smaller requests to keep costs low. Keep in mind that each provider’s cost controls work a little differently, so it’s a good idea to check their help docs.
Why is my AI giving unexpected answers?
Why is my AI giving unexpected answers?
Make your prompt more specific. Include clear instructions, important context, and examples of what you want. If possible, tell the AI what not to include. You can also try switching to a different model if your provider offers one that is more focused on accuracy. If the problem continues, share the prompt and response with the Base44 AI and ask it to help troubleshoot step by step.“If you get stuck, paste your prompt and the AI’s response into the Base44 chat and say ‘help me troubleshoot this step by step.’”
Can I use more than one AI provider at the same time?
Can I use more than one AI provider at the same time?
Yes. You can add multiple integrations in Base44, you would just need to make sure you specify which provider will be used for which function