Note: Zapier integrations require the Builder plan or higher. If you’re on the Free tier, you’ll need to upgrade before proceeding. You will also need a premium Zapier account to use webhooks.
Step‑by‑step setup
This integration can be added in two ways:Option A: Ready-made integration (preferred)
- Choose this path if you are starting a new app from scratch.
Option B: Instant integration
- Choose this path if you are already in the midst of building and would like to integrate Zapier into an existing app.
Part 1: Ready-made integration (for new apps)
Create a Zap and catch hook
-
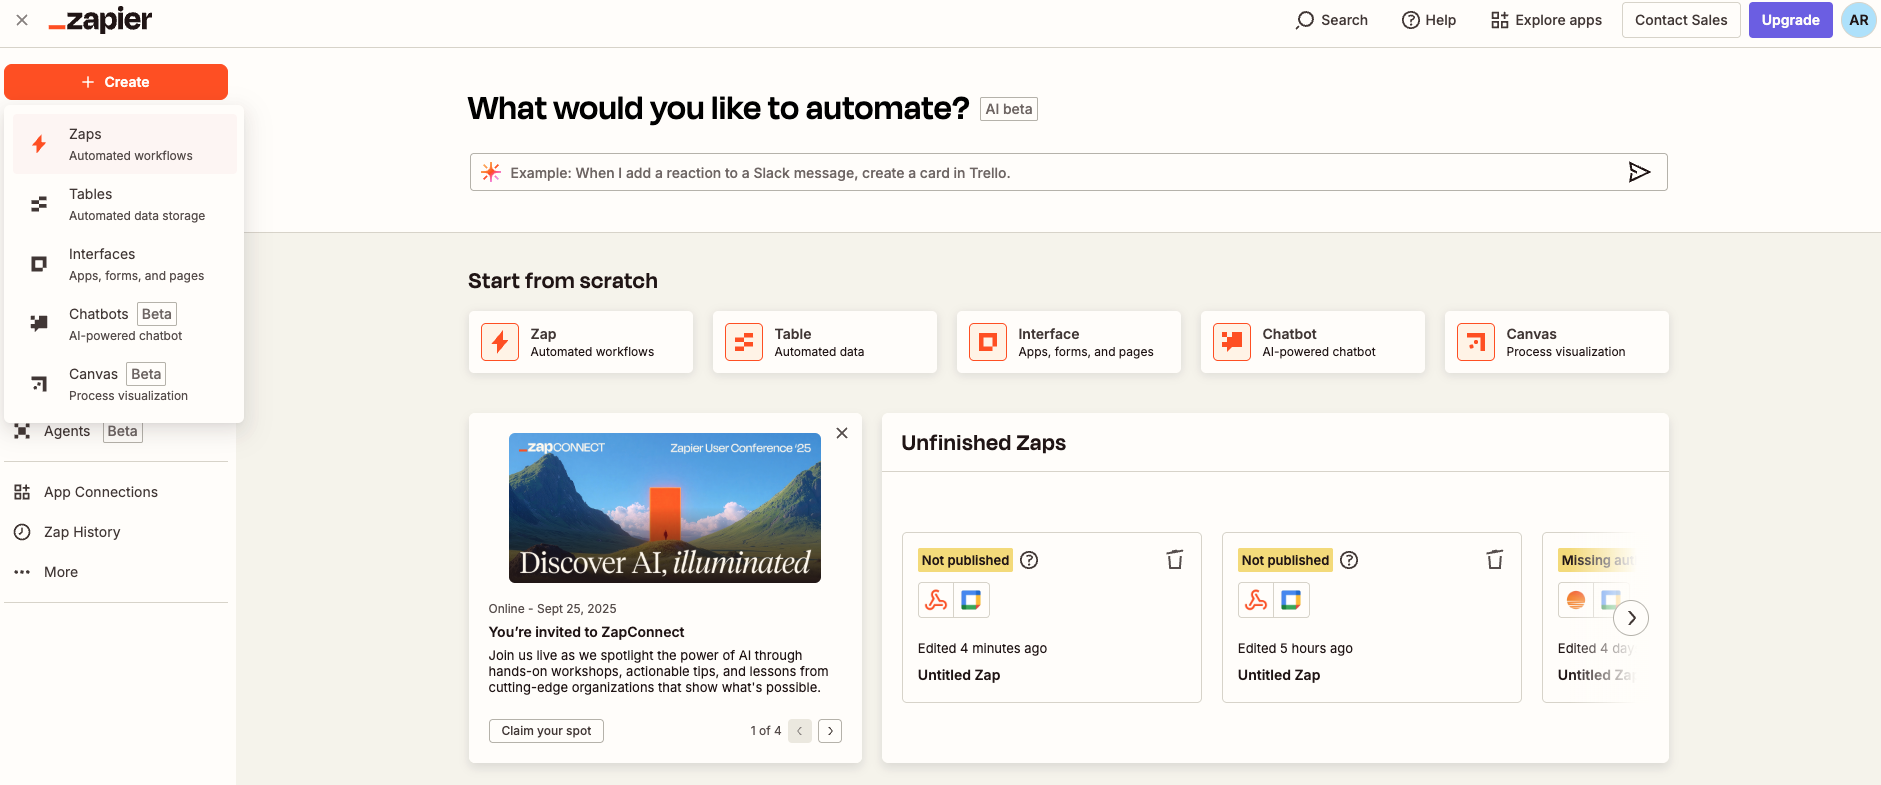
Sign in to Zapier and click Create Zap.
-
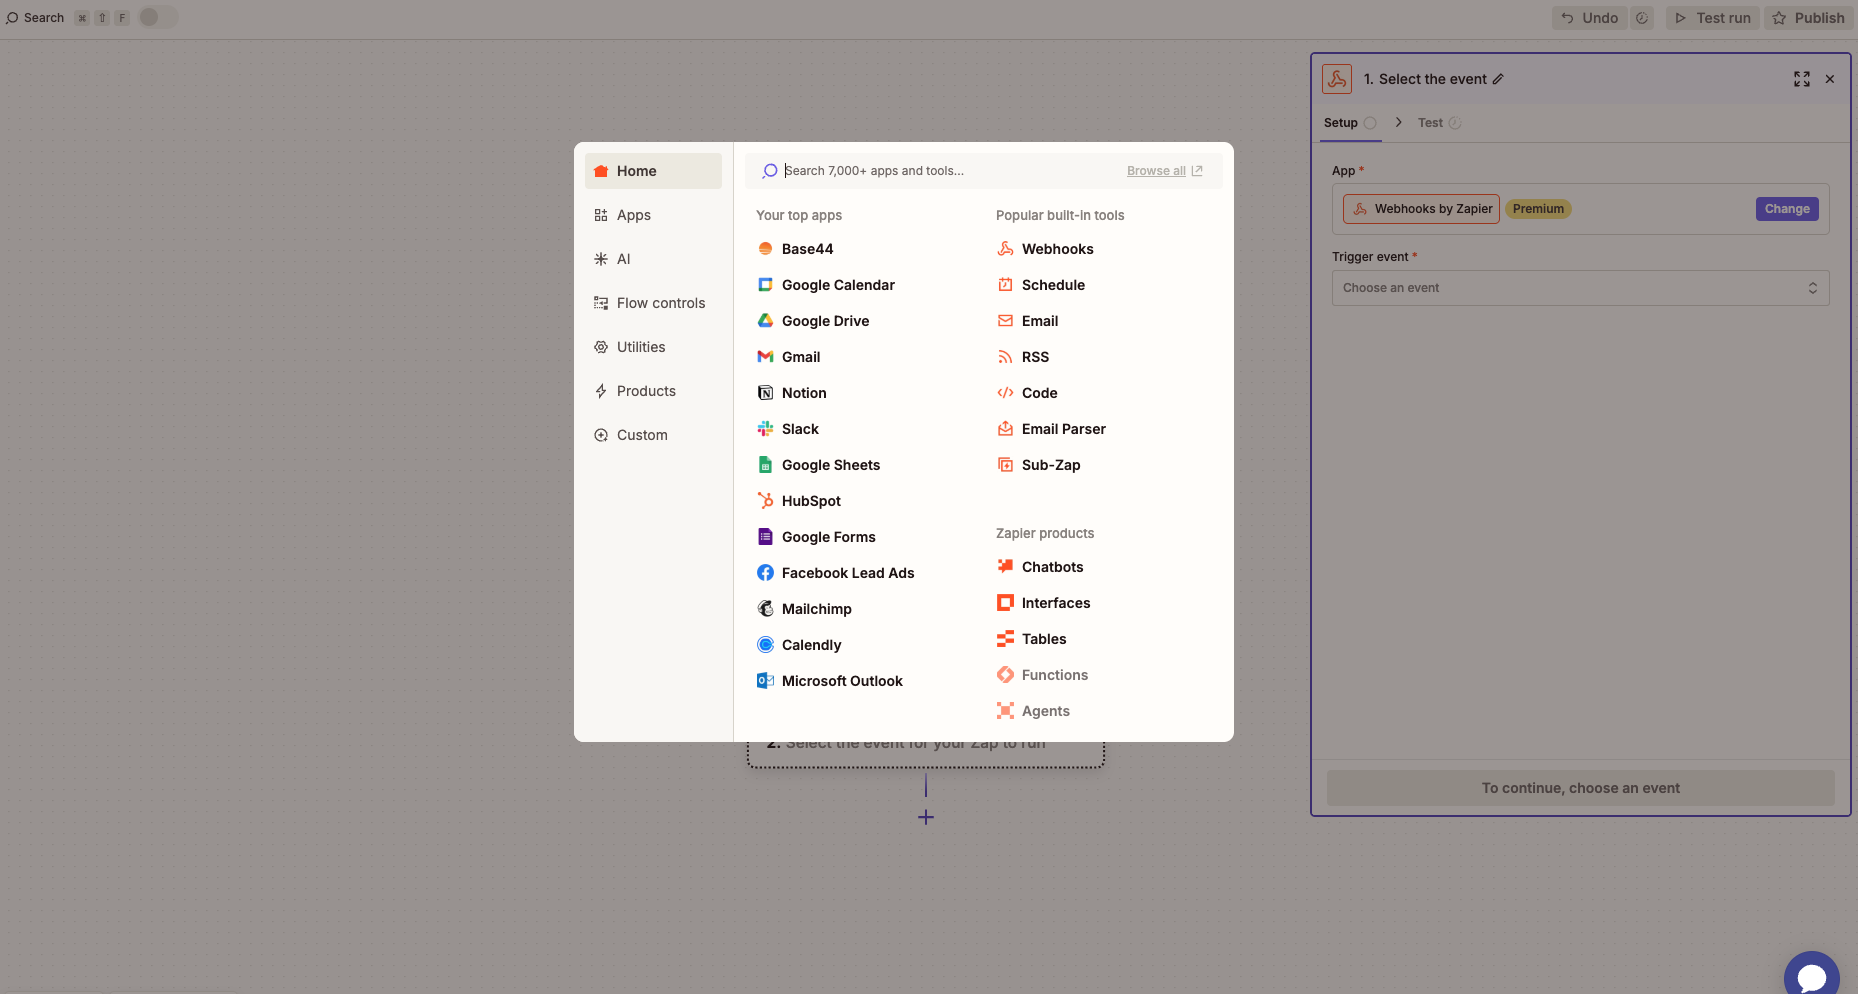
Choose Webhooks by Zapier → Catch Hook as the trigger.
-
Leave the Pick off a Child Key field blank to capture the full payload.
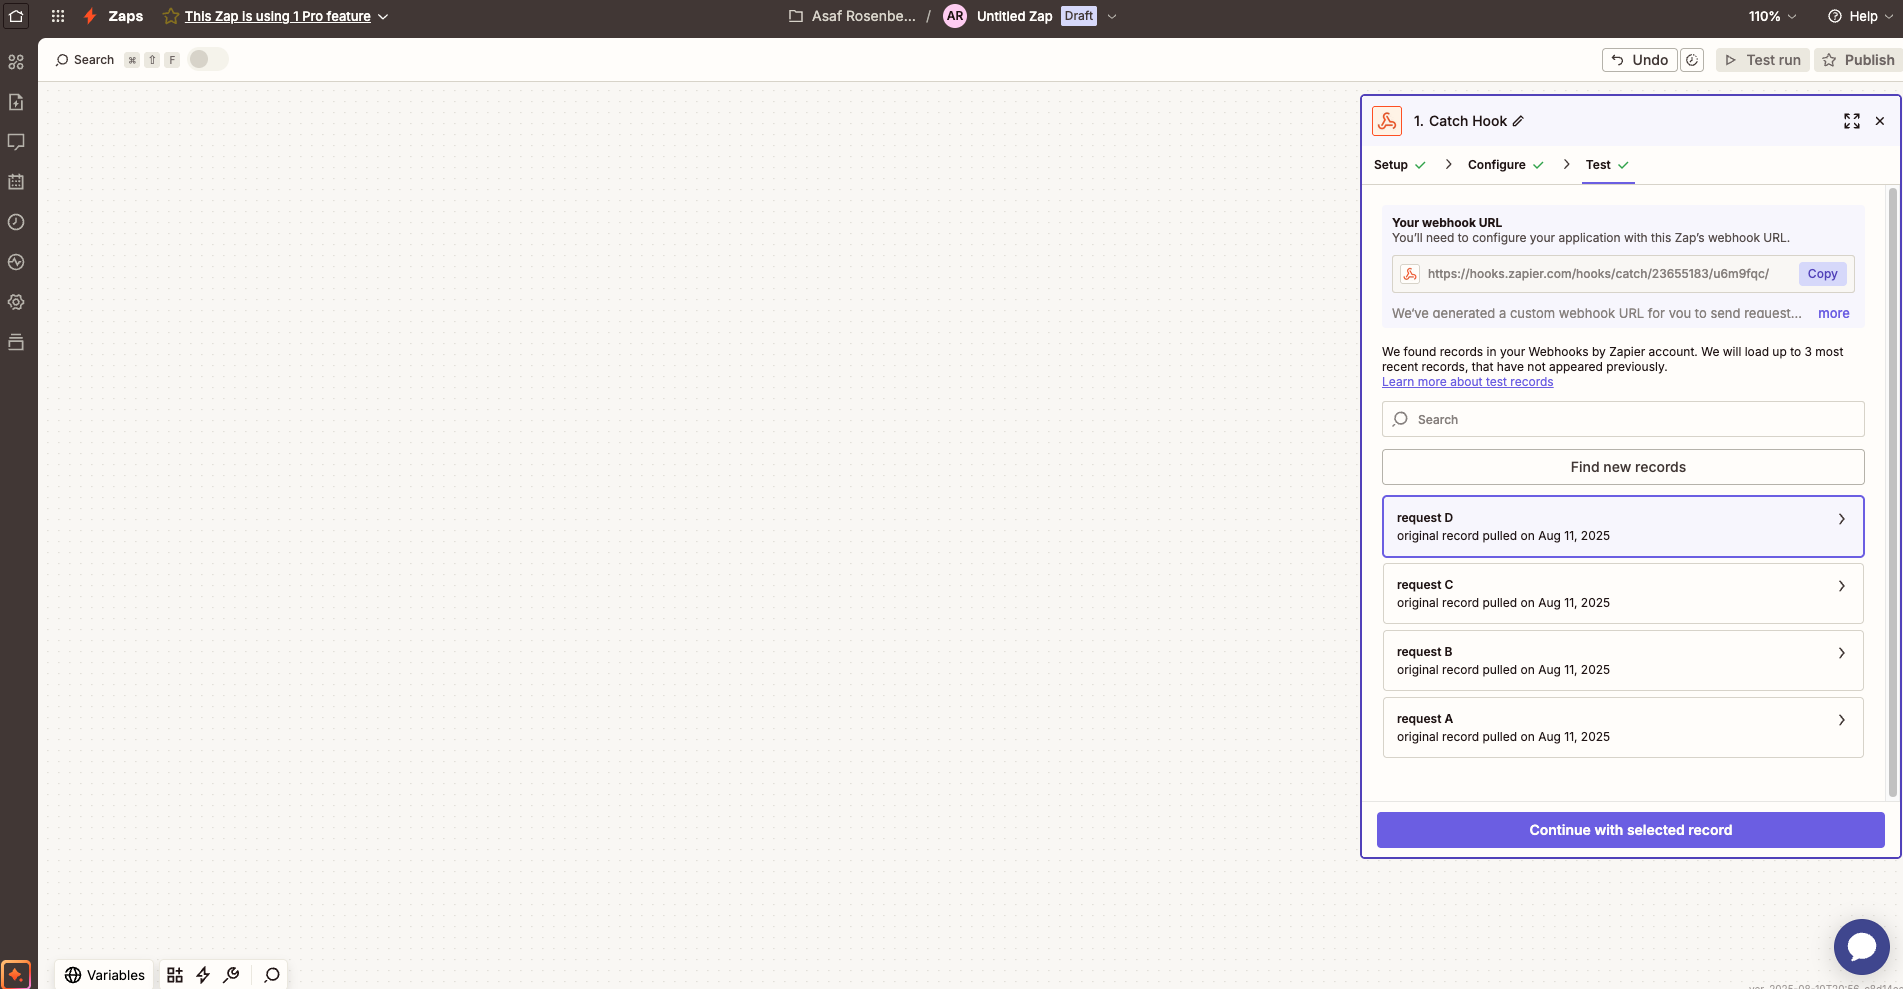
- Continue and copy the webhook URL.
Start a new Base44 app and add Zapier from the catalog
-
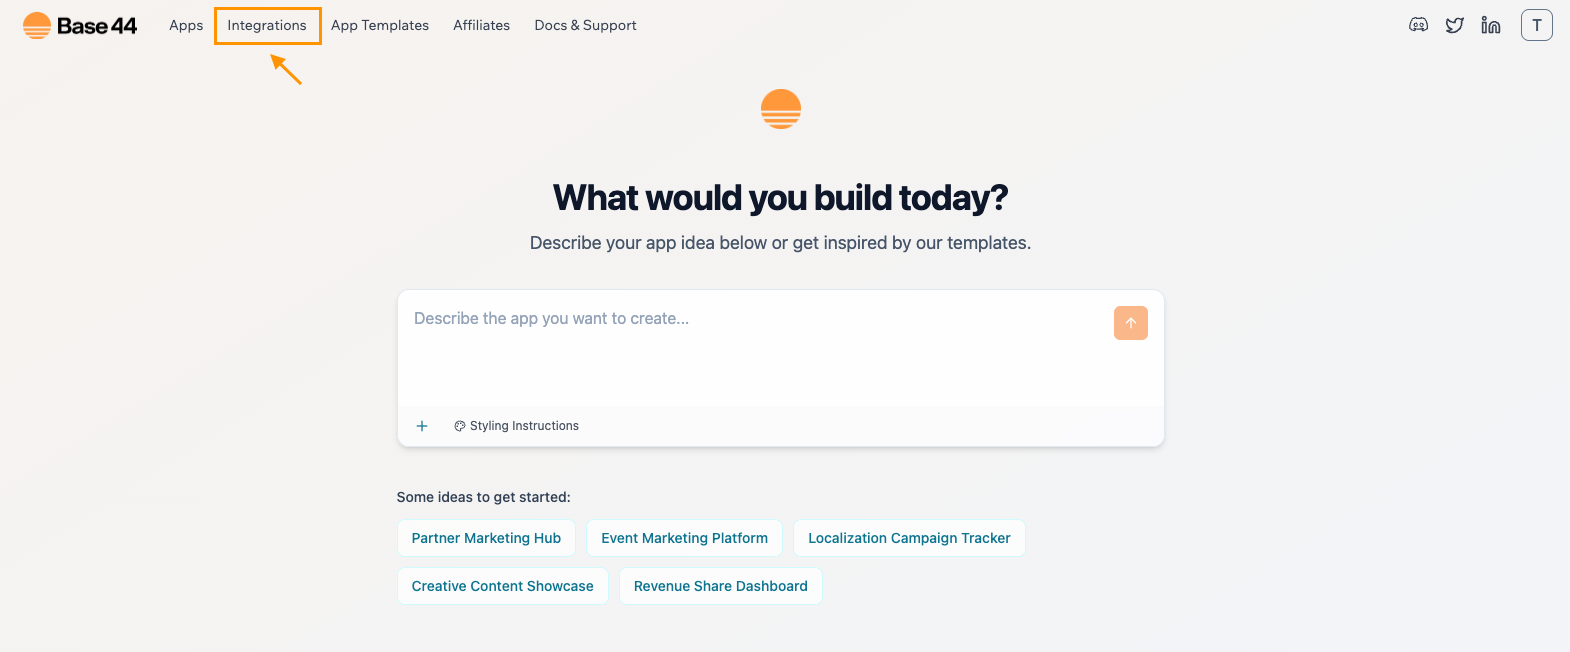
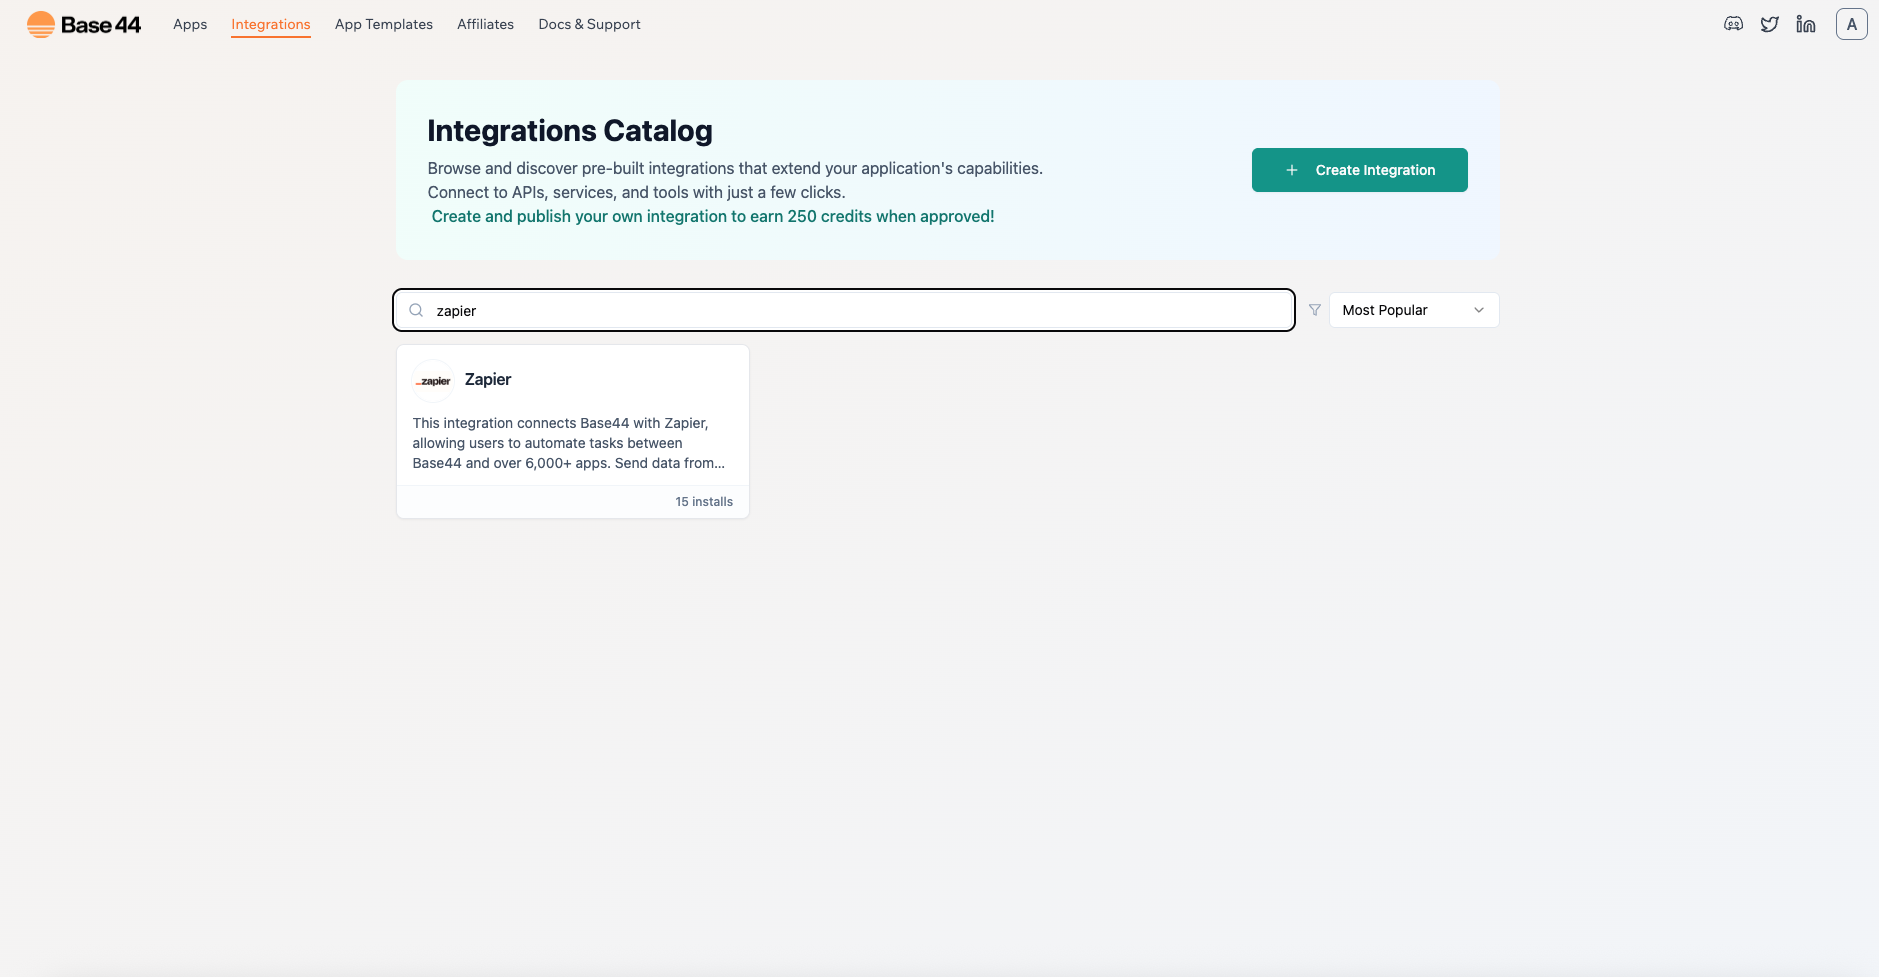
In a new browser tab, go to Base44 and click Integrations.
-
Find Zapier and click Use this integration.
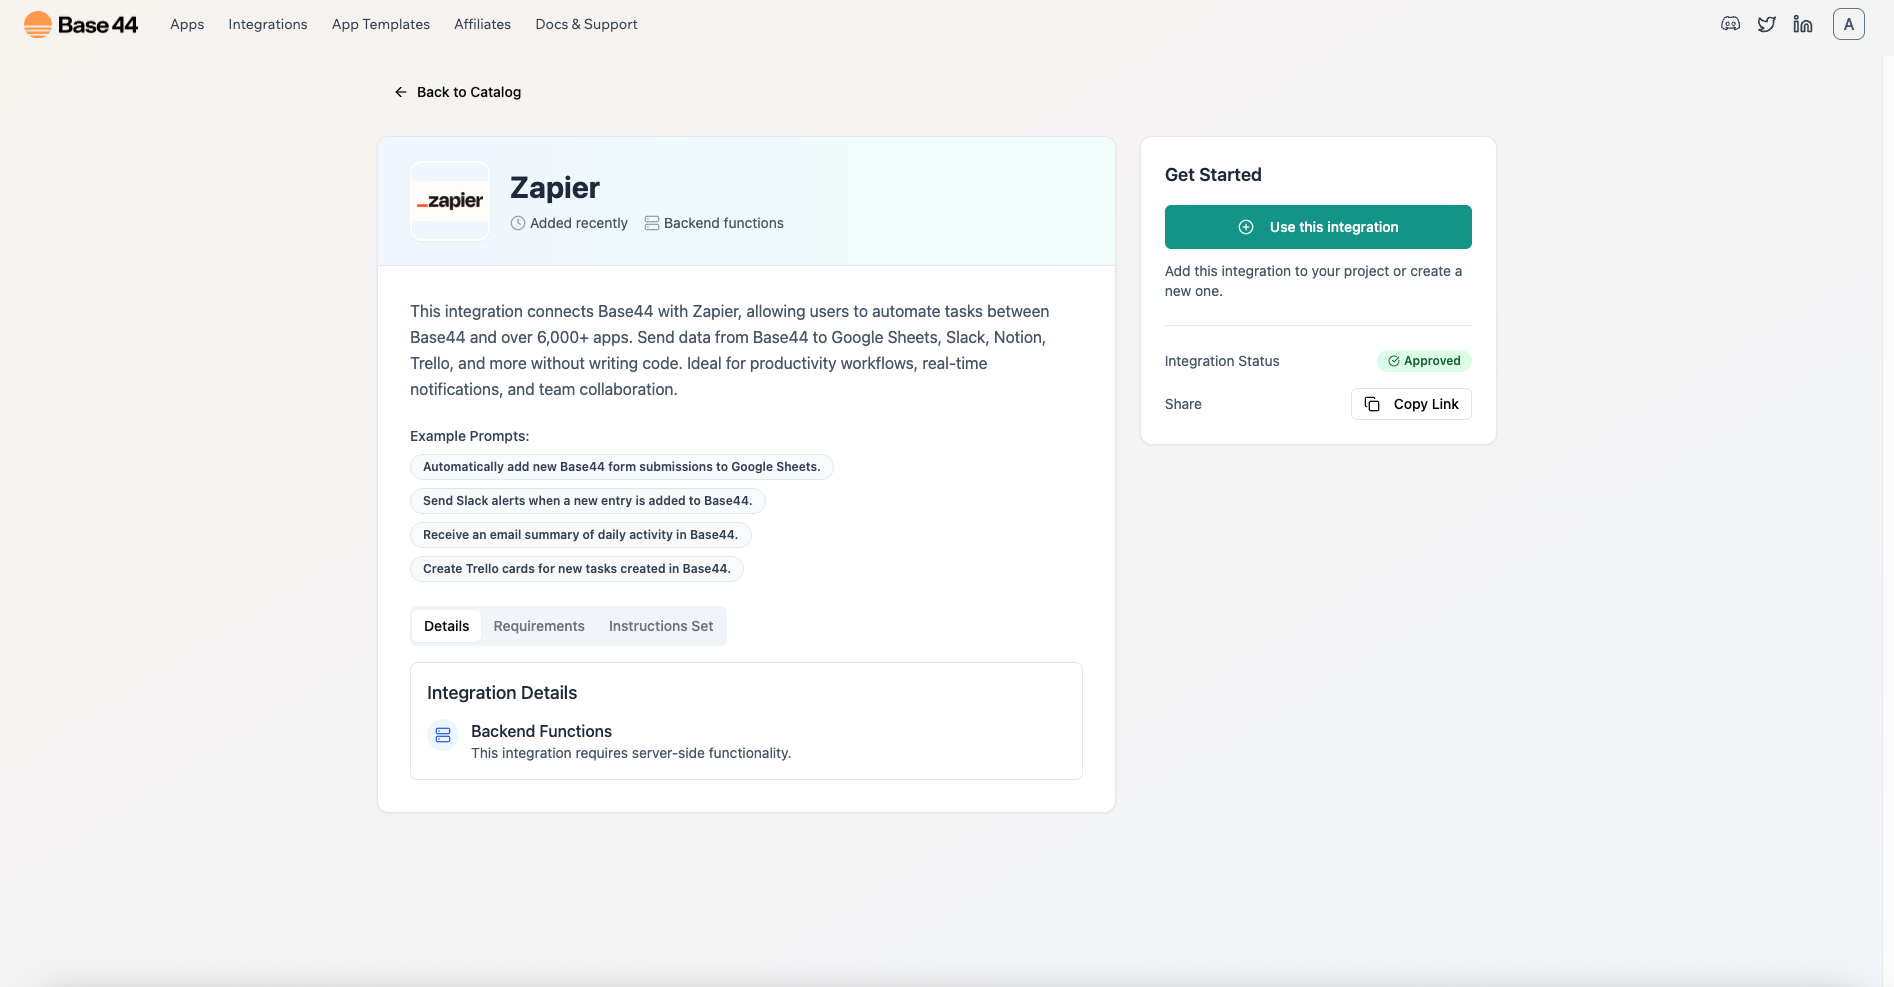
-
When prompted, paste the webhook URL into the ZAPIER_WEBHOOK_URL field.
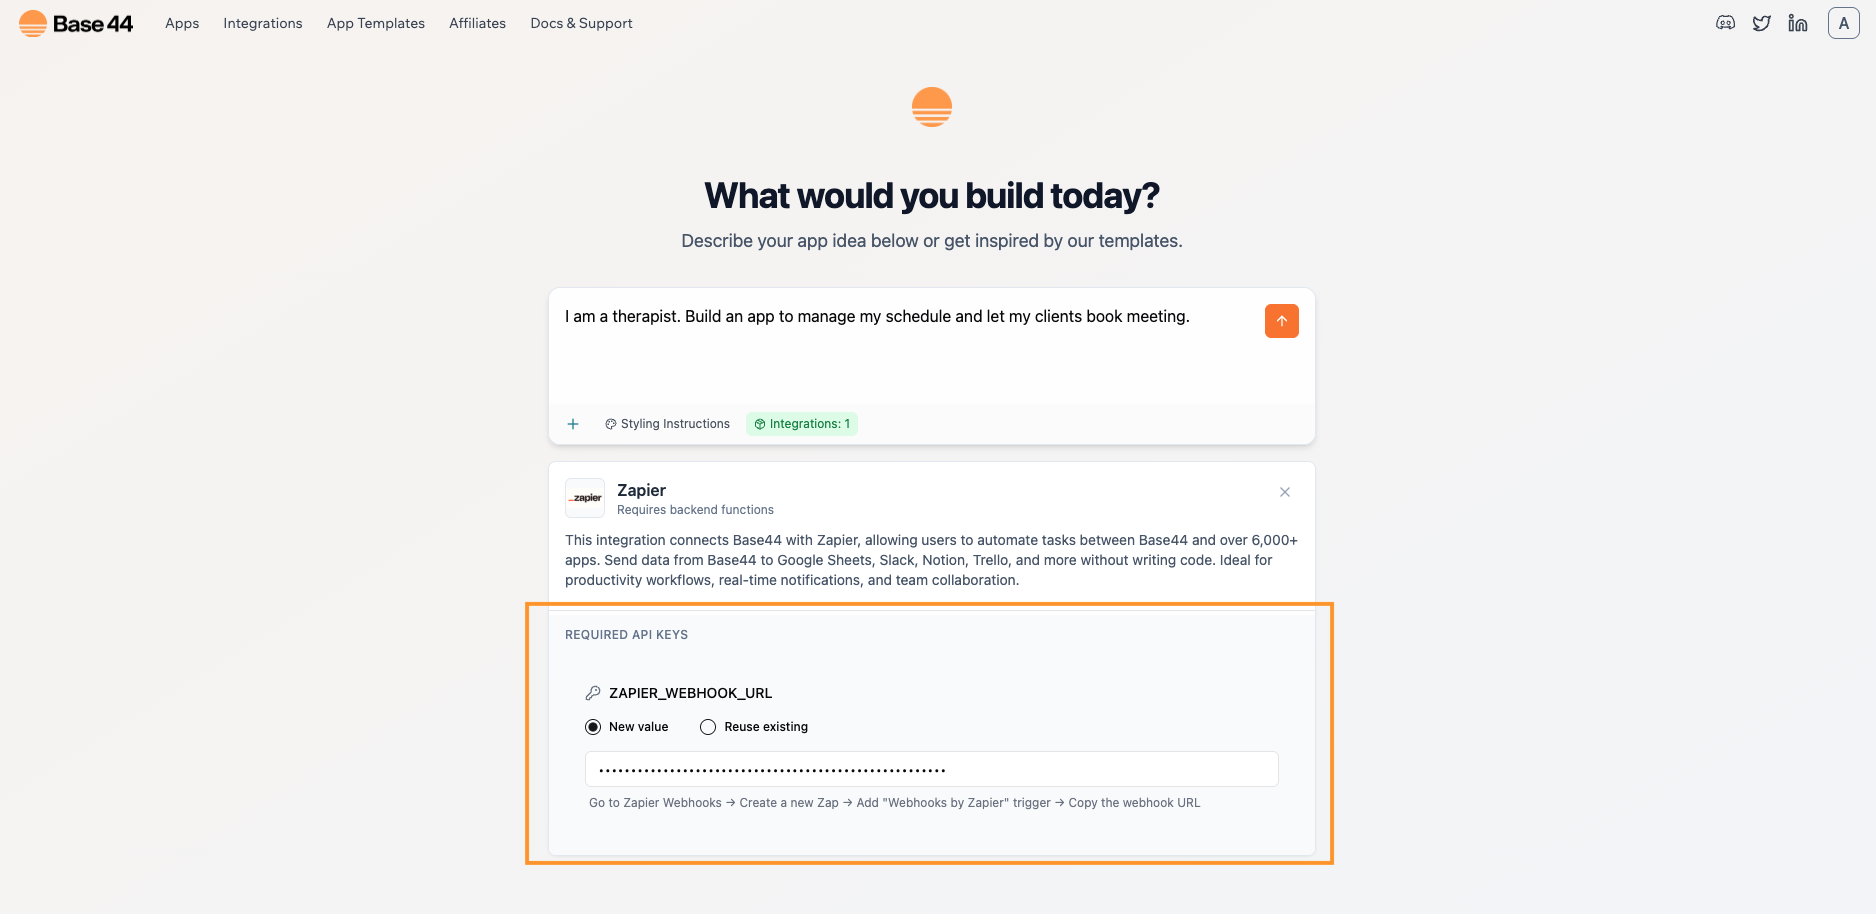
-
Describe your app in natural language. For example:
I am a therapist. Build an app to manage my schedule and let my clients book meeting.
Book one test meeting
- After the app is created, open the app preview and book a test meeting:
- Choose a date and time a few minutes in the future.
- Use your real email.
- Submit once and wait 2 to 5 seconds.
Data to send from Base44 to Zapier
Make sure the payload is detailed so Zap can create the right calendar event. Include and save these in your Meetings collection:- start_iso: an ISO 8601 datetime that combines the chosen date and time.
- end_iso or duration_minutes: either send an explicit end time as ISO, or send duration_minutes so Zapier can compute +30m in the action
- time_zone: your app or user time zone, preferably an IANA name like Asia/Jerusalem; if you cannot provide a name, include the numeric offset
- meeting_id: a stable id to avoid duplicates, for example $client_email|$start_iso
- client_name, client_email, notes
Tell Zapier to fetch the sample
- Back in Zapier, go to the Test tab of your trigger.
- Click Find new records, select the sample request your app sent, and continue.
- If nothing appears, submit another test meeting and click Find new records again.
Create the Google Calendar event
- Add an action: Google Calendar → Create Detailed Event.
- Map the fields from your sample to the event fields:
- Summary:
Meeting with client_name - Description:
notes - Start Date & Time:
start_iso - End Date & Time:
start_iso + 30m(or compute using duration_minutes) - Guests:
client_email - Time Zone: choose your calendar’s zone
- Summary:
- Click Test to ensure the event appears and that an invite is sent.
Part 2: Instant integration (add Zapier to an existing app)
Use this method if your app already exists and you want to connect Zapier mid‑build.Select your existing app
-
Here’s the prompt that we typed out in the AI chat to build our sample app: :
I am a therapist. Build an app to manage my schedule and let my clients book meeting.
Ask Base44 to add Zapier
-
In the chat window of your app, say something like:
I want to connect my app to Zapier. Please make an integration that sends booking data to Zapier from the backend only. Never call Zapier from the browser. - Keep the chat open while you complete the next step.
Create the webhook URL in Zapier
-
In Zapier, create a new Zap with Webhooks by Zapier → Catch Hook and copy the webhook URL (just like in Part 1).
- Paste this URL into the Base44 chat when prompted. The integration will save it securely and wire up a backend route to post booking data to Zapier.
Create one sample meeting
- After the app is created, open the app preview and book a test meeting:
- Choose a date and time a few minutes in the future.
- Use your real email.
- Submit once and wait 2 to 5 seconds.
Data to send from Base44 to Zapier
Make sure the payload is detailed so Zap can create the right calendar event. Include and save these in your Meetings collection:- start_iso: an ISO 8601 datetime that combines the chosen date and time.
- end_iso or duration_minutes: either send an explicit end time as ISO, or send duration_minutes so Zapier can compute +30m in the action
- time_zone: your app or user time zone, preferably an IANA name like Asia/Jerusalem; if you cannot provide a name, include the numeric offset
- meeting_id: a stable id to avoid duplicates, for example $client_email|$start_iso
- client_name, client_email, notes
Tell Zapier to fetch the sample
- In your Zap trigger, go to the Test tab and click Find new records.
- Select the latest request and continue. If nothing appears, submit another test, then click Find new records again.
Create the Google Calendar event
- Add an action: Google Calendar → Create Detailed Event.
- Map the fields from your sample to the event fields:
- Summary:
Meeting with client_name - Description:
notes - Start Date & Time:
start_iso - End Date & Time:
start_iso + 30m(or compute using duration_minutes) - Guests:
client_email - Time Zone: choose your calendar’s zone
- Summary:
- Click Test to ensure the event appears and that an invite is sent.
Troubleshooting
- No sample in Zapier: Make sure you’ve booked one test meeting before testing.
- 401 or CORS errors: Only post to Zapier from the backend; never call Zapier from the browser.
- Wrong times: Ensure you combine the date and time into a proper ISO datetime (start_iso) and set the correct time zone when creating the calendar event.
- Zap not running: Confirm that you clicked Publish to turn the Zap on.
Quick checklist
Use this list to make sure you haven’t missed anything:- Catch Hook created with Pick off a Child Key left blank
- Webhook URL saved as ZAPIER_WEBHOOK_URL in Base44
- Builder tier or higher
- One sample meeting booked before testing
- Google Calendar action mapped and tested
- Zap published and turned on