

The Workspace Hub is available on the Enterprise plan.
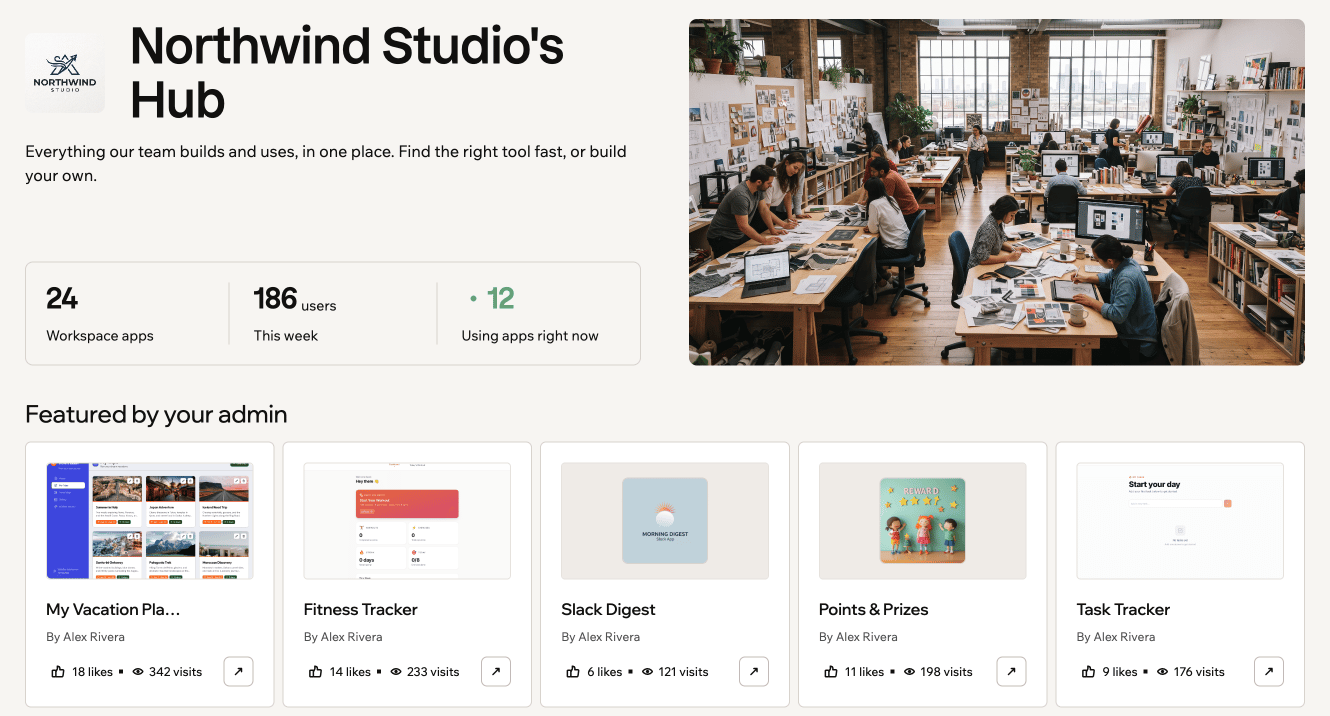
A workspace hub with featured apps
Opening the hub
You can open the hub from anywhere in your workspace. To open the Workspace Hub:- Make sure you’re in the right workspace. Click your workspace name at the bottom left of your account to switch.
- In the left sidebar, click Workspace hub.
What’s in the hub
The hub brings your workspace’s apps together in one page:- Cover and description: A banner image and a short description that tell everyone what the hub is for.
- Stats: How many apps the workspace has, how many people used an app this week, and how many are using apps right now.
- Featured by your admin: The top section of the hub. It shows the apps your admins picked, or the most popular apps if nobody has picked any.
- Custom sections: Groups of apps your admins created, for example by team or workflow.
- Browse everything in your workspace: Every app in the workspace, with a search bar and filters for All, Your recently used, Most popular, and New this week.
The Browse everything in your workspace area and the hub’s stats include published apps that are visible to the whole workspace. To add an app, set its visibility to Workspace. Learn more about setting your app visibility.
Setting up the hub
Workspace owners and admins can customize the hub. Until it’s fully set up, admins see a Finish setting up your hub card at the top with 4 steps: adding a cover image, writing a description, choosing featured apps, and creating a section. Only admins see this card.Adding a cover image
A cover image gives your hub a visual identity. It appears at the top of the hub for everyone. To add a cover image:- Click Workspace hub in the left sidebar of your workspace.
- Click Edit hub.
- Click Add cover photo and choose an image.
- Drag the image to position it, and use the zoom slider to resize it.
- Click Save changes.
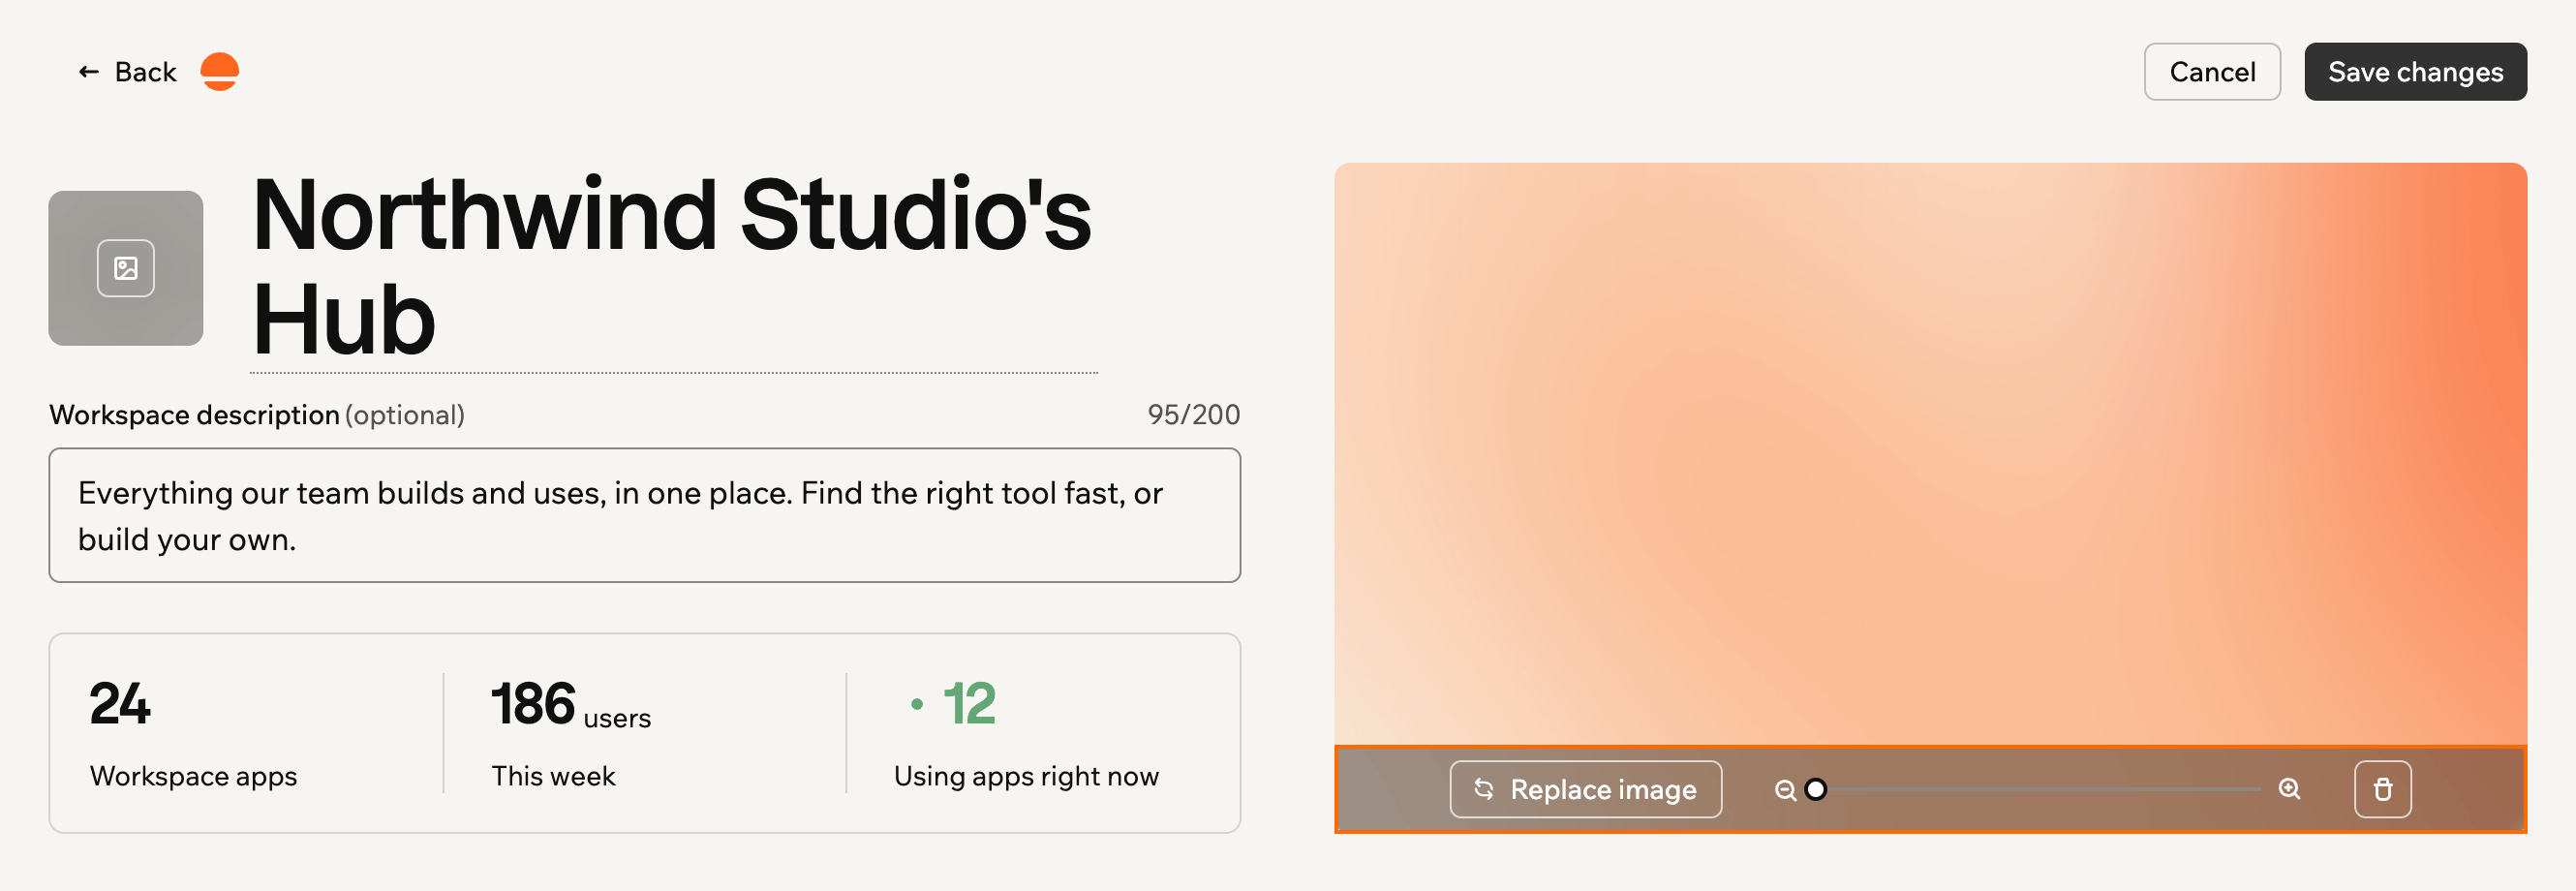
Editing the hub cover
Writing a description
A short description tells people what the hub is for. To write a description:- Click Workspace hub in the left sidebar of your workspace.
- Click Edit hub.
- In Workspace description (optional), enter up to 200 characters.
- Click Save changes.
Choosing featured apps
Featured is always the top section of your hub. It shows the most popular apps by default, but you can choose the ones you want. To choose featured apps:- Click Workspace hub in the left sidebar of your workspace.
- Click Edit hub.
- In the Featured section, click Add apps.
- In Add apps to this section, select the apps you want to feature. Use the search bar or the sort menu to find them.
- Click Save.
- Click Save changes.
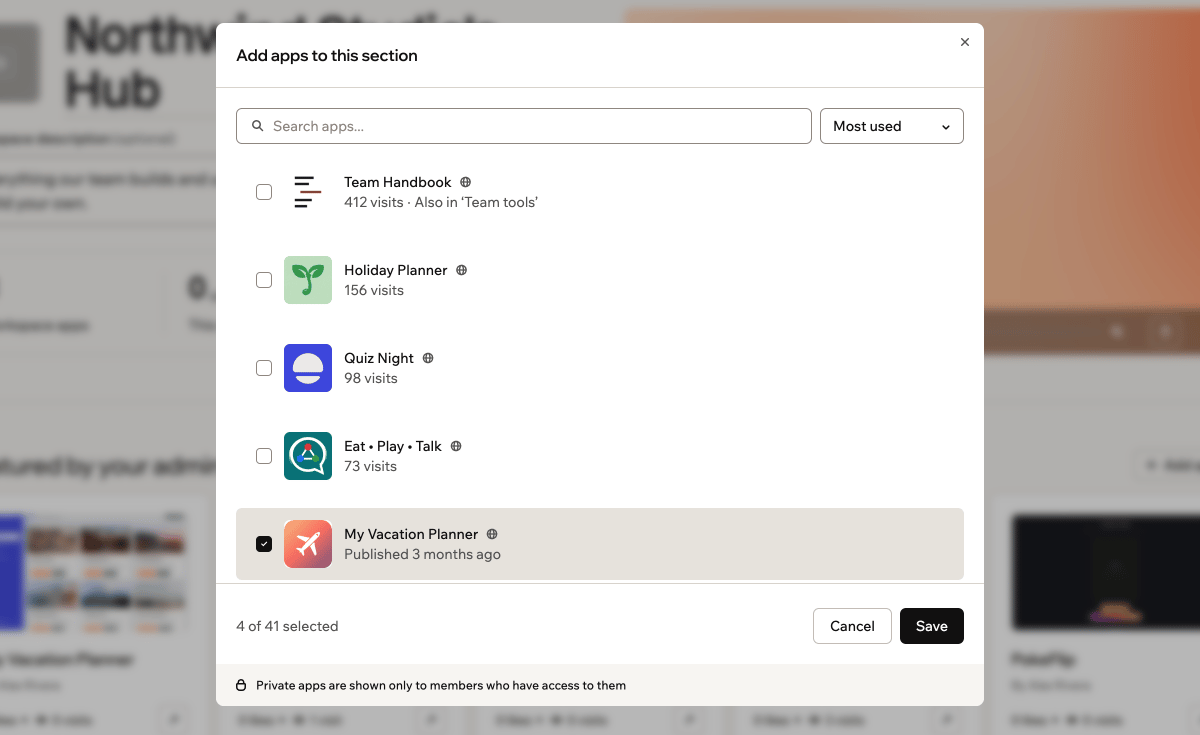
Choosing apps for the Featured section
Adding sections
Sections group apps by team, workflow, or any other category, so people can find what they need.How sections work:
- Members don’t see a section until it has at least one app.
- Private apps in a section are shown only to members who have access to them.
- To reorder or delete a section, click the Section actions icon next to it and select Move up, Move down, or Remove section.
- Click Workspace hub in the left sidebar of your workspace.
- Click Edit hub.
- Click Add section.
- Click Name this section and enter a name.
- Click Add apps, select the apps for this section, and click Save.
- Click Save changes.
Adding a logo
Add your organization’s logo and rename the hub so it feels like your own. To add a logo or rename the hub:- Click Workspace hub in the left sidebar of your workspace.
- Click Edit hub.
- Do one of the following:
- Click Add workspace logo to upload a PNG, JPEG, WEBP, or GIF image.
- Click Rename hub, enter a new name, and click Save name.
- Click Save changes.