

What you can do
Bring your Calendly schedule into your app.Show availability
Show open booking slots for an event type, or when someone is busy.
List event types
Show your Calendly event types in your app, and whether each one is active.
Track bookings
Show upcoming meetings in a dashboard, or keep your app’s records in step with your bookings.
Run workflows
Start a workflow when someone books, cancels, or is marked as a no-show.
Connecting Calendly
Choose how people connect: one shared account for your whole app, or each person’s own account.- App user connector
Connect one Calendly account. Every app that uses this connection works with that account’s event types, availability, and bookings, for everyone who uses the app.To add a shared Calendly connector:
- Click Connectors in your workspace sidebar.
-
Search for Calendly, then click Connect.
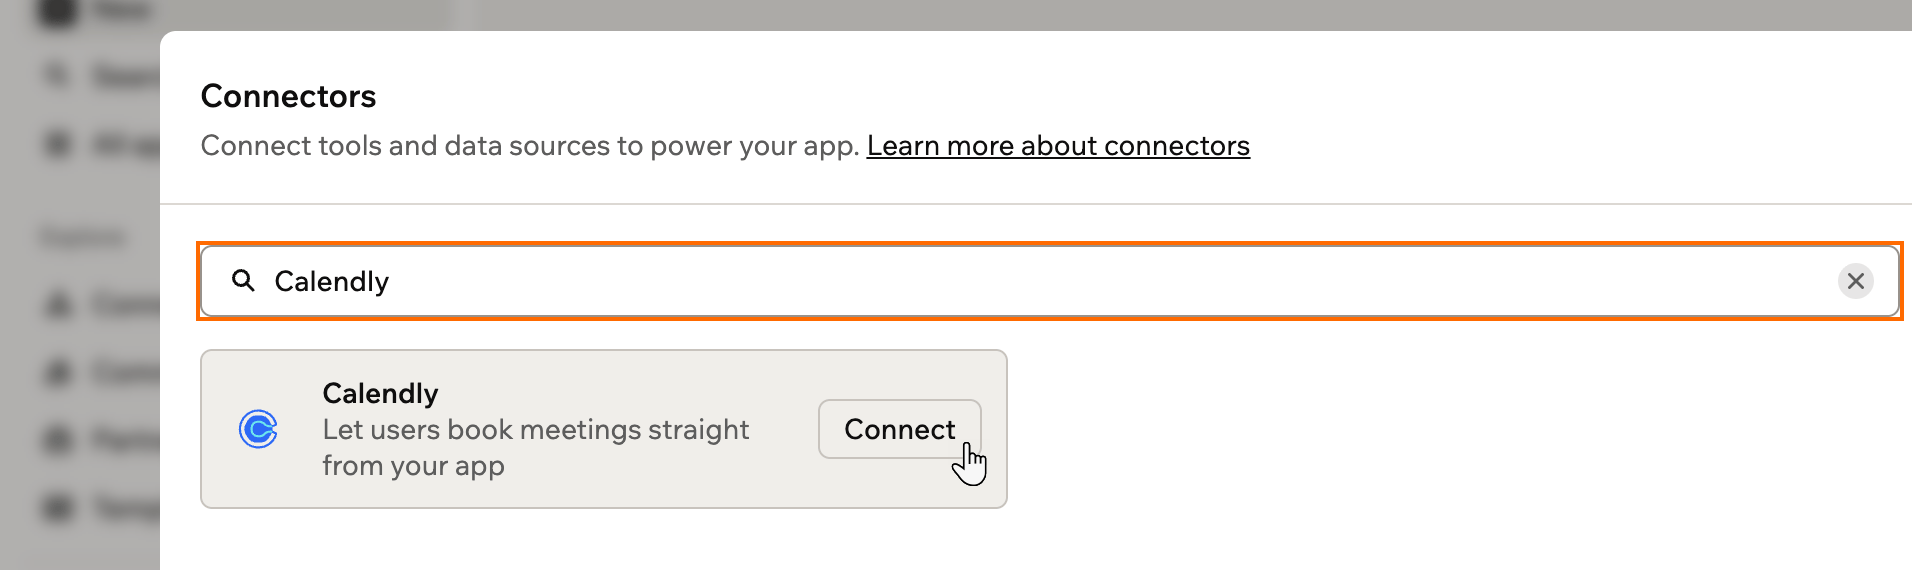
Finding Calendly in the Connectors picker
- Select Shared connector, then click Next.
- Enter a Connection name.
-
Choose where the connection can be used under Who can access:
- Apps and Super agent: Your apps and your Superagent can both use it. This is the default.
- Apps only: Only your apps can use it.
- Super agent only: Only your Superagent can use it.
-
Choose what your app can do under Permissions:
- Read-only: Your app can view your Calendly data. This is the default.
- Read & write: Your app can also run workflows when bookings change.
- Custom: Choose exactly which permissions the connection gets. To run workflows, include webhooks:write.
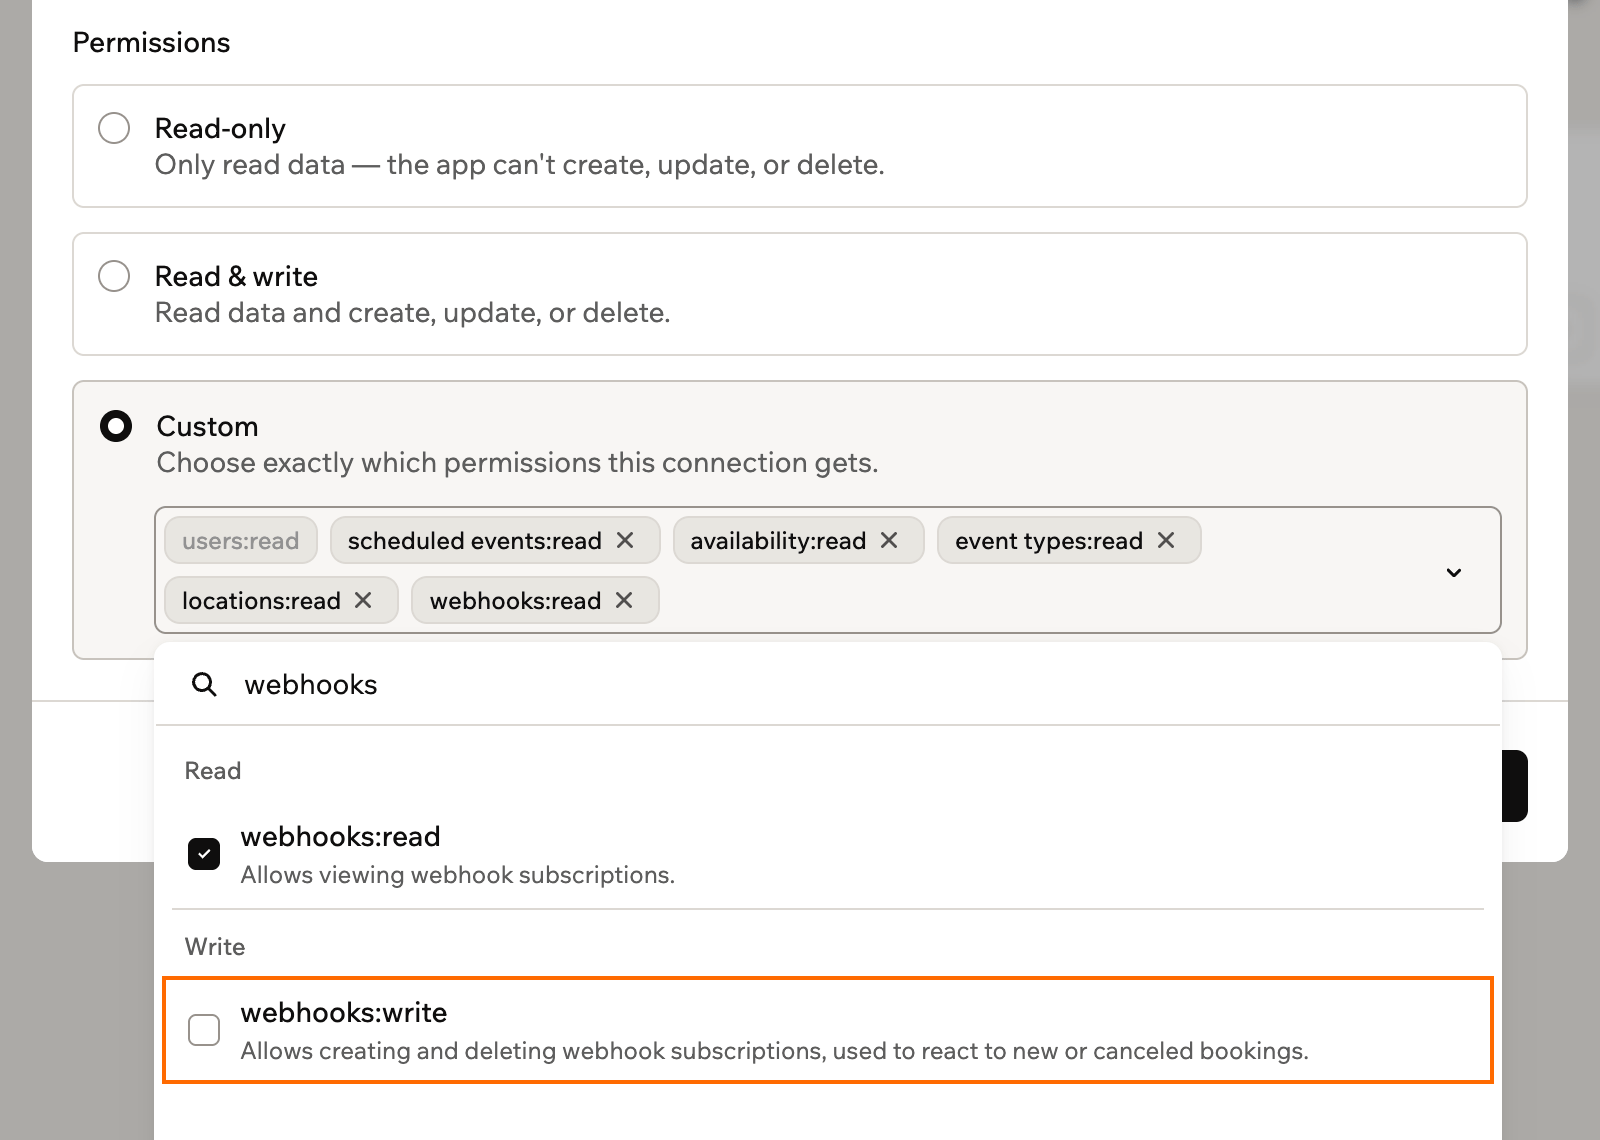
Choosing custom permissions for a shared Calendly connector
- Click Add connector.
- Sign in to Calendly and allow access.
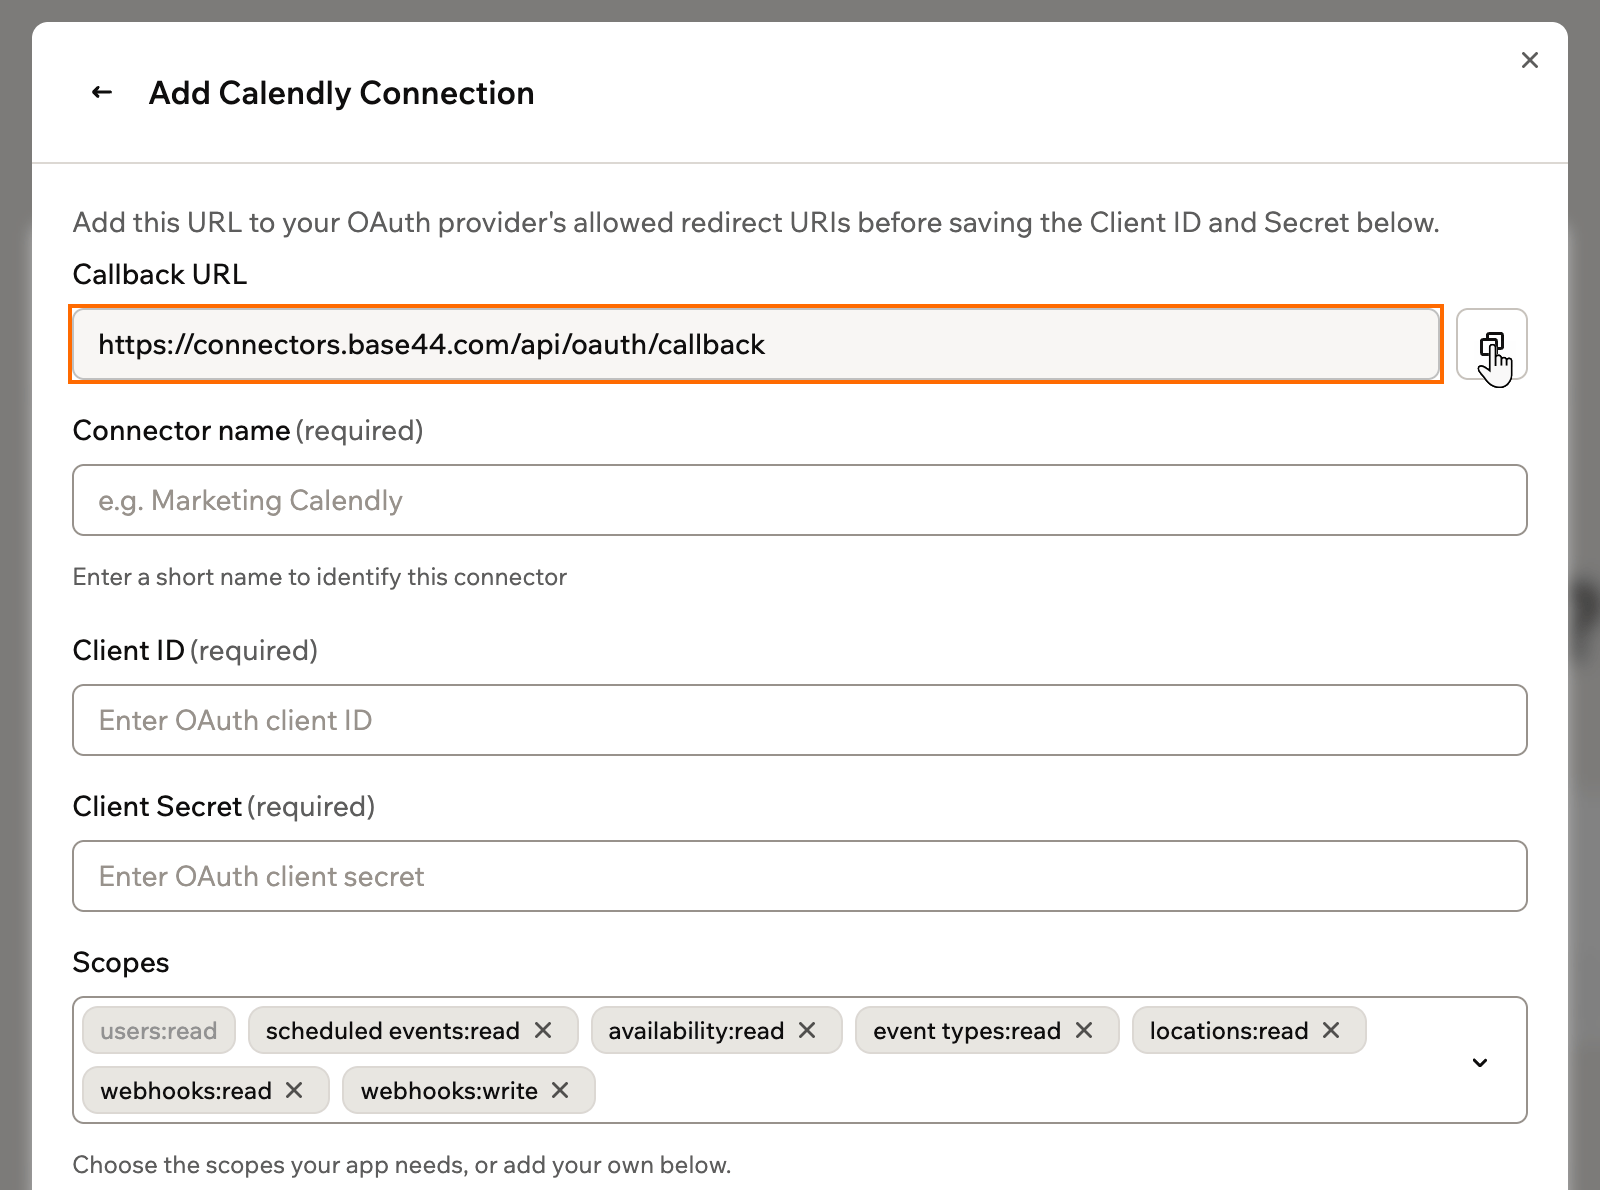
Scopes and permissions
Scopes control what your app can do in Calendly. You choose them when you set up a connector.1
Base44 adds
This is always included, so it shows as a locked scope under Custom for a shared connector or under Scopes for an app user connector.
users:read: Identify the Calendly account that connects
2
You configure
For a shared connector, choose a preset under Permissions. Read-only gives your app
scheduled_events:read, availability:read, event_types:read, locations:read and webhooks:read. Read & write also gives it webhooks:write, which your app needs to run workflows when bookings change. Choose Custom to pick scopes yourself.For an app user connector, every Calendly scope is preselected under Scopes. Remove any your app doesn’t need, and make sure your Calendly OAuth app allows the same scopes:scheduled_events:read: View scheduled events, the meetings people bookedavailability:read: View availabilityevent_types:read: View event typeslocations:read: View event locationswebhooks:read: View webhook subscriptionswebhooks:write: Create and delete webhook subscriptions, so workflows can run when bookings change
Access: Your app works with the Calendly account that authorizes the connection: its event types, availability, and scheduled events.
Running workflows
Run a connector workflow when something happens to a booking in the connected Calendly account. A workflow can start when:- Someone books: An invitee books a meeting.
- A booking is canceled: The invitee or host cancels.
- Someone is marked as a no-show: The host marks an invitee as a no-show, or removes the mark.
webhooks:write permission to run workflows. Choose Read & write when you add a shared connector, or keep webhooks:write selected for an app user connector. If it’s missing, the AI chat asks you to allow it while it builds the workflow.
The workflow runs for every event type in the account. To run it for one event type only, ask the AI chat to add a condition.
Describe the trigger and what should happen in the AI chat. For example:
When someone reschedules, Calendly cancels the old booking and creates a new one, so a workflow can run for both. Ask the AI chat to skip cancellations that are part of a reschedule if you only want real cancellations.
Using backend functions
Once Calendly is connected, your backend functions can retrieve an access token and call the Calendly API directly. Base44 handles sign-in for you.- For a shared connection, use
getConnection()to retrieve the token. - For an app user connection, use
getCurrentAppUserConnection()so each request uses the signed-in person’s token.
api.calendly.com and pass the token in the Authorization header. Most requests need the signed-in person’s user URI, which you get from /users/me:
Shared connectors
Configure, deploy, and call a shared connection from a backend function.
App user connectors
Retrieve a per-user token and call the API as the signed-in person.
Troubleshooting
Check the connection and its permissions if Calendly stops working in your app.The connection needs to be reconnected
The connection needs to be reconnected
If your app loses access to Calendly or its sign-in expires, the connection shows a Reconnect this connection section.
- Shared connector: Reconnect it and sign in with the same Calendly account. Every app that uses it works again.
- App user connector: Each person reconnects their own Calendly account from inside your app.
A workflow doesn't start when someone books
A workflow doesn't start when someone books
Check that the connection has the webhooks:write permission. If it doesn’t, allow it when the AI chat asks, or reconnect with Read & write selected.If the AI chat says your Calendly account can’t use webhooks, check what your Calendly plan includes in Calendly’s webhooks overview.