

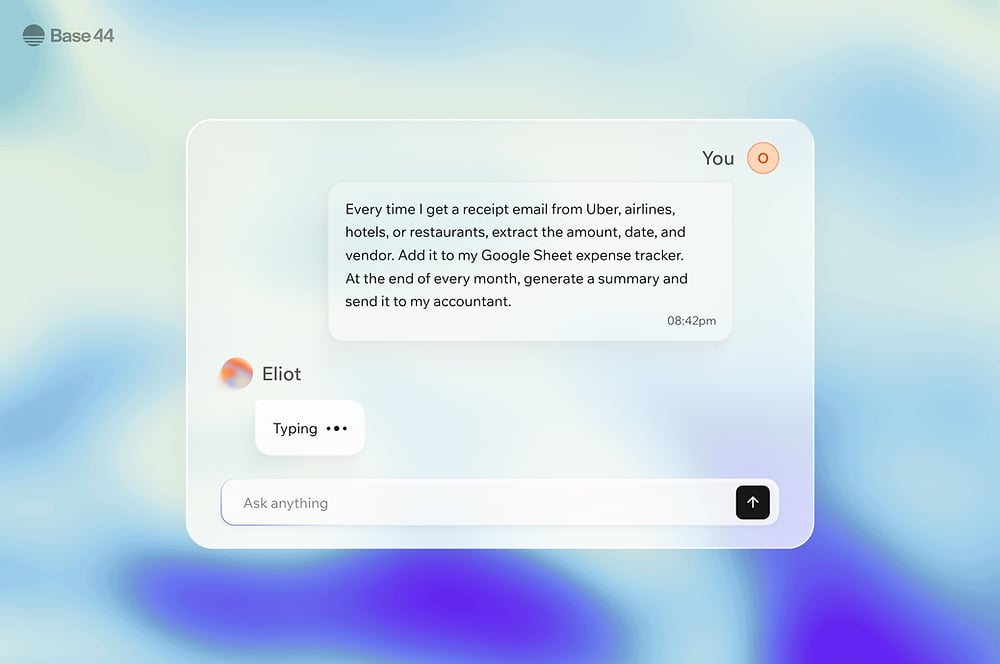
Create your own Superagent
Step 1 | Start a conversation
Your Superagent works through conversation. Start one from scratch, or from a task Base44 suggests.Create your Superagent
Describe what you want your Superagent to do, then keep chatting to refine results, ask follow-up questions, or trigger actions. You can reply to messages from your Superagent, and copy its response. You can upload files, paste images, and attach videos and GIFs in chat. To create your Superagent:- Log in to Base44.
- Click Agent at the top of the sidebar.
- If this is your first Superagent, choose the type of assistant you want to create, or click Skip without choosing. You can then connect your Google or Microsoft account, review the routines your Superagent suggests, and skip any step you want to set up later.
- Describe what you want your Superagent to do.
Use chat shortcuts
Use chat shortcuts to choose the skill, connector, app, or note you want your Superagent to work with. Type/ at the start of a message to browse the options, or keep typing to search.
To use a shortcut:
- Open your Superagent.
- Type
/at the start of your message and select an option:- Goal: Start a longer-term task as a goal. You can also type
/goalfollowed by a space to switch to goal mode without opening the menu. - Skills: Choose from a selection of activated skills, or select Manage skills at the bottom to browse the catalog.
- Connectors: Choose a tool such as Gmail or Google Calendar, or select Manage connectors at the bottom to browse all connectors.
- Apps: Choose a Base44 app to work with. This option appears when your workspace has apps.
- Notes: Choose a note to use as context for your request. You can attach up to 5 notes per message. This option is not available in the Base44 mobile app.
- Goal: Start a longer-term task as a goal. You can also type
- Add your instructions. If you chose a skill or connector, edit or replace the starting message.
- Send your message.
View and save artifacts
When your Superagent creates a chart or other visual as an artifact, it appears directly in your chat. Hover over the artifact and open its three-dot menu. Choose Download to computer to keep a copy on your device, or Save in files to add it to theartifacts folder in Files. After saving, you can use View file in the confirmation to open the saved artifact.
Start from an app suggestion
Base44 can suggest a first task for your agent, based on one of your own apps. Suggestions are drawn from that app’s own data and activity, so they differ from app to app. Your agent asks you first before it sends anything or publishes. It also asks before writing to your live data unless you, the owner, explicitly ask it in chat to create, update, or delete specific records. It makes those requested record changes in the same turn without a second approval prompt. To start from a suggestion:- Log in to Base44.
- On the home page, find Or create an agent to handle your routine work.
- Choose an app from the drop-down next to Start with the first task your agent can do for.
- Click a suggestion to hand it to your agent.
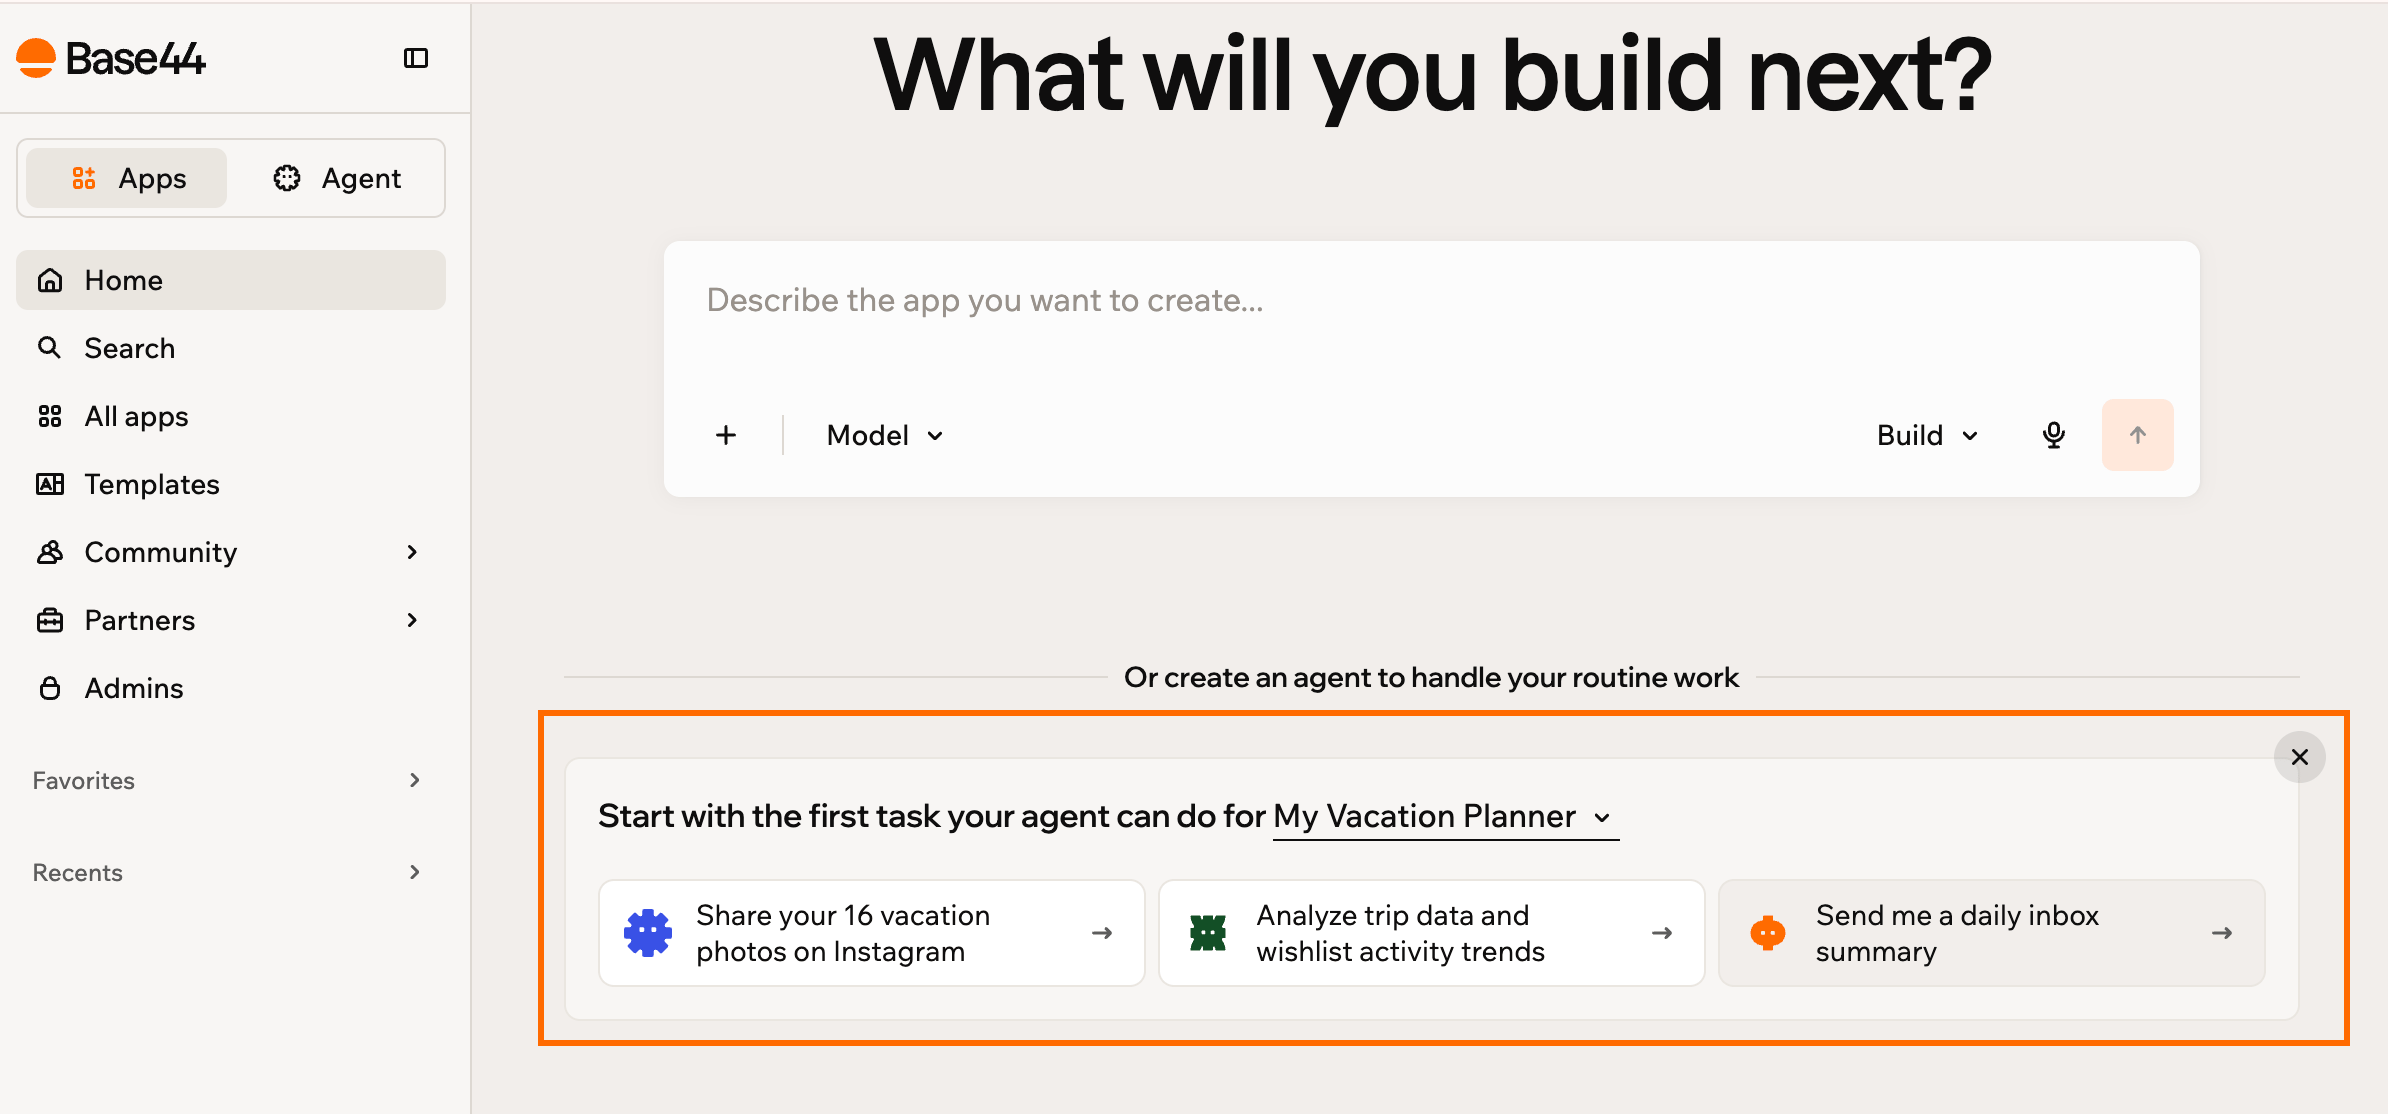
Starting an agent from a suggestion on the home page
Work in separate conversations
Give each piece of work its own conversation so unrelated topics stay apart. Your Superagent keeps each thread separately, so a question about your leads does not pick up context from a report you were writing earlier. Your conversations are listed under Conversations in the sidebar, where you can switch between the Active and Archived filters and see which conversation your agent is working in. Use one conversation for each role or project you take on, such as recruiting, sales, or a client project. Put that role’s context and instructions in the first message, so every reply in the conversation stays focused on it.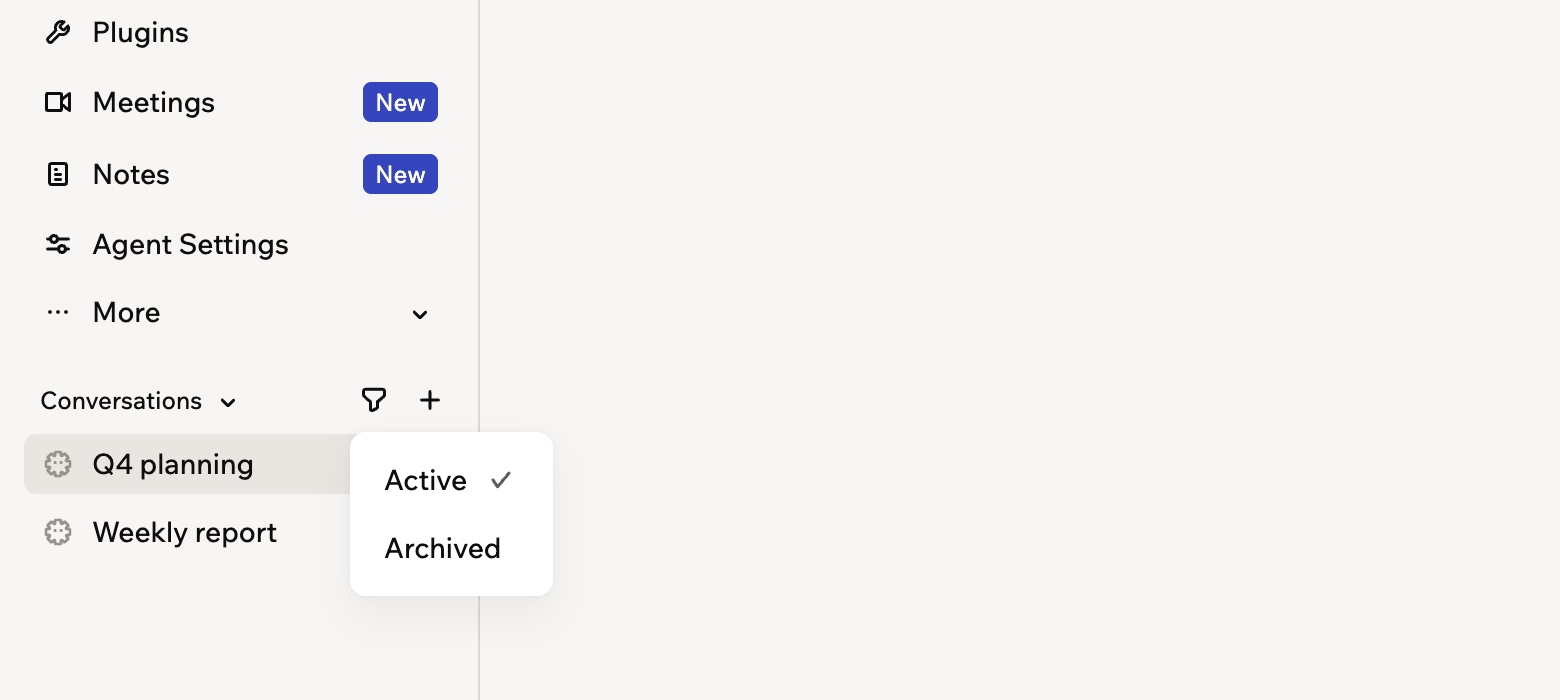
Keeping each piece of work in its own conversation
- Notes, connected tools, and workflows: Available in every conversation.
- Memory: With Shared memory, what your Superagent learns in one conversation is available in all of them. With Separated memory, each conversation keeps its own. To change it, click More in the sidebar, click Memory, then click Change access.
- Standing rules: Tell your Superagent in chat about rules you want it to follow in all your work, and it keeps them for every conversation.
- Rules for one area: Put them at the top of that area’s conversation.
- Open your Superagent.
- Under Conversations in the sidebar, click New conversation.
- Next to the conversation in the sidebar, click the More actions icon .
- Select Rename or Archive. Archiving removes the conversation from the sidebar without stopping a response that is still running, and Unarchive brings it back.
Set a goal
Give your Superagent a goal when a job is too big for a single reply, such as something long-running or something it needs to go and gather information for first. You describe what counts as finished, and it breaks the goal into tasks and works through them. While a goal runs, you can follow it and step in:- Watch it run: A Goal running banner appears while it works, with Pause and Resume, and a Sub-agents list showing what is working on the goal.
- Follow the tasks: The chat shows the sub-agents working on your goal. Hover over or tap Sub-agents on the banner to see each task and its status.
- Check where it stands: A goal reads Active, Blocked, In review, Completed, Failed, Cancelled, or Paused. Each task reads Pending, In progress, Blocked, Done, Failed, Cancelled, or Skipped.
- Find it later: When the goal is done, its results stay in the conversation. Files it creates, like a final document, are also saved in Files (under More), in the conversations folder for that conversation.
- Open your Superagent.
- Type
/goalin the chat, then select Goal. - Describe what finishing looks like, then send it.
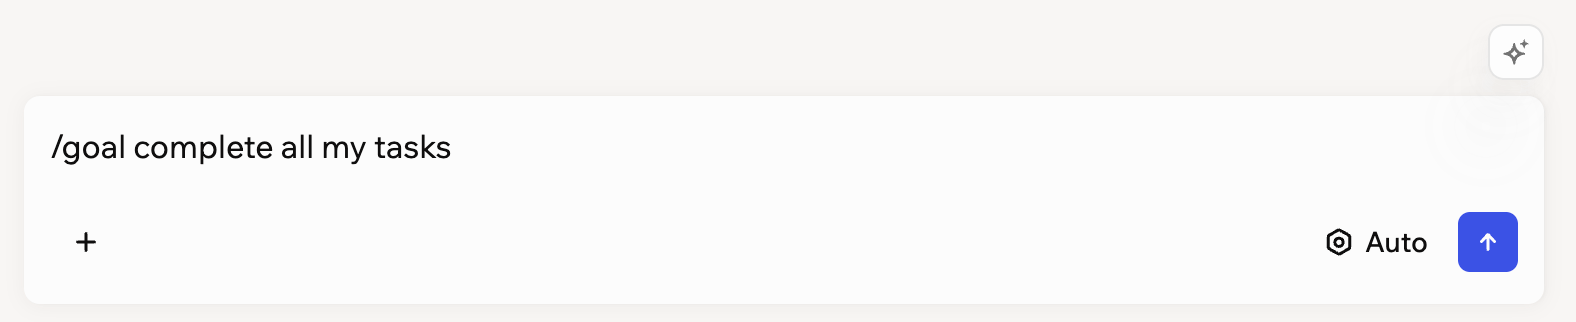
Setting a goal in the Superagent chat
Use voice mode
Use voice mode to talk to your Superagent in real time instead of typing. You can turn your camera on or off, switch between your front and rear camera, and share your screen. Voice sessions pick up context from your last 10 text messages, so your Superagent knows what you have already discussed. Long voice calls reconnect automatically so you can keep talking without restarting the session.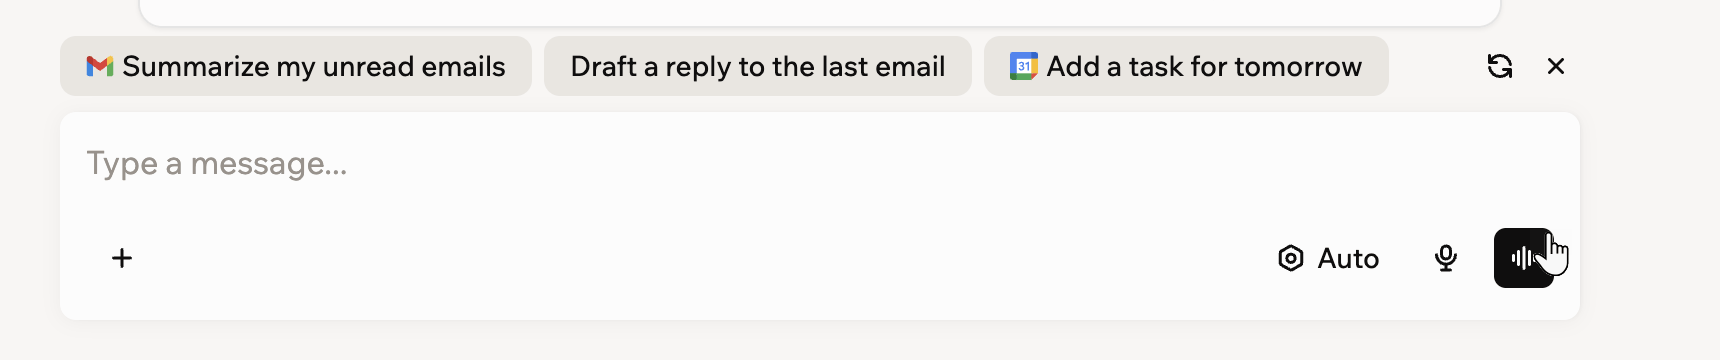
Starting a voice call from the chat input
- Open your Superagent.
- Make sure the chat message box is empty.
- Click the Use voice button in the chat input.
- Chat with your Superagent.
Step 2 | Connect plugins and add skills
Connect tools your Superagent can use, and add skills that extend what it can do. Connectors let your Superagent work with apps like Gmail, Google Drive, Notion, GitHub, and Slack. Skills add reusable instructions your Superagent can use on demand.Connect tools
You can connect tools directly, or describe what you want to do in chat and let your Superagent suggest the right connector. You can also connect your own MCP server: click Add Connector, then click the MCP tab and click Add a MCP server.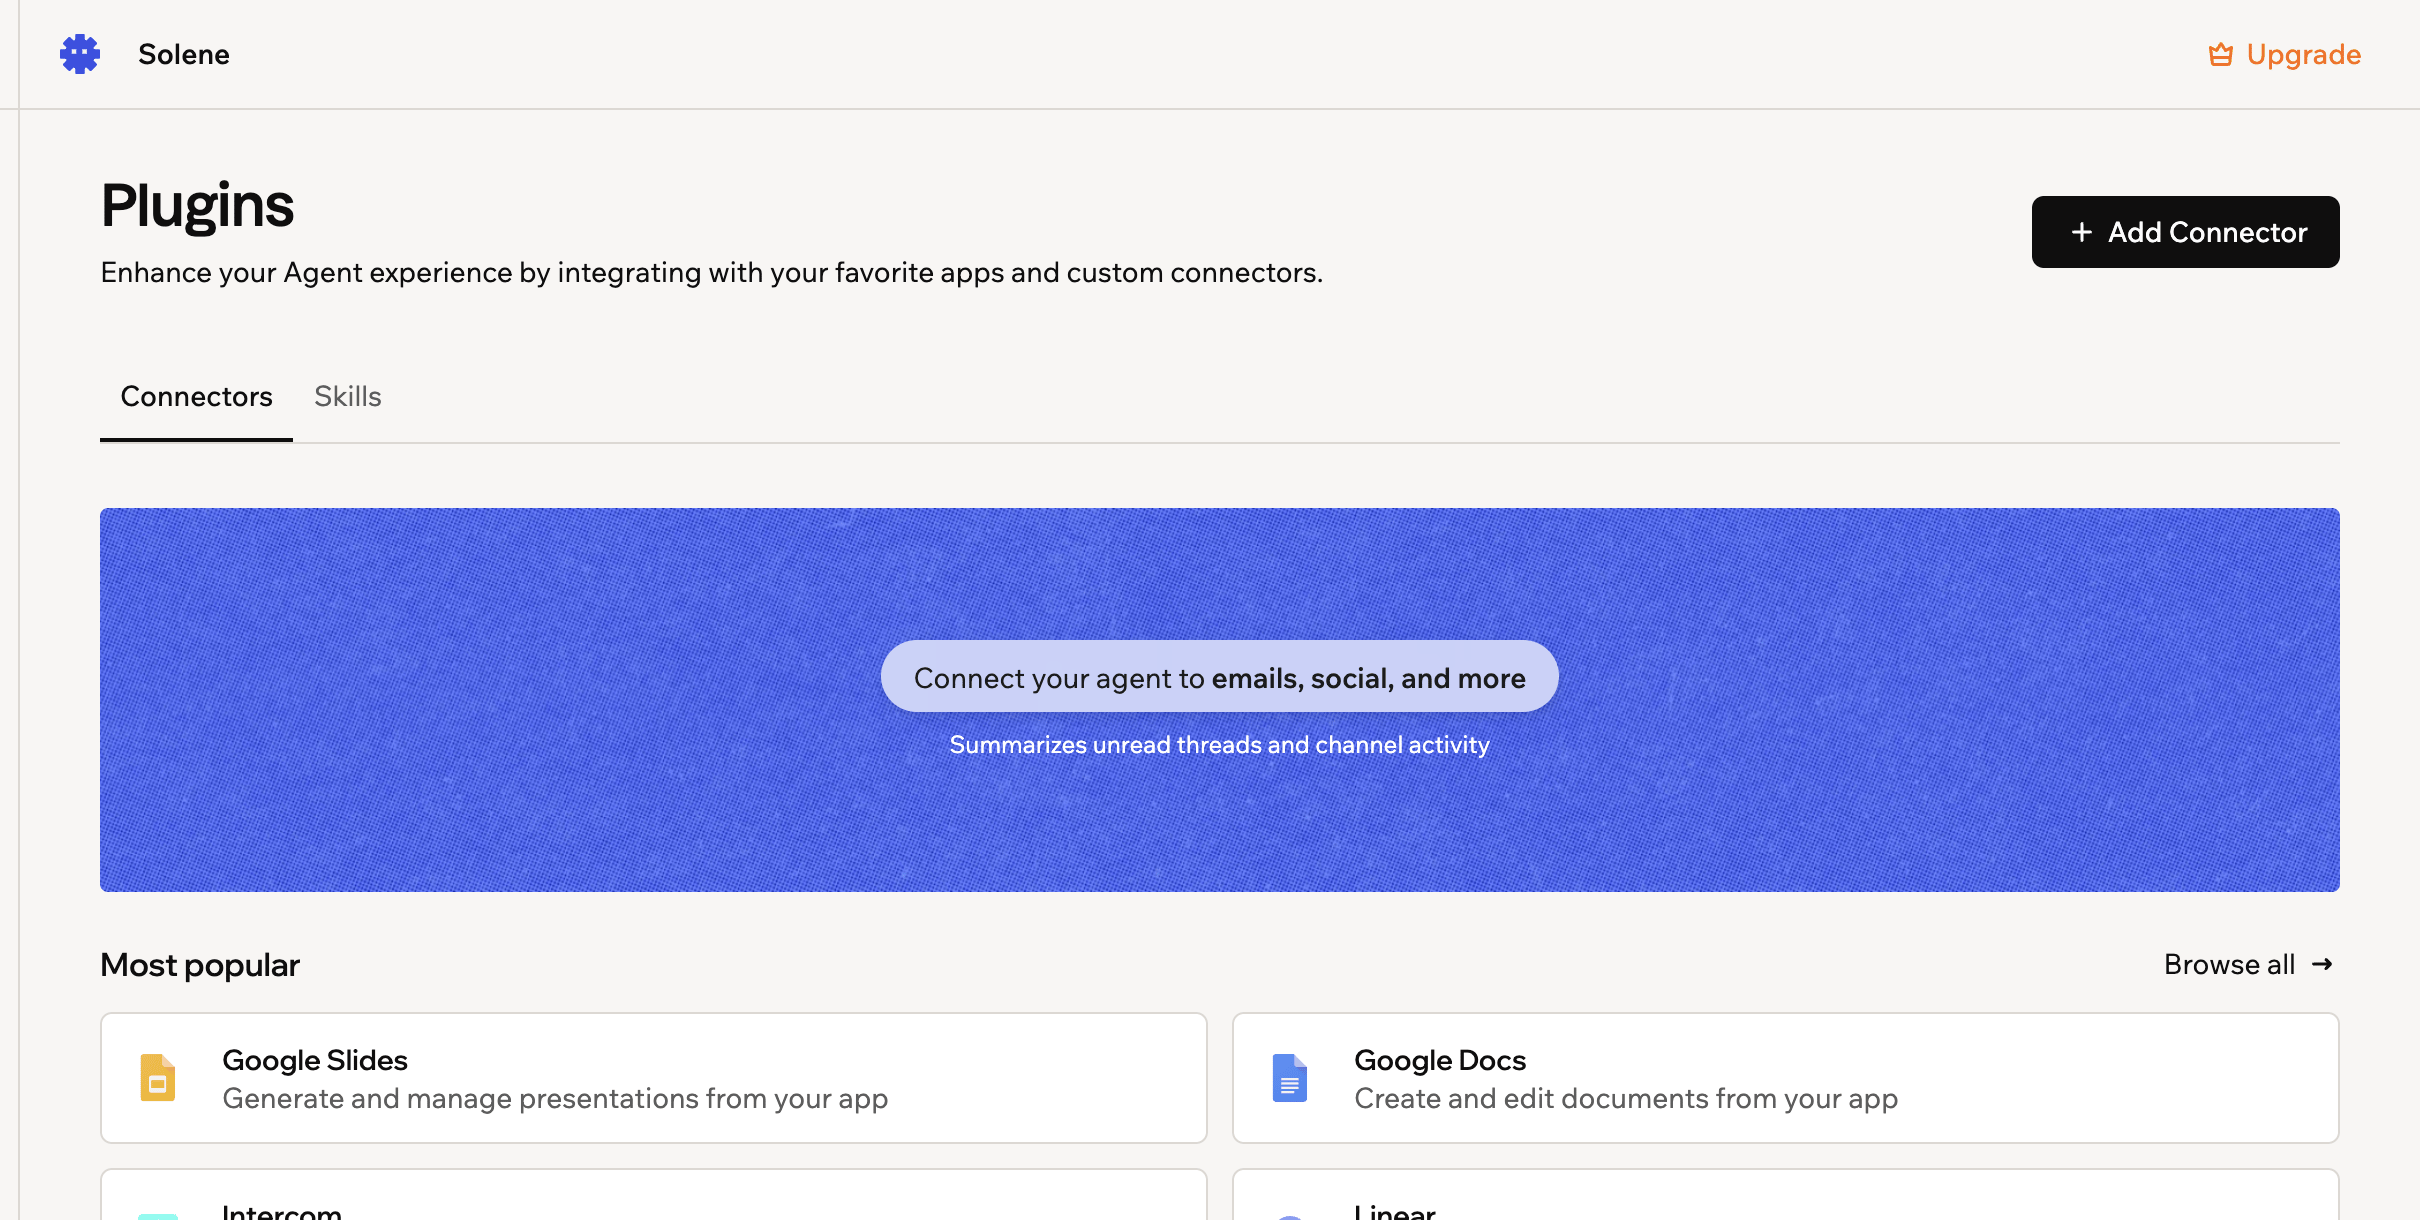
Connecting your Superagent to the tools you already use
- Open your Superagent.
- Click Plugins in the sidebar.
- Browse or search for the connector you want to use.
- Click Connect on the relevant connector.
- Turn on Read only if you want to limit your Superagent to viewing data only.
- Click Connect again to confirm.
- Choose the account you want to connect.
- Review the sign-in details and click Continue.
- Review the requested permissions and click Allow.
Manage connected tools
Manage how a connected tool behaves and what access your Superagent has to it. To manage a connected tool:- Open your Superagent.
- Click Plugins in the sidebar.
- Find the connector under Apps connected.
- Click the More actions icon.
- Choose what you want to do:
- Switch to read-only: Limit access to viewing data.
- Switch to manage: Allow creating or updating data.
- Switch account: Change the connected account.
- Disconnect: Temporarily disable access.
- Remove: Remove the connector.
Add skills
Skills are reusable sets of instructions that help your Superagent complete specific types of work more consistently. Use them to guide your Superagent’s work, help it use connected tools better, and avoid repeating the same instructions in chat. You can activate recommended skills for your Superagent, browse the skills catalog, create your own skill in chat, or upload a skill file.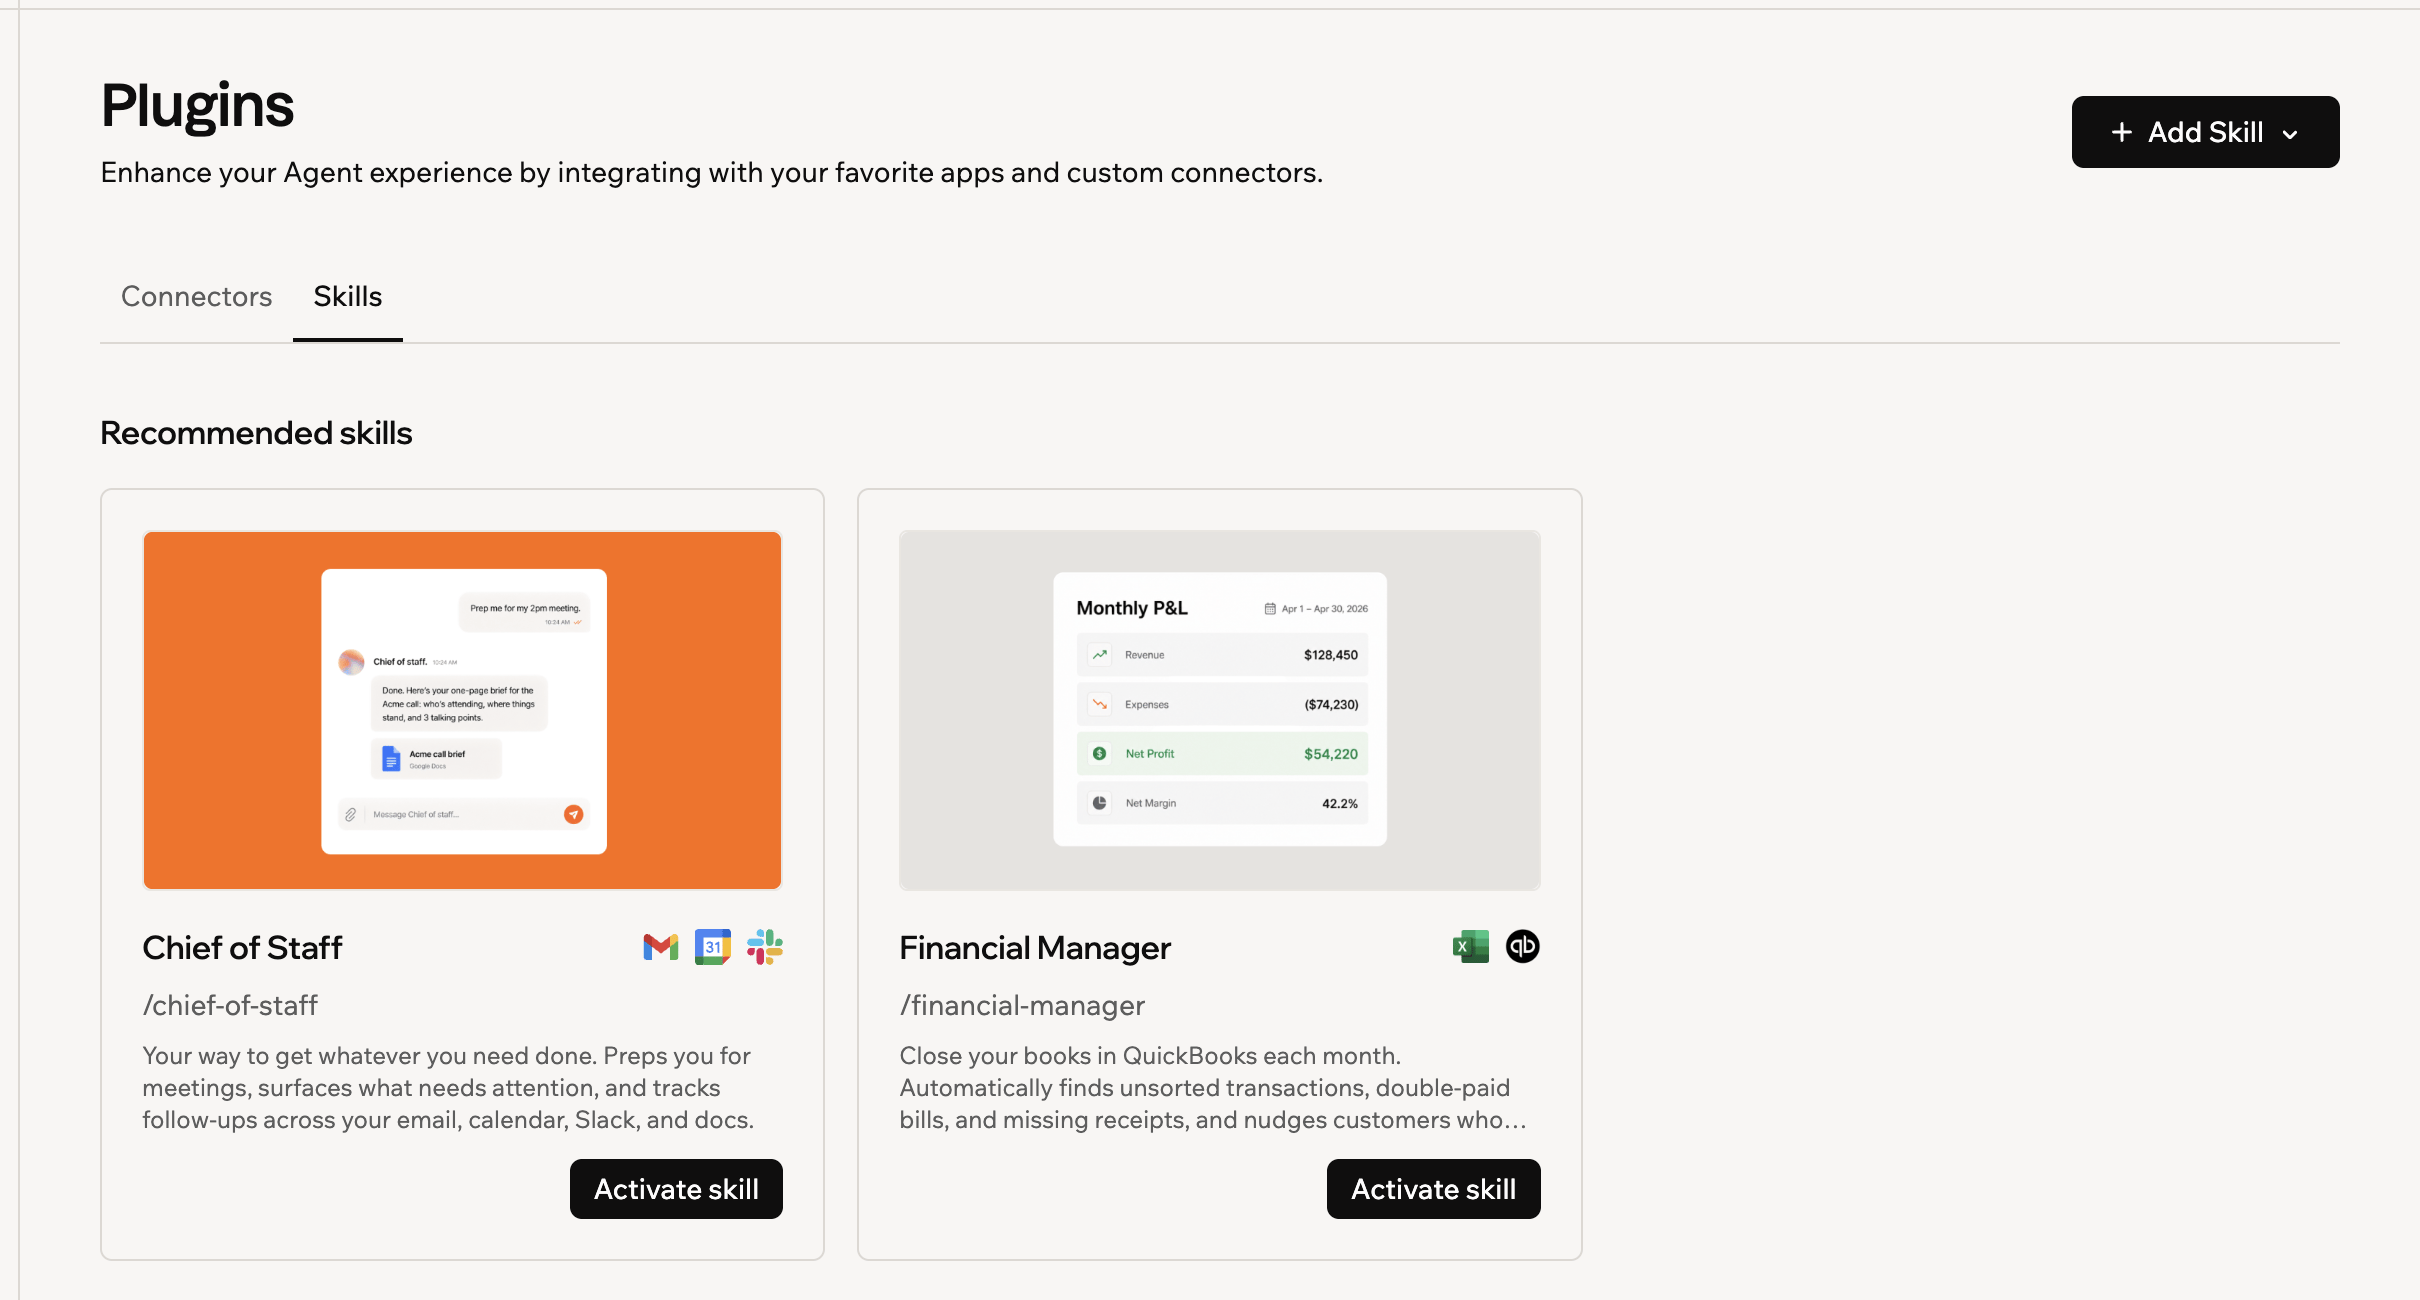
Adding a skill to your Superagent
- Open your Superagent.
- Click Plugins in the sidebar.
- Click the Skills tab.
- Choose how you want to add a skill:
- Recommended skills: Click Activate skill on a recommended skill.
- Skills catalog: Click View all, select a skill, and click Activate skill.
- Create your own skill: Click + Add Skill and select Create skill in chat.
- Upload a skill file: Click + Add Skill and select Upload skill file.
- Open your Superagent.
- Click Plugins in the sidebar.
- Click the Skills tab.
- Click a skill under Activated skills.
- Choose what you want to do:
- Edit the skill: Update the skill instructions and click Save Skill.
- Download the skill: Click Download to save the skill file.
- Remove the skill: Click Delete.
- Removing a skill only affects your Superagent. Superagents that other people in your workspace own are not affected.
- You can add skills from the catalog again at any time.
- Skills you created or uploaded yourself are permanently deleted and cannot be recovered.
Step 3 | Add files and review memory
Add files your Superagent can use as reference, and review the memory it keeps from your conversations.Upload files
Upload documents, spreadsheets, PDFs, and other files your Superagent can read and reference during conversations. You can upload files directly in chat or from Files. You can upload files of up to 200 MB each to Files.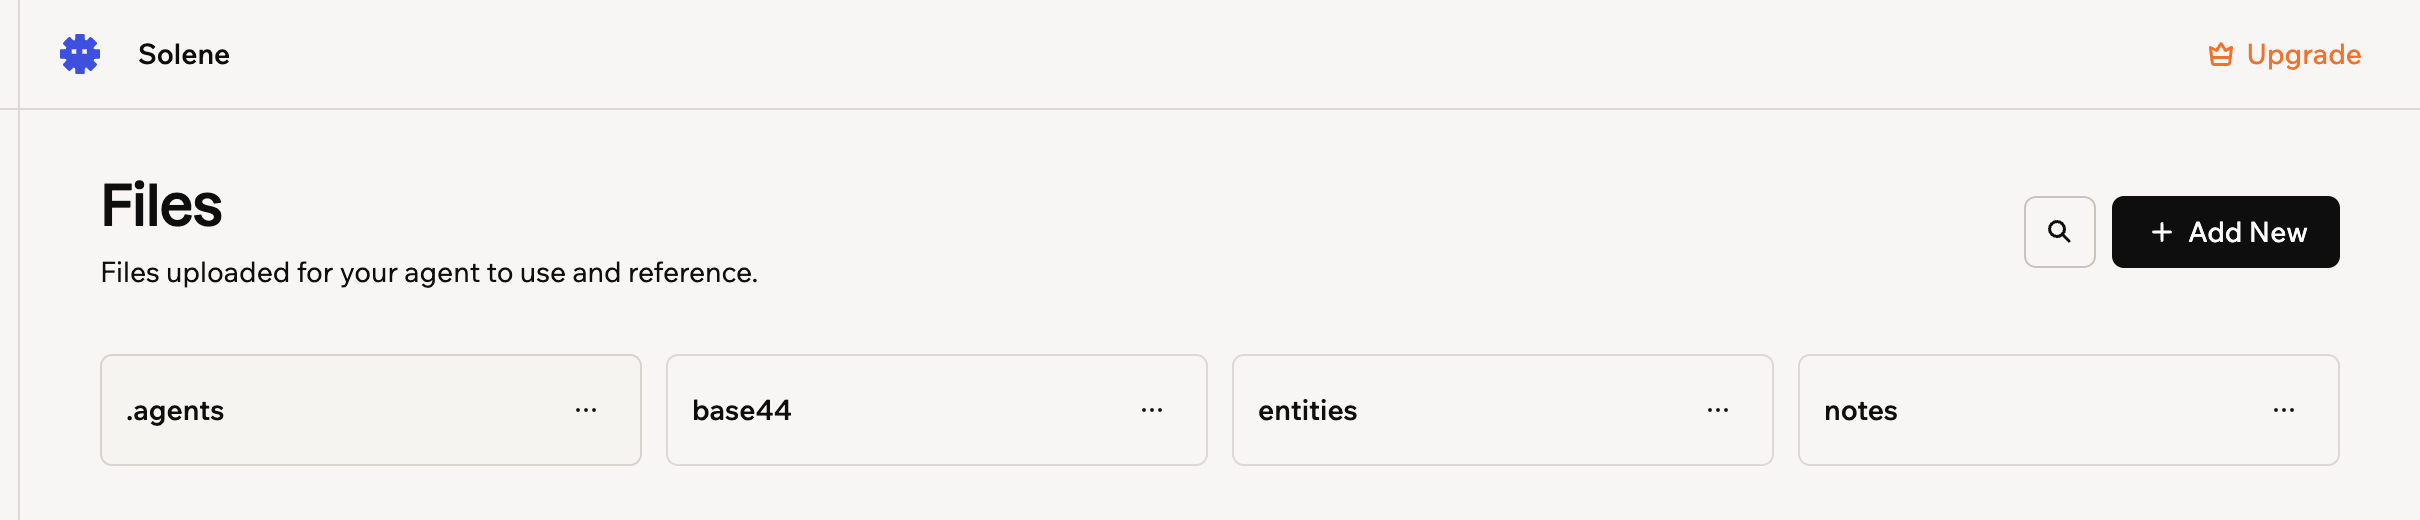
Files your Superagent can read and reference
- Open your Superagent.
- Click More in the sidebar, then click Files.
- Click Add New.
- Choose what you want to do:
- Upload file: Upload a single file.
- Upload folder: Upload a folder of files.
- New folder: Create a folder to organize your files.
Review memory
Memory stores what your Superagent knows about you and your conversations so it can respond with more context over time. The Memory page shows what your agent remembers and where each memory came from.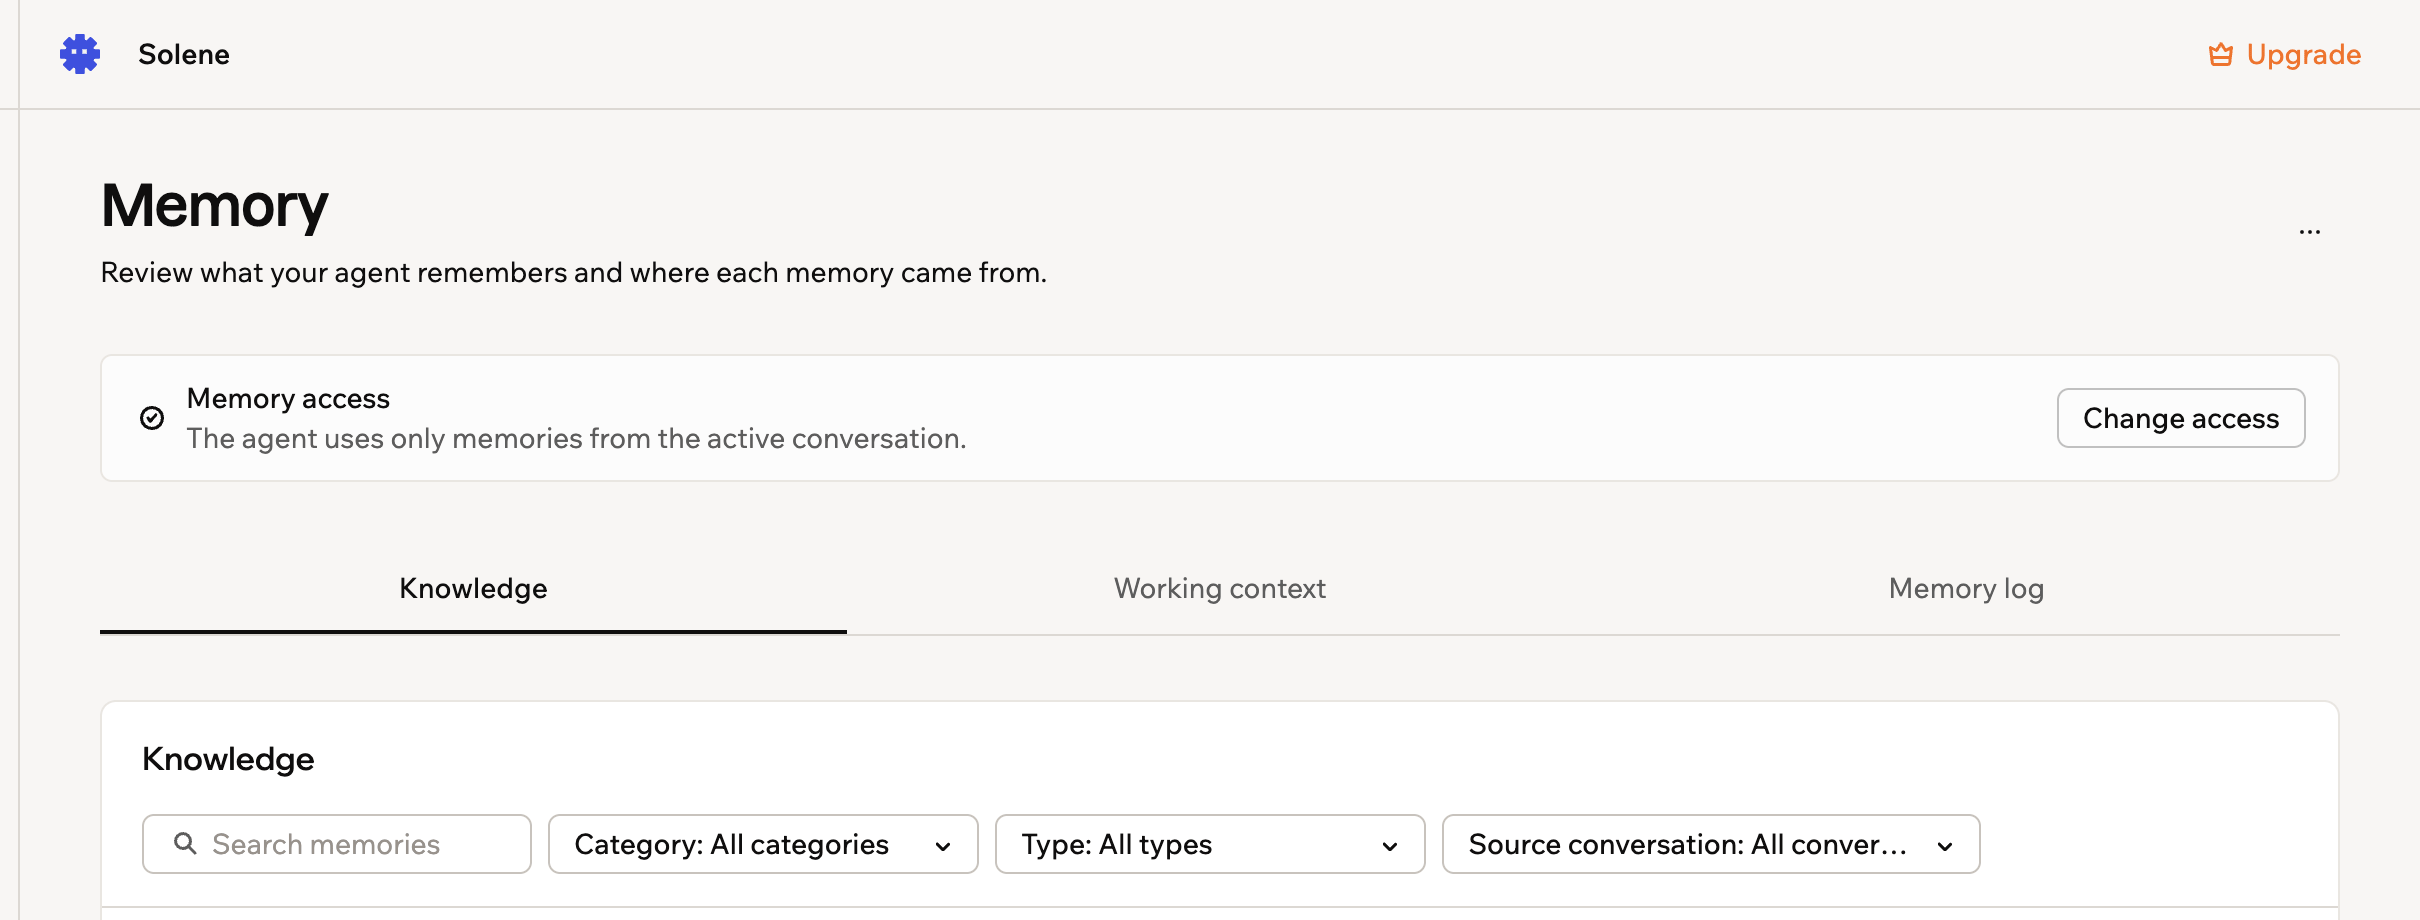
Reviewing what your Superagent remembers
- Open your Superagent.
- Click More in the sidebar, then click Memory.
- Do one of the following:
Review saved knowledge
Review saved knowledge
- Click the Knowledge tab.
- Search or filter the saved memories, or click Add memory to save one yourself.
Check a conversation's working context
Check a conversation's working context
- Click the Working context tab.
- Choose a conversation to see the goal, next steps, decisions, and blockers your Superagent tracks for it.
Browse your conversation history
Browse your conversation history
- Click the Memory log tab.
- Choose a day on the calendar to review each conversation’s summary and transcript. Conversation logs are history, not saved memories.
Delete all knowledge
Delete all knowledge
- Click the More actions icon at the top of the Memory page.
- Select Delete all knowledge.
View and manage data
Each table in your Superagent holds a type of record you can open, edit, export, and manage without leaving your workspace. For example, a Superagent that tracks your tasks keeps them in a Task table you can open and edit at any time.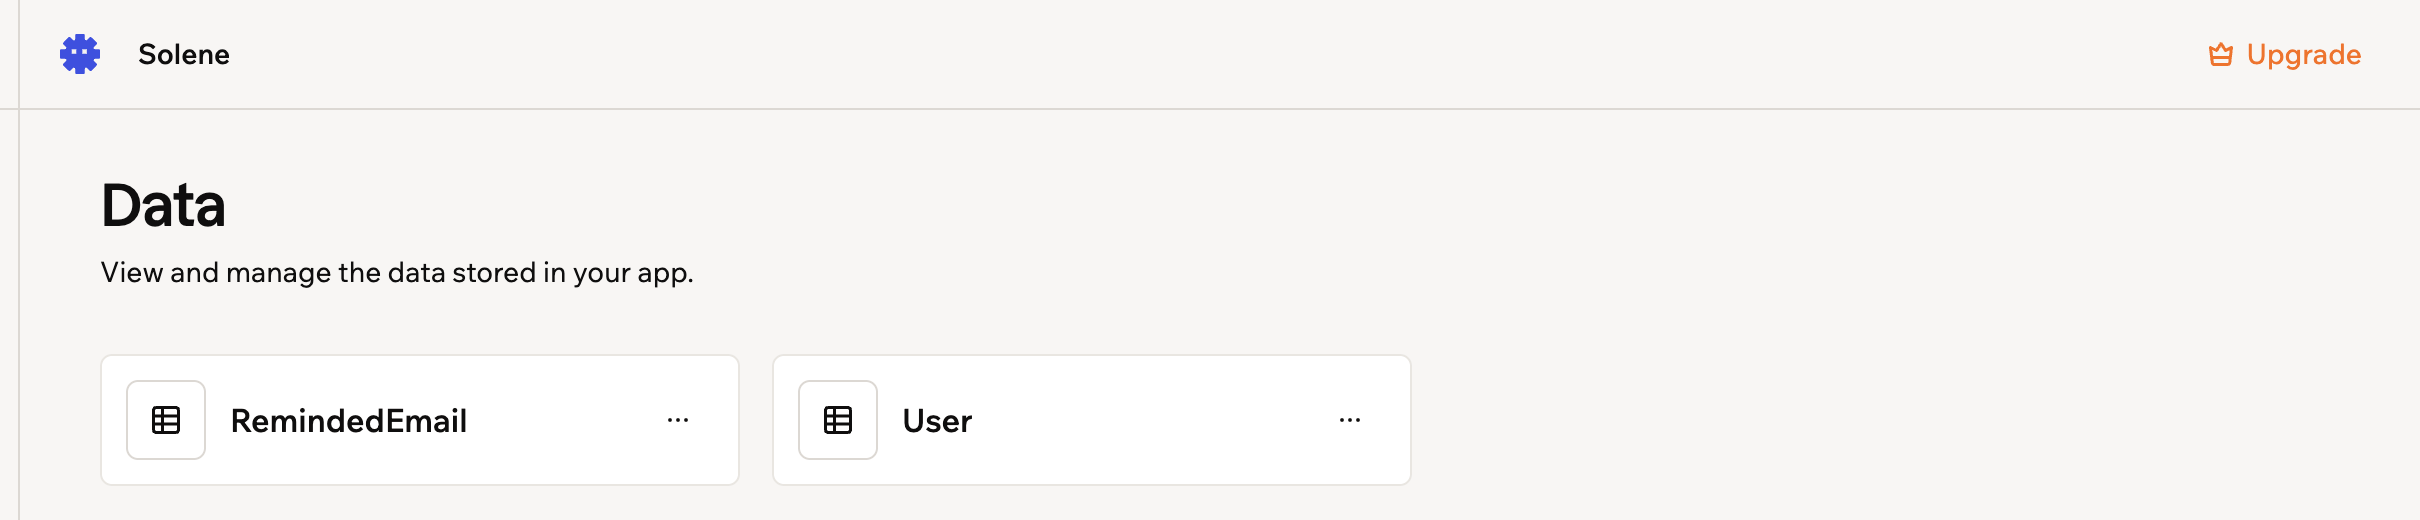
The tables your Superagent keeps its records in
- Open your Superagent.
- Click More in the sidebar, then click Data.
- Do one of the following:
Browse and edit records
Browse and edit records
- Click a table to open it.
- Use the search bar, Filters, and Columns to find the records you need.
- Click Add Item to add a record, then fill in the fields and click Submit. To edit a record, click it and update its fields.
Export a table
Export a table
- Click the More actions icon on the table.
- Select Export to download the table’s records as a CSV file.
View a table's structure
View a table's structure
- Click the More actions icon on the table.
- Select Schema to view the table’s fields and structure.
Restore recently deleted records
Restore recently deleted records
- Click the More actions icon on the table.
- Select Recently deleted to review and restore records moved to the trash.
Restore data from a backup
Restore data from a backup
- Click the Backup & Restore tab. If you’re viewing test data, switch to Production first.
- Find the point in time you want. Use the date and table filters to narrow the list.
- Click Restore to here to restore every table, or expand the entry and click the Restore this table icon next to a single table.
- Review the confirmation, then click Restore all data or Restore table.
Delete all records in a table
Delete all records in a table
- Click the More actions icon on the table.
- Select Clear table records to move all records in the table to the trash. You can restore them from Recently deleted.
Step 4 | Customize your Superagent
Customize how your Superagent behaves, remembers context, uses permissions, and connects to external systems. For the full list of settings, see Customizing your Superagent. To customize your Superagent:- Open your Superagent.
- Click Agent Settings in the sidebar.
- Set up your Superagent using these panels:
- General: Choose your chat and automations models, control which workspace apps your Superagent can access, and pick its voice.
- Trusted people: Connect with people through your Superagent. Only the Superagent’s owner sees this panel.
- Sharing & access (with 2 or more Superagents): Invite collaborators, create a public template link, and choose how memory works. With one Superagent, open it from More > Memory > Change access, or ask your Superagent in chat.
- Credit usage: See your plan and how many credits you have used.
- Meetings: Connect your calendar so your Superagent can join your meetings as a notetaker.
- Security: Configure permissions, secrets, and connector rules.
- Developer: View API details and manage webhooks.
Connect messaging channels
Connect your Superagent to a channel to chat with it on WhatsApp, Telegram, iMessage, Slack, and LINE.Add webhooks
Use webhooks to receive real-time notifications when your Superagent receives a message or finishes a reply. Use them when you want your backend to react to Superagent activity without repeatedly checking the API. To add a webhook:- Open your Superagent.
- Click Agent Settings in the sidebar.
- Click Developer.
- Click View full API documentation.
- Scroll to Your webhooks and click Add webhook.
- Enter your endpoint in the Target URL field.
- (Optional) Enter a description in the Description field.
- Select which Events to send:
message.created: Sent when a message is received.message.completed: Sent when your Superagent’s reply is ready.
- Select Sign requests with an HMAC secret (optional) if you want to verify that webhook requests came from Base44.
- Click Create.
- Click Send test payload to test your webhook.
Step 5 | Set up workflows
Create workflows your Superagent can run on a schedule or when a trigger happens, such as a morning brief or a reminder about unread emails. You can set them up by describing what you want in chat, or by sending a suggested workflow to chat from the Workflows page. To learn how to create, manage, and monitor workflows, see Setting up workflows. For example:FAQs
Click a question below to learn more about creating a Superagent.How do I finish setting up my Superagent?
How do I finish setting up my Superagent?
- Connect your email and calendar
- Add your Superagent to your meetings
- Connect a messaging channel
- Create or review your workflows
- Connect the tools you already use
What can my Superagent do?
What can my Superagent do?
Do I need technical knowledge to create a Superagent?
Do I need technical knowledge to create a Superagent?
How does my Superagent know what it can access?
How does my Superagent know what it can access?
Can I control what my Superagent is allowed to do?
Can I control what my Superagent is allowed to do?
Can I upload files for my Superagent to use?
Can I upload files for my Superagent to use?
Is my data secure?
Is my data secure?
Can I use my Superagent on mobile?
Can I use my Superagent on mobile?
Where do I organize and manage my Superagent after I create it?
Where do I organize and manage my Superagent after I create it?
Why can't I add, edit, or remove a skill?
Why can't I add, edit, or remove a skill?