

If a push to GitHub fails:You see a banner in the AI chat, and Base Code backs up the AI’s work on a separate branch. This happens when your branch has new commits on GitHub that conflict with the AI’s changes, or when the branch was deleted on GitHub. In the banner, click:
- Fix it: The AI merges GitHub’s changes or recreates the branch, then pushes.
- Continue on a new branch: You keep building from the backup.
Choosing the AI model
Base Code uses Auto by default to choose an AI model for each request. You can pick a model yourself when you want more control. To choose an AI model:- Open your branch in Base Code.
- Click the model at the bottom of the AI chat.
- Select the model you want to work with.
Adding Google Drive files
Give the AI chat a brief, spec, or design from your Google Drive when you start a branch from the Base Code start screen. You can also add files the same way in the prompt box on your branch. To start a branch from a Google Drive file:- Go to Base Code to open the start screen.
- Click the Add icon in the prompt box.
- Click Upload from Google Drive.
- If prompted, click Connect Google Drive, then allow access in Google.
- Select one or more files from My Drive or a shared drive. You can choose:
- Google Docs, Sheets, and Slides
- Word, Excel, and PowerPoint files
- PDFs and images
- Text, CSV, HTML, XML, and JSON files
- (Optional) Describe the change you want to make in the prompt box.
- Click Create branch.
Stopping the AI
Stop the AI chat while it’s working, then send a new message to change direction. Changes already committed to your branch stay, and edits the AI hasn’t committed yet are discarded. To stop the AI:- Click the Stop generating icon in the prompt box while the AI chat is working on your branch.
- (Optional) Send a new message with what you want instead.
If you stop branch creation from the start screen, Base Code puts your prompt back in the prompt box and removes the new branch from Base Code.
Expanding the chat
Hide the preview so the AI chat fills the editor, then bring the preview back when you want to check your work. The chat returns to its regular width when you switch between Preview, Dashboard, and Code, or open a different file. To expand or shrink the chat:- Open your branch in Base Code.
- Click the Expand chat icon in the toolbar above the AI chat.
- Click the Shrink chat icon to show the preview again.
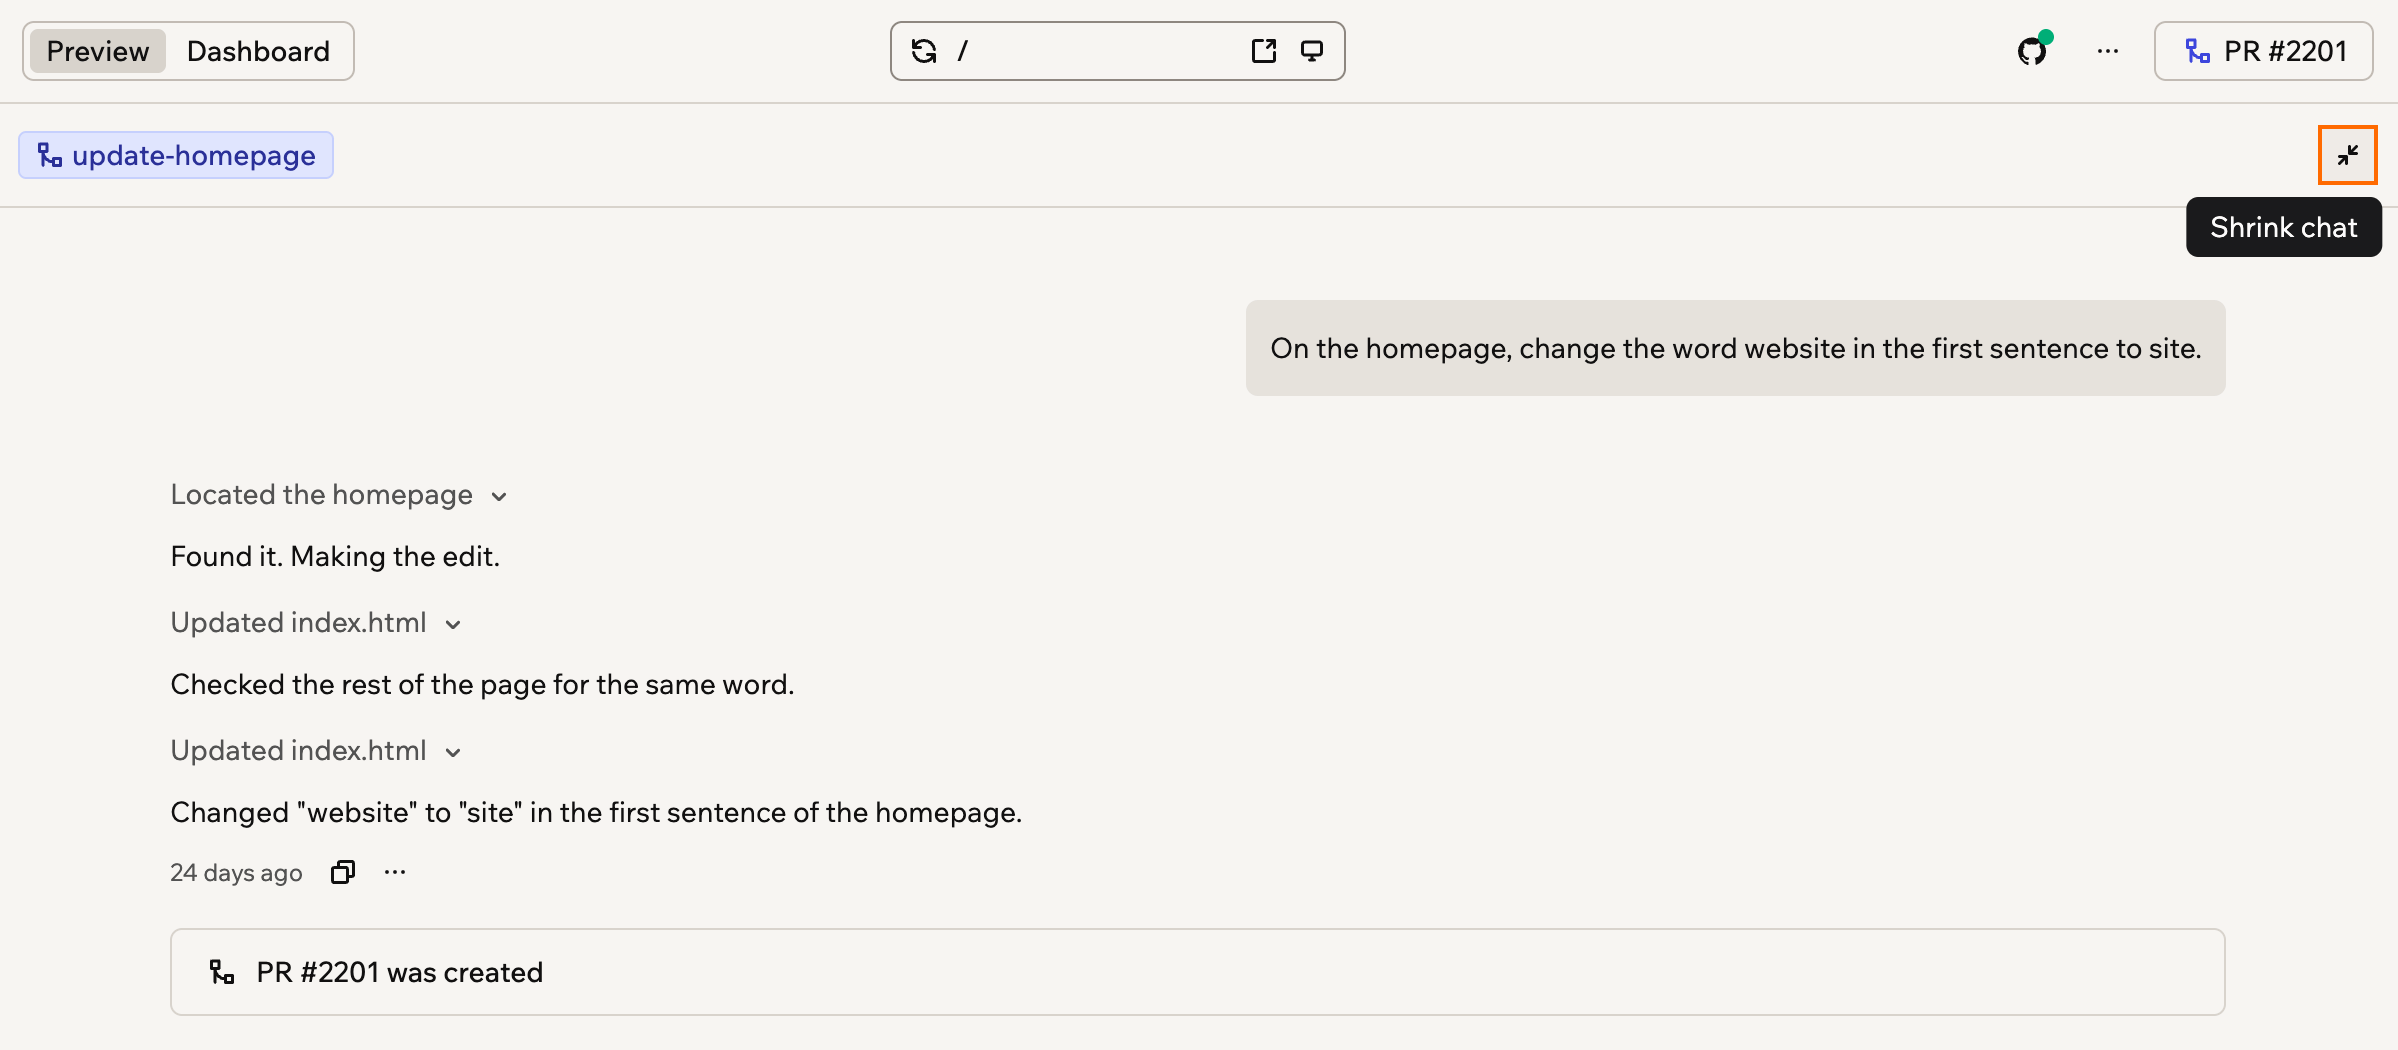
The expanded AI chat
Previewing monorepo apps
When your repository has several apps, such as a website and an API, each running app gets its own tab above the preview. You can choose which apps run on each branch, and show 2 of them side by side.Choosing apps to run
Run only the apps you’re working on. To choose the apps that run on a branch:- Open your branch in Base Code.
- Click the Apps icon in the toolbar above the preview, or click Add app at the end of the tab row.
-
Select each app you want running in Apps to run on this branch.
Base Code also selects any apps your chosen apps depend on. At least one app keeps running, and on main the main project always runs.
- Click Done.
Using split view
Show 2 apps side by side, for example to check your website against your API. To show 2 apps side by side:- Open your branch in Base Code.
- Click Split view at the end of the tab row.
- Click Show or Start next to the app for the empty side.
Reviewing your changes
Check exactly what changed before you ask anyone to review it. To review your changes:- Open your branch in Base Code.
- Open the changes you want to check:
- One reply’s changes: Use the file list below that reply in the AI chat.
- Every change on the branch: Click Create PR in the editor, or click the PR number if one already exists. This shows the changes and doesn’t open a pull request yet.
- Click a file name to see its diff, with the lines added and removed.
Reverting a file
Undo the changes you don’t want in a file, with the revert saved as a new commit on your branch. To revert a file:- Open your branch in Base Code.
- Find the file below the AI chat reply, or in the branch’s file list from Create PR or its PR number.
- Click the file to expand it, then click Revert file.
- Check that the right file appears in Revert branch changes?, then click Revert.
Using repository skills
Teach the AI chat your team’s workflows with skills stored in your repository. The AI chat reads a skill when it fits your request. Each skill has a name, a description, and instructions, and applies to everyone working on the project, on every branch. Base Code finds skills in these places, at the root of your repository or in a subfolder:- Skill folders: A
SKILL.mdfile in a folder under.agents/skills,.claude/skills, or.codex/skills. - Claude Code commands: Markdown files in
.claude/commands. - Local plugins: Skills from Claude Code or Codex plugins stored in your repository.
- Open your branch in Base Code.
- Click Dashboard in the editor.
- Click Repository skills.
- Choose what you want to do:
- Read a skill: Click the skill to see its instructions.
- Turn a skill on or off: Click the switch next to the skill. Skills are on by default.
- Show a new skill: After you add a
SKILL.mdfile to your repository, click Refresh.
Adding secrets
Give your project the API keys and other credentials it needs without putting them in your repository. The AI chat asks you for a secret when your project needs one.How secrets work:
- Shared and kept: Secrets are encrypted, shared across branches, and kept when your environment rebuilds.
- Updates: Changes and removals apply right away to running branches. Inactive branches pick them up when you next open them.
- Open your branch in Base Code.
- Click Dashboard in the editor.
- Click Secrets.
- Click Add Secret.
- Enter the Secret Name and Secret Value, then click Add Secret.
Viewing infrastructure
See what your project runs on, such as a web app, an API, a database, or a cache. Base44 finds these services in your code and runs private copies of them for your preview, so your real databases and services stay as they are. Each app shows whether it’s running on the current branch, and each service, such as a database, shows its status and where Base44 found it in your code. To view your project’s infrastructure:- Open your branch in Base Code.
- Click Dashboard in the editor.
-
Click Infrastructure.
If you see Your app’s workspace is asleep, your project’s preview environment is paused. Send a message in the AI chat or open the preview to wake it, then refresh.
-
(Optional) Choose what you want to do:
- Preview an app: Click Preview next to the app.
- Start or stop an app on this branch: Click Start or Stop next to the app.
- See the latest status: Click the Refresh icon.
Using Verify as you
When you sign in to your app inside the preview, the AI can reuse that session to check screens that need a signed-in user. Your session isn’t shared with other collaborators. Verify as you is on by default, and the setting applies to everyone working on the app. To turn Verify as you on or off:- Open your branch in Base Code.
- Click Dashboard in the editor.
- Click Infrastructure.
-
Turn the switch next to Verify as you on or off.
When you turn Verify as you off:
- Other collaborators: Their saved sessions are deleted.
- Your session: It stays until 24 hours after it was last used, in the preview or by the AI. To end it sooner, sign out of your app in the preview.