> ## Documentation Index
> Fetch the complete documentation index at: https://docs.base44.com/llms.txt
> Use this file to discover all available pages before exploring further.
# Zapier
> Automate your Base44 app by connecting it to Zapier, so actions in your app can trigger tasks in thousands of other apps like sending calendar invites, updating spreadsheets, or posting messages.
**Note:** Zapier integrations require the **Builder** plan or higher. If you’re on the Free tier, you’ll need to upgrade before proceeding. You will also need a premium Zapier account to use webhooks.
# **Step‑by‑step setup**
This integration can be added in two ways:
* Choose this path if you are starting a new app from scratch.
* Choose this path if you are already in the midst of building and would like to integrate Zapier into an existing app.
## Part 1: Ready-made integration (for new apps)
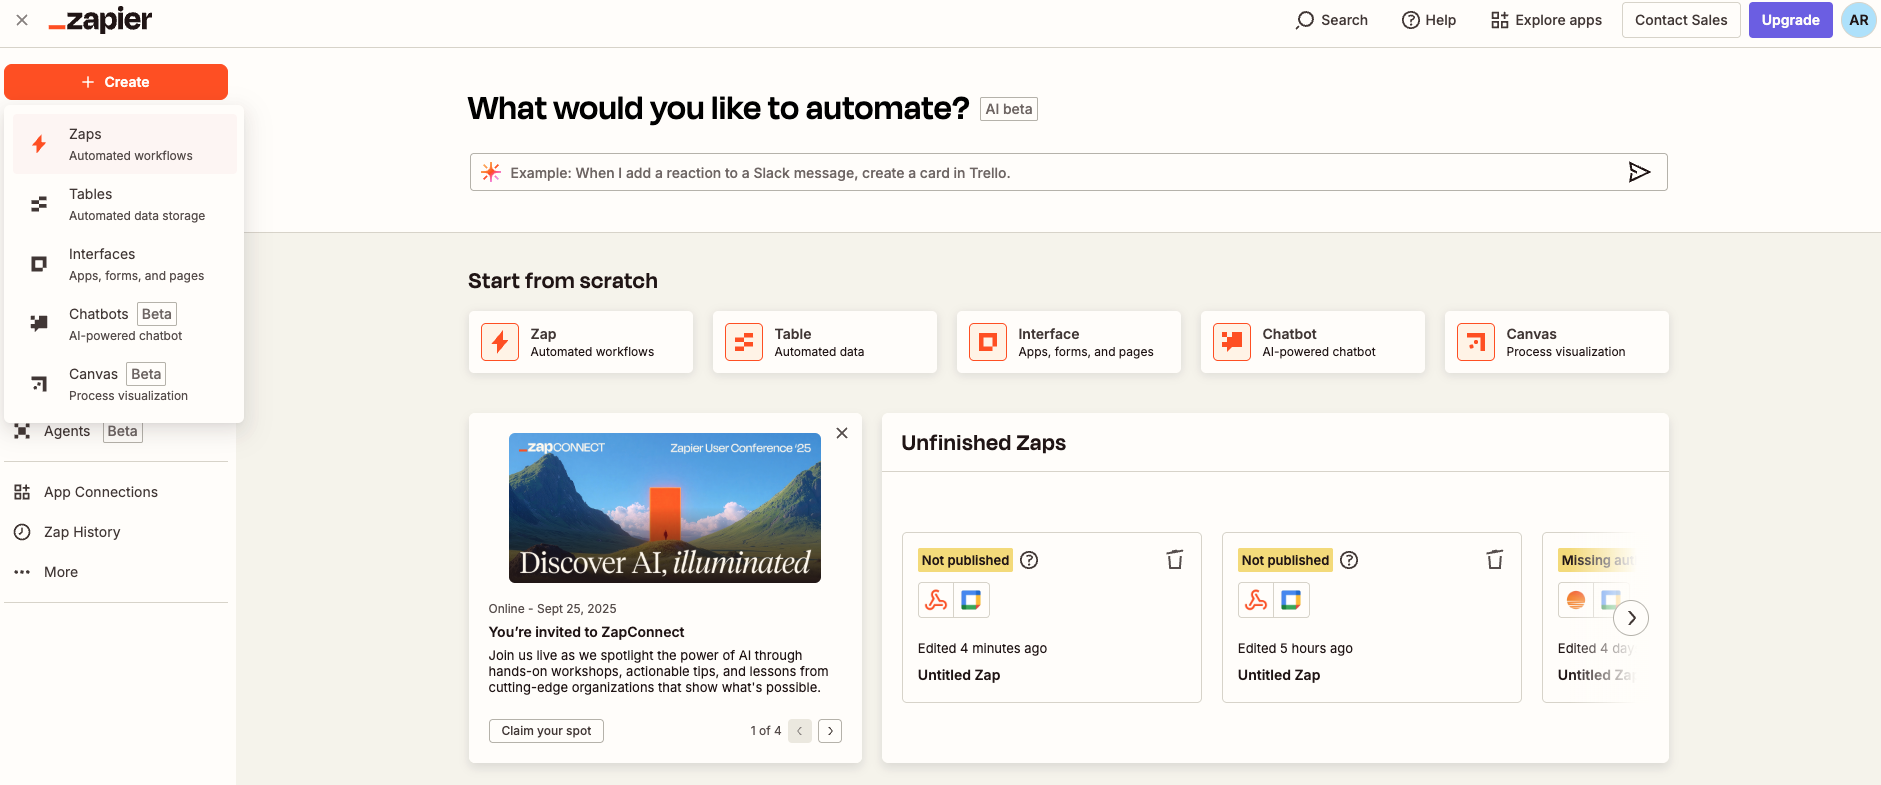
* Sign in to Zapier and click **Create Zap**.
 * Choose **Webhooks by Zapier → Catch Hook** as the trigger.
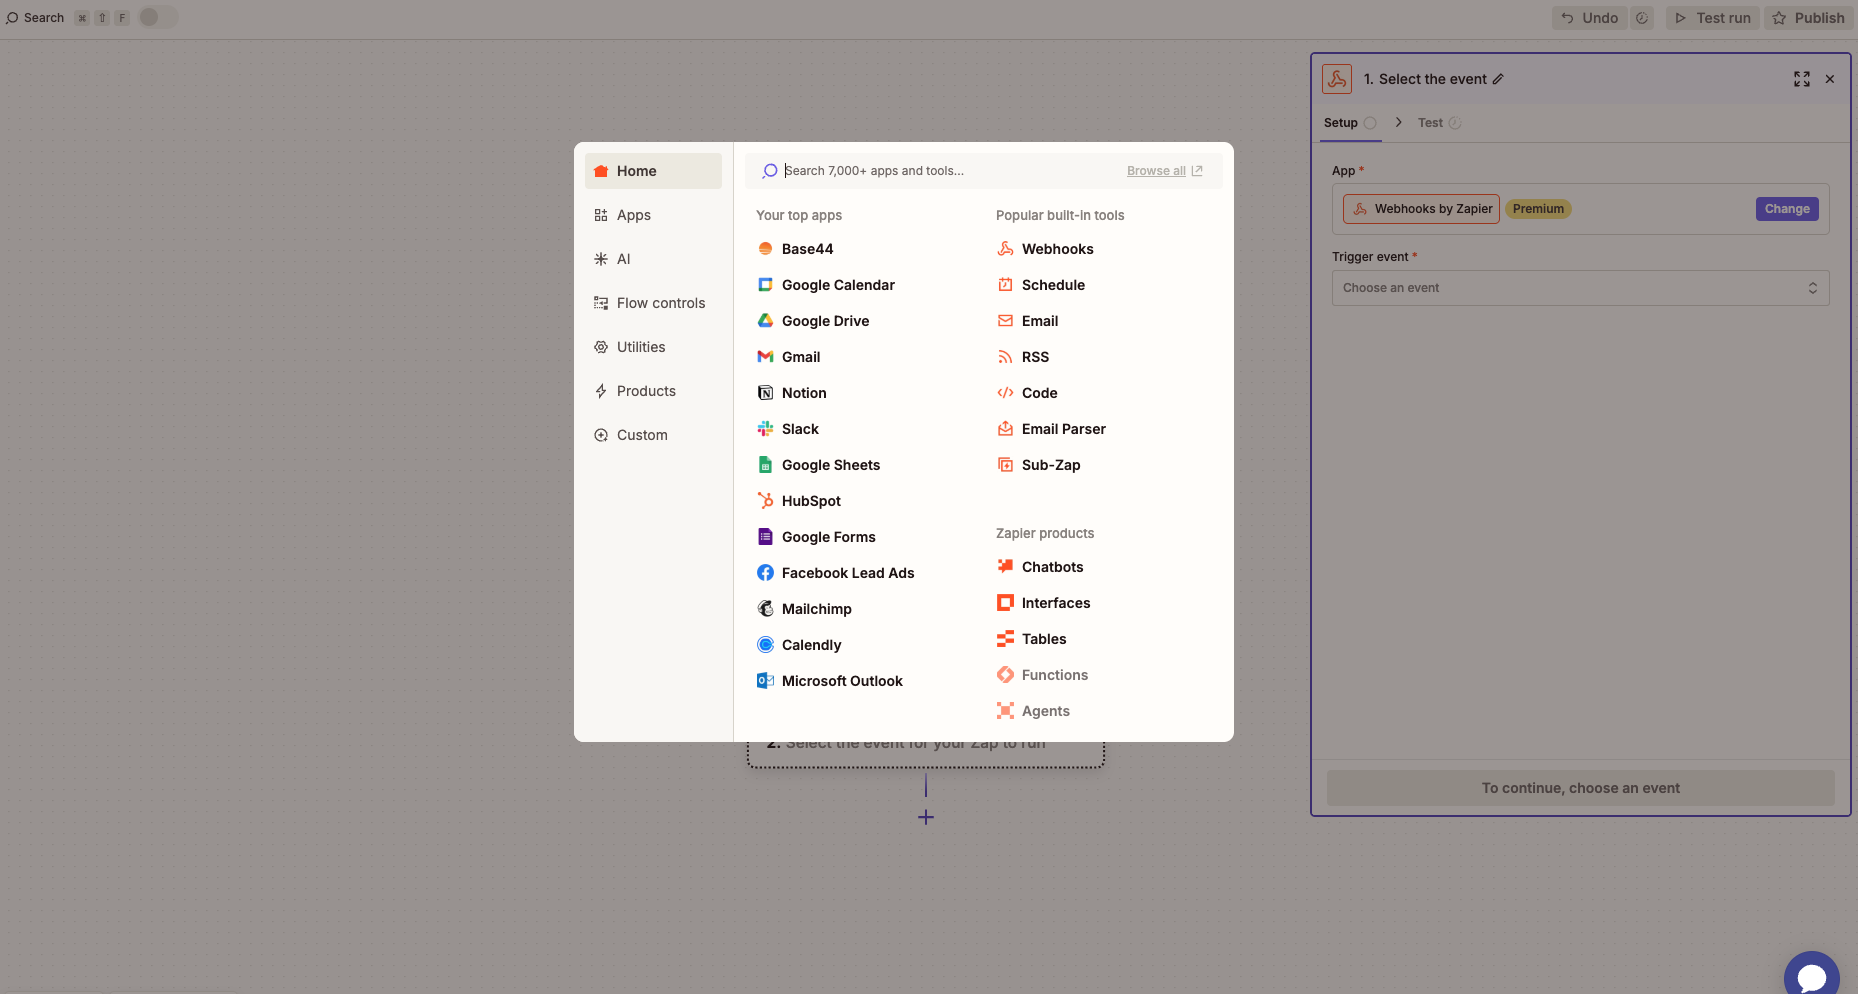 * Leave the **Pick off a Child Key** field blank to capture the full payload.
 * Continue and copy the webhook URL.
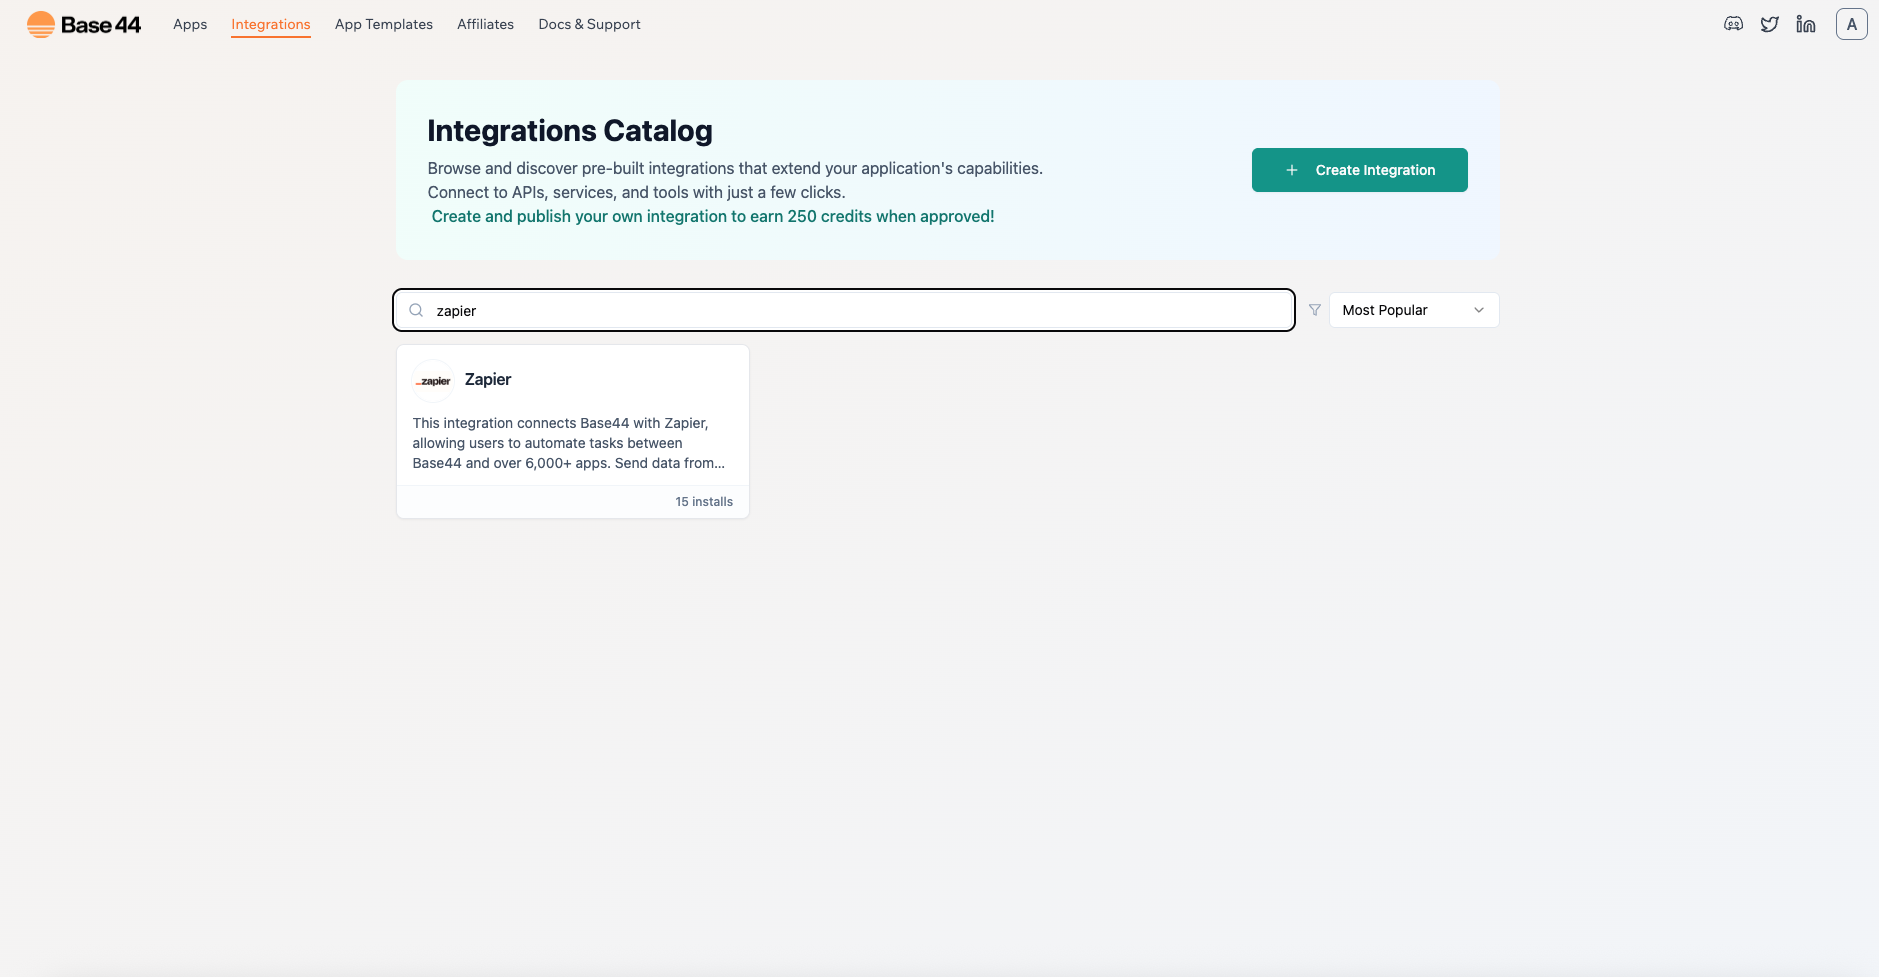
* In a new browser tab, go to Base44 and click **Integrations**.
* Continue and copy the webhook URL.
* In a new browser tab, go to Base44 and click **Integrations**.
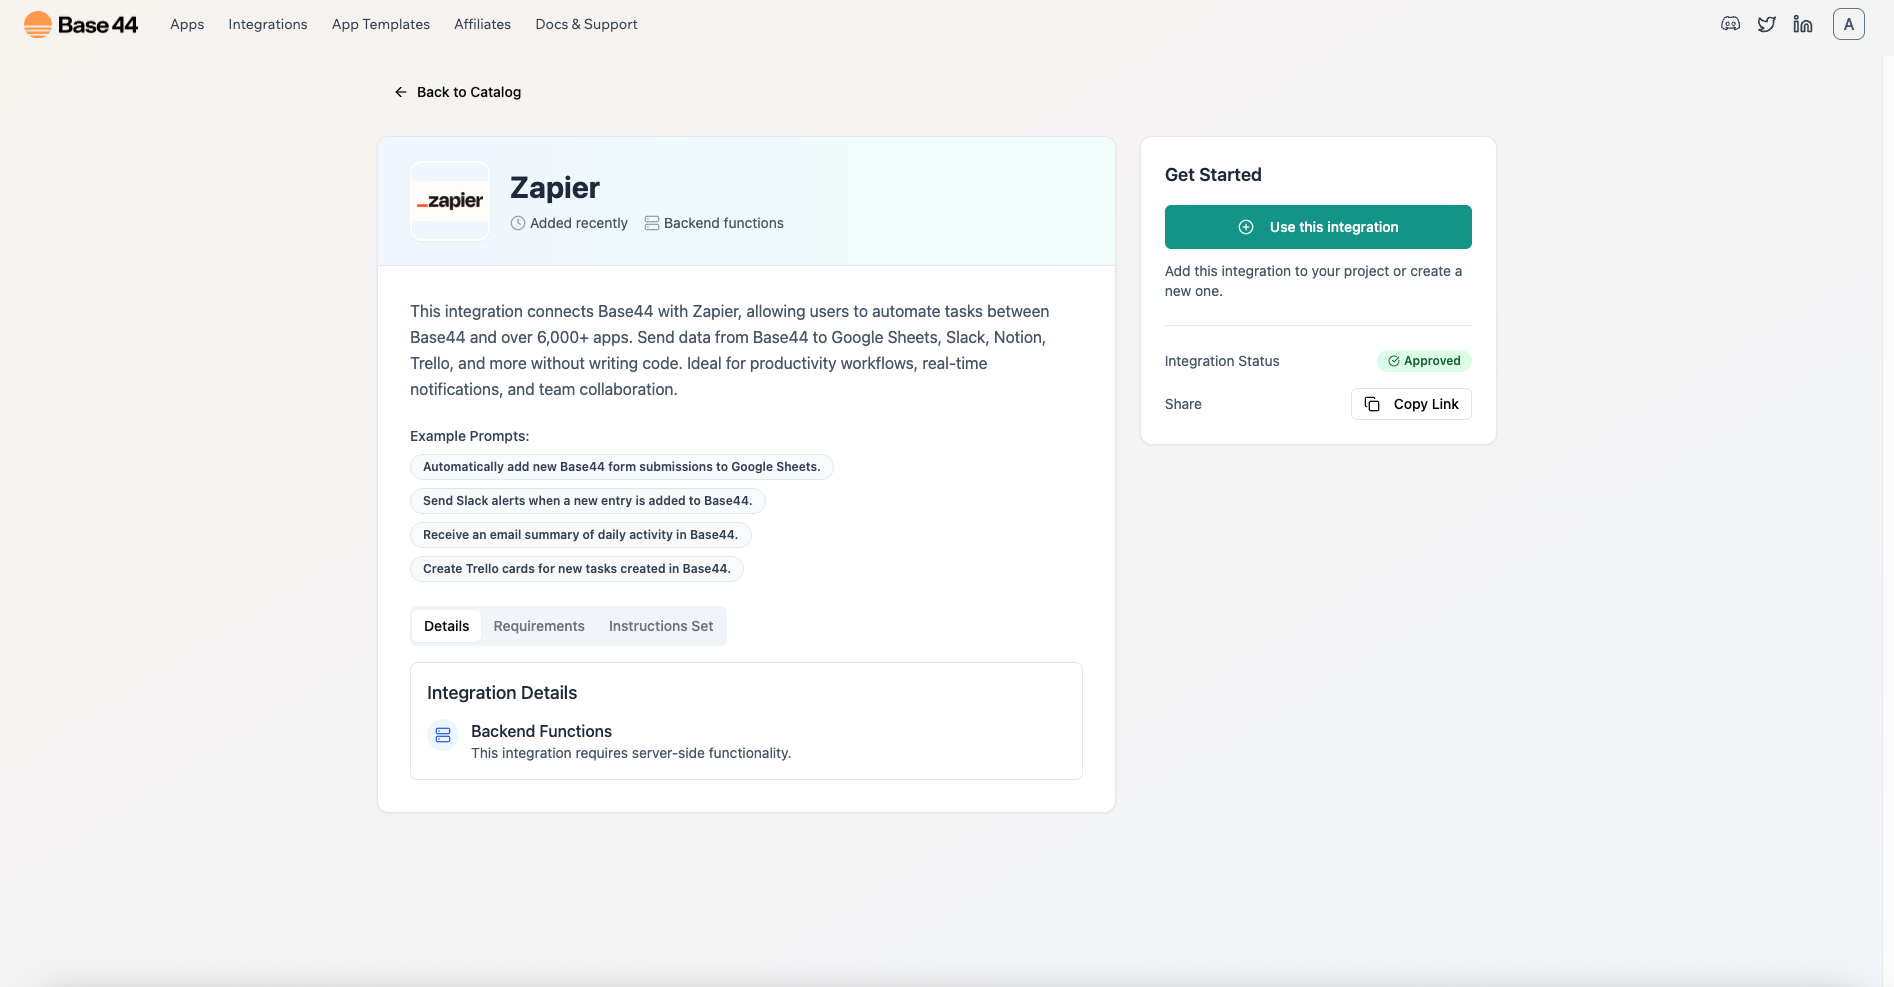
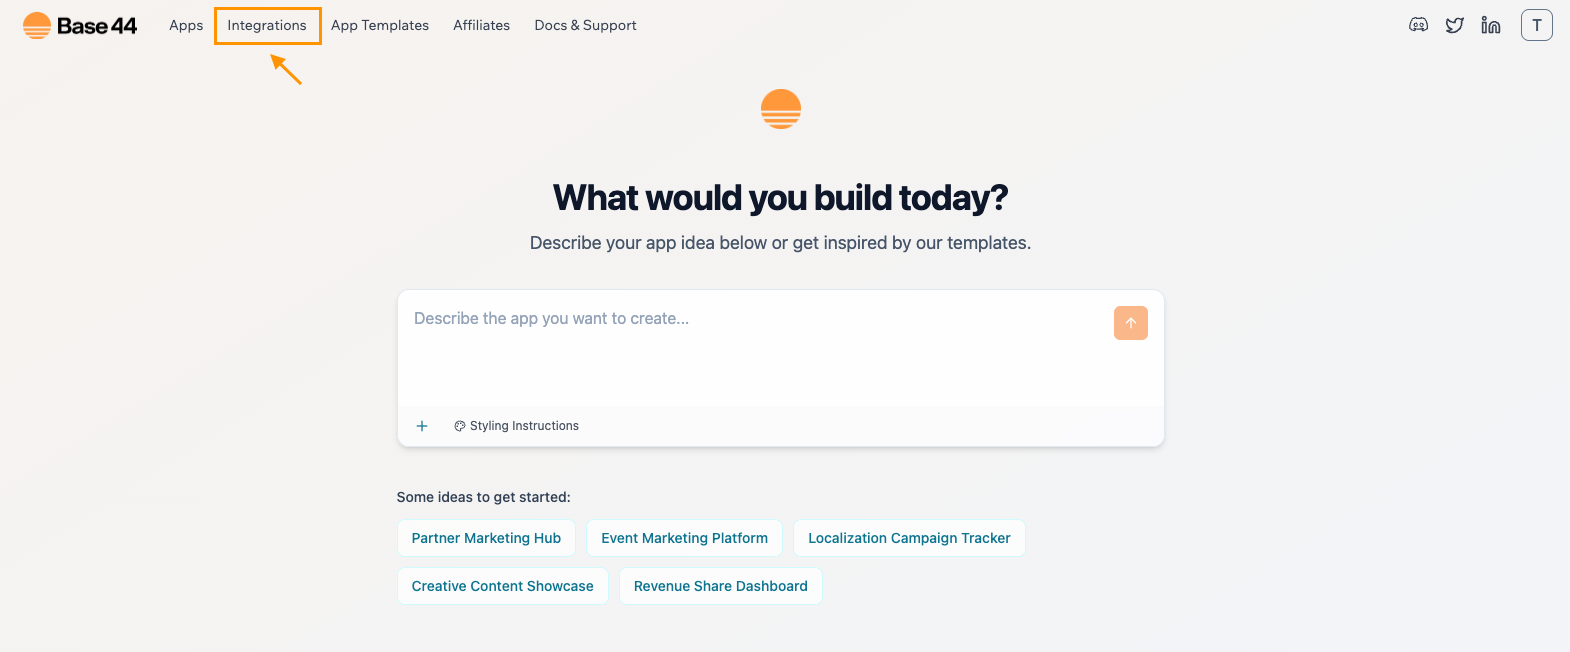 * Find **Zapier** and click **Use this integration**.
 * When prompted, paste the webhook URL into the **ZAPIER\_WEBHOOK\_URL** field.
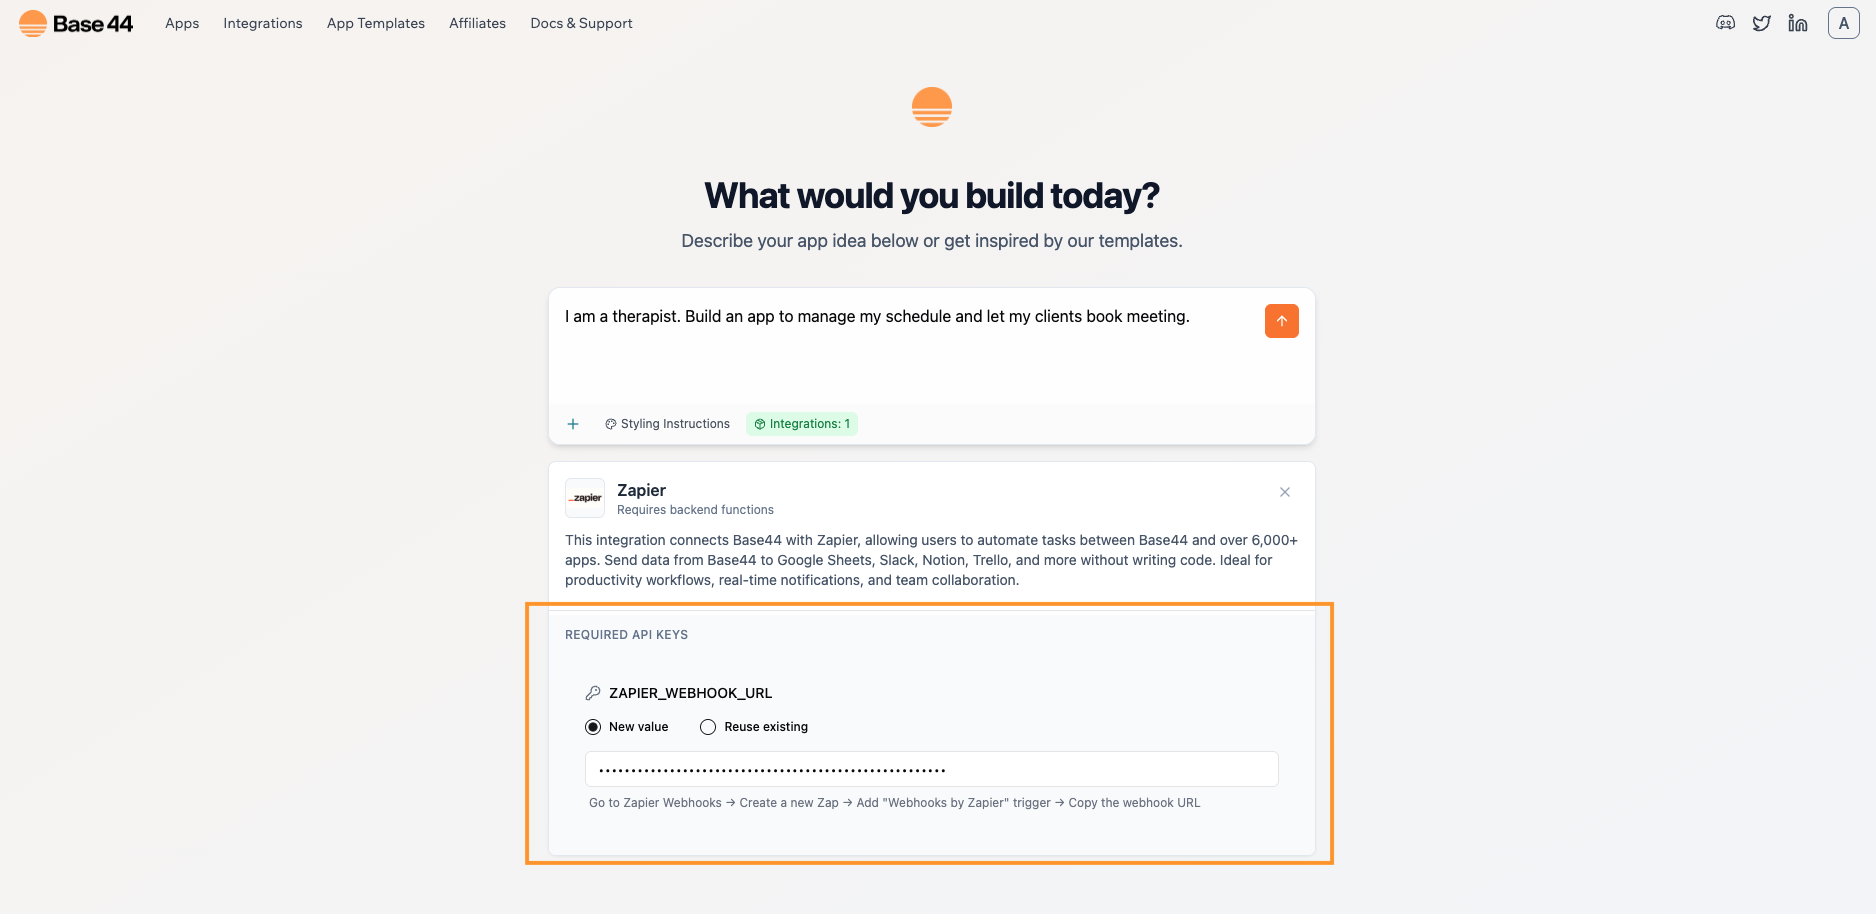 * Describe your app in natural language. For example: \
`I am a therapist. Build an app to manage my schedule and let my clients book meeting.`
* After the app is created, open the app preview and book a test meeting:
* Choose a date and time a few minutes in the future.
* Use your real email.
* Submit once and wait 2 to 5 seconds.
This sends a sample payload to your Zap so Zapier can load real fields during setup.
#### **Data to send from Base44 to Zapier**
Make sure the payload is detailed so Zap can create the right calendar event. Include and save these in your Meetings collection:
* **start\_iso**: an ISO 8601 datetime that combines the chosen date and time.
Example: new Date(\$dateT\$time:00).toISOString()
* **end\_iso** or **duration\_minutes**: either send an explicit end time as ISO, or send duration\_minutes so Zapier can compute +30m in the action
* **time\_zone**: your app or user time zone, preferably an IANA name like Asia/Jerusalem; if you cannot provide a name, include the numeric offset
* **meeting\_id**: a stable id to avoid duplicates, for example \$client\_email|\$start\_iso
* **client\_name**, **client\_email,** **notes**
Saving these fields ensures you can audit bookings and Zapier maps the event correctly every time.
* Back in Zapier, go to the Test tab of your trigger.
* Click **Find new records**, select the sample request your app sent, and continue.
* If nothing appears, submit another test meeting and click **Find new records** again.
* Add an action: **Google Calendar → Create Detailed Event**.
* Map the fields from your sample to the event fields:
* **Summary:** `Meeting with client_name`
* **Description:** `notes`
* **Start Date & Time:** `start_iso`
* **End Date & Time:** `start_iso + 30m` (or compute using duration\_minutes)
* **Guests:** `client_email`
* **Time Zone:** choose your calendar’s zone
* Click **Test** to ensure the event appears and that an invite is sent.
Click **Publish** to turn the Zap on. From now on, each new meeting in your app will automatically create a calendar event.
***
## Part 2: Instant integration (add Zapier to an existing app)
Use this method if your app already exists and you want to connect Zapier mid‑build.
* Here's the prompt that we typed out in the AI chat to build our sample app: :
`I am a therapist. Build an app to manage my schedule and let my clients book meeting.`
* In the chat window of your app, say something like:
`I want to connect my app to Zapier. Please make an integration that sends booking data to Zapier from the backend only. Never call Zapier from the browser.`
* Keep the chat open while you complete the next step.
* In Zapier, **create a new Zap** with **Webhooks by Zapier → Catch Hook** and copy the webhook URL (just like in Part 1).
* Paste this URL into the Base44 chat when prompted. The integration will save it securely and wire up a backend route to post booking data to Zapier.
* After the app is created, open the app preview and book a test meeting:
* Choose a date and time a few minutes in the future.
* Use your real email.
* Submit once and wait 2 to 5 seconds.
This sends a sample payload to your Zap so Zapier can load real fields during setup.
#### **Data to send from Base44 to Zapier**
Make sure the payload is detailed so Zap can create the right calendar event. Include and save these in your Meetings collection:
* **start\_iso**: an ISO 8601 datetime that combines the chosen date and time.
Example: new Date(\$dateT\$time:00).toISOString()
* **end\_iso** or **duration\_minutes**: either send an explicit end time as ISO, or send duration\_minutes so Zapier can compute +30m in the action
* **time\_zone**: your app or user time zone, preferably an IANA name like Asia/Jerusalem; if you cannot provide a name, include the numeric offset
* **meeting\_id**: a stable id to avoid duplicates, for example \$client\_email|\$start\_iso
* **client\_name**, **client\_email,** **notes**
Saving these fields ensures you can audit bookings and Zapier maps the event correctly every time.
* In your Zap trigger, go to the **Test** tab and click **Find new records**.
* Select the latest request and continue. If nothing appears, submit another test, then click **Find new records** again.
* Add an action: **Google Calendar → Create Detailed Event**.
* Map the fields from your sample to the event fields:
* **Summary:** `Meeting with client_name`
* **Description:** `notes`
* **Start Date & Time:** `start_iso`
* **End Date & Time:** `start_iso + 30m` (or compute using duration\_minutes)
* **Guests:** `client_email`
* **Time Zone:** choose your calendar’s zone
* Click **Test** to ensure the event appears and that an invite is sent.
* Turn on the Zap. New bookings will now trigger calendar events automatically.
***
# **Troubleshooting**
* **No sample in Zapier:** Make sure you’ve booked one test meeting before testing.
* **401 or CORS errors:** Only post to Zapier from the backend; never call Zapier from the browser.
* **Wrong times:** Ensure you combine the date and time into a proper ISO datetime (start\_iso) and set the correct time zone when creating the calendar event.
* **Zap not running:** Confirm that you clicked **Publish** to turn the Zap on.
***
## **Quick checklist**
Use this list to make sure you haven’t missed anything:
* Catch Hook created with **Pick off a Child Key** left blank
* Webhook URL saved as **ZAPIER\_WEBHOOK\_URL** in Base44
* Builder tier or higher
* One sample meeting booked before testing
* Google Calendar action mapped and tested
* Zap published and turned on
***
* Describe your app in natural language. For example: \
`I am a therapist. Build an app to manage my schedule and let my clients book meeting.`
* After the app is created, open the app preview and book a test meeting:
* Choose a date and time a few minutes in the future.
* Use your real email.
* Submit once and wait 2 to 5 seconds.
This sends a sample payload to your Zap so Zapier can load real fields during setup.
#### **Data to send from Base44 to Zapier**
Make sure the payload is detailed so Zap can create the right calendar event. Include and save these in your Meetings collection:
* **start\_iso**: an ISO 8601 datetime that combines the chosen date and time.
Example: new Date(\$dateT\$time:00).toISOString()
* **end\_iso** or **duration\_minutes**: either send an explicit end time as ISO, or send duration\_minutes so Zapier can compute +30m in the action
* **time\_zone**: your app or user time zone, preferably an IANA name like Asia/Jerusalem; if you cannot provide a name, include the numeric offset
* **meeting\_id**: a stable id to avoid duplicates, for example \$client\_email|\$start\_iso
* **client\_name**, **client\_email,** **notes**
Saving these fields ensures you can audit bookings and Zapier maps the event correctly every time.
* Back in Zapier, go to the Test tab of your trigger.
* Click **Find new records**, select the sample request your app sent, and continue.
* If nothing appears, submit another test meeting and click **Find new records** again.
* Add an action: **Google Calendar → Create Detailed Event**.
* Map the fields from your sample to the event fields:
* **Summary:** `Meeting with client_name`
* **Description:** `notes`
* **Start Date & Time:** `start_iso`
* **End Date & Time:** `start_iso + 30m` (or compute using duration\_minutes)
* **Guests:** `client_email`
* **Time Zone:** choose your calendar’s zone
* Click **Test** to ensure the event appears and that an invite is sent.
Click **Publish** to turn the Zap on. From now on, each new meeting in your app will automatically create a calendar event.
***
## Part 2: Instant integration (add Zapier to an existing app)
Use this method if your app already exists and you want to connect Zapier mid‑build.
* Here's the prompt that we typed out in the AI chat to build our sample app: :
`I am a therapist. Build an app to manage my schedule and let my clients book meeting.`
* In the chat window of your app, say something like:
`I want to connect my app to Zapier. Please make an integration that sends booking data to Zapier from the backend only. Never call Zapier from the browser.`
* Keep the chat open while you complete the next step.
* In Zapier, **create a new Zap** with **Webhooks by Zapier → Catch Hook** and copy the webhook URL (just like in Part 1).
* Paste this URL into the Base44 chat when prompted. The integration will save it securely and wire up a backend route to post booking data to Zapier.
* After the app is created, open the app preview and book a test meeting:
* Choose a date and time a few minutes in the future.
* Use your real email.
* Submit once and wait 2 to 5 seconds.
This sends a sample payload to your Zap so Zapier can load real fields during setup.
#### **Data to send from Base44 to Zapier**
Make sure the payload is detailed so Zap can create the right calendar event. Include and save these in your Meetings collection:
* **start\_iso**: an ISO 8601 datetime that combines the chosen date and time.
Example: new Date(\$dateT\$time:00).toISOString()
* **end\_iso** or **duration\_minutes**: either send an explicit end time as ISO, or send duration\_minutes so Zapier can compute +30m in the action
* **time\_zone**: your app or user time zone, preferably an IANA name like Asia/Jerusalem; if you cannot provide a name, include the numeric offset
* **meeting\_id**: a stable id to avoid duplicates, for example \$client\_email|\$start\_iso
* **client\_name**, **client\_email,** **notes**
Saving these fields ensures you can audit bookings and Zapier maps the event correctly every time.
* In your Zap trigger, go to the **Test** tab and click **Find new records**.
* Select the latest request and continue. If nothing appears, submit another test, then click **Find new records** again.
* Add an action: **Google Calendar → Create Detailed Event**.
* Map the fields from your sample to the event fields:
* **Summary:** `Meeting with client_name`
* **Description:** `notes`
* **Start Date & Time:** `start_iso`
* **End Date & Time:** `start_iso + 30m` (or compute using duration\_minutes)
* **Guests:** `client_email`
* **Time Zone:** choose your calendar’s zone
* Click **Test** to ensure the event appears and that an invite is sent.
* Turn on the Zap. New bookings will now trigger calendar events automatically.
***
# **Troubleshooting**
* **No sample in Zapier:** Make sure you’ve booked one test meeting before testing.
* **401 or CORS errors:** Only post to Zapier from the backend; never call Zapier from the browser.
* **Wrong times:** Ensure you combine the date and time into a proper ISO datetime (start\_iso) and set the correct time zone when creating the calendar event.
* **Zap not running:** Confirm that you clicked **Publish** to turn the Zap on.
***
## **Quick checklist**
Use this list to make sure you haven’t missed anything:
* Catch Hook created with **Pick off a Child Key** left blank
* Webhook URL saved as **ZAPIER\_WEBHOOK\_URL** in Base44
* Builder tier or higher
* One sample meeting booked before testing
* Google Calendar action mapped and tested
* Zap published and turned on
***