> ## Documentation Index
> Fetch the complete documentation index at: https://docs.base44.com/llms.txt
> Use this file to discover all available pages before exploring further.
# Design system
> Create a workspace design system in Base44 to define your brand's colors, fonts, logo, and components once, then apply one consistent look across your apps.
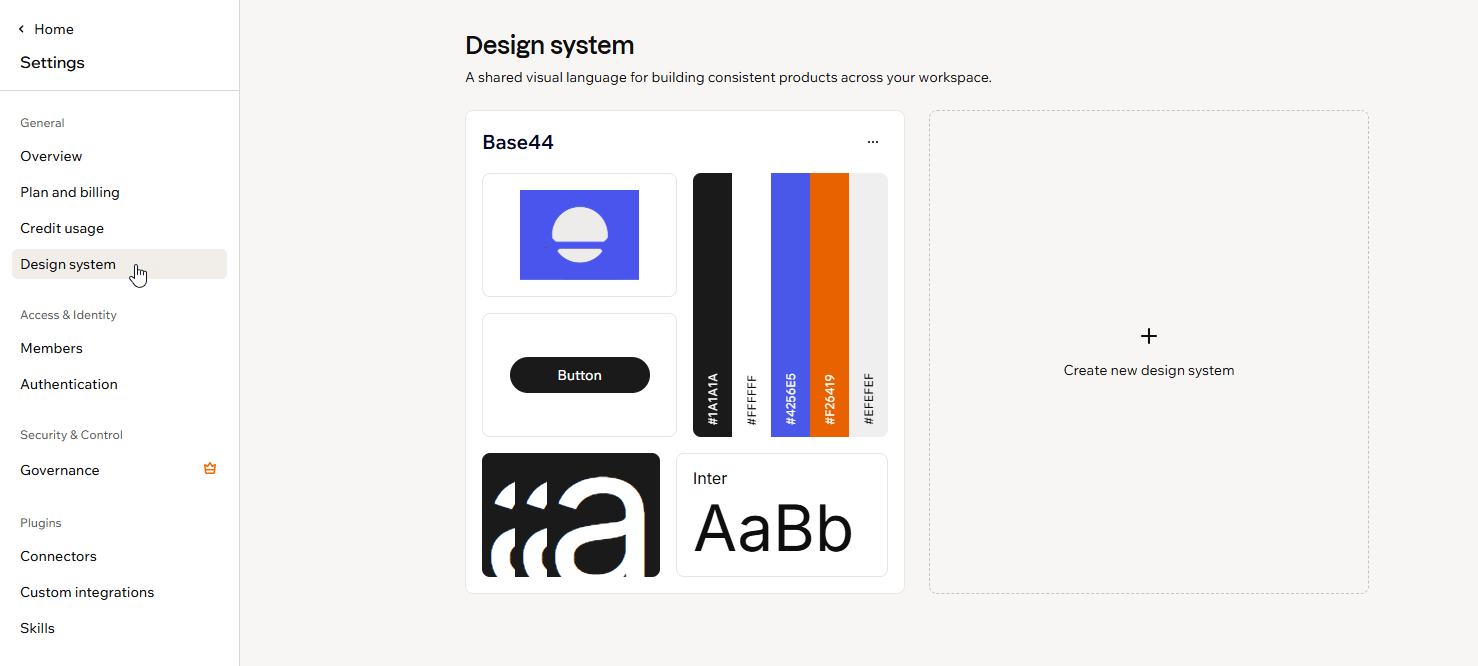
A design system saves your brand's look and feel at the workspace level: its colors, fonts, logo, and a set of matching components. Create it once, set it as your default, and every new app you build starts on-brand, so you do not have to redefine your style each time.
You do not need to be a designer. With just a few details, such as your logo, a short description of your brand, the feel you want, and any design files you have, Base44 creates an entire design system for you, so all your apps look professional and on brand.
 **Availability:**
* Design systems are available on the [**Builder plan**](https://base44.com/pricing) and above.
* Workspaces on the Builder plan and above include 1 design system. Enterprise workspaces have no limit.
* Design systems apply to web apps. They are not applied to mobile apps, apps imported from Figma, or apps started from a URL.
* Creating and using a design system does not cost credits.
***
## What's included
When you create a design system, Base44 fills in everything that keeps your apps looking consistent and on brand, and shows it all in a live preview. Change a color or a font, and every example updates right away, so you always see how it looks.
**Availability:**
* Design systems are available on the [**Builder plan**](https://base44.com/pricing) and above.
* Workspaces on the Builder plan and above include 1 design system. Enterprise workspaces have no limit.
* Design systems apply to web apps. They are not applied to mobile apps, apps imported from Figma, or apps started from a URL.
* Creating and using a design system does not cost credits.
***
## What's included
When you create a design system, Base44 fills in everything that keeps your apps looking consistent and on brand, and shows it all in a live preview. Change a color or a font, and every example updates right away, so you always see how it looks.
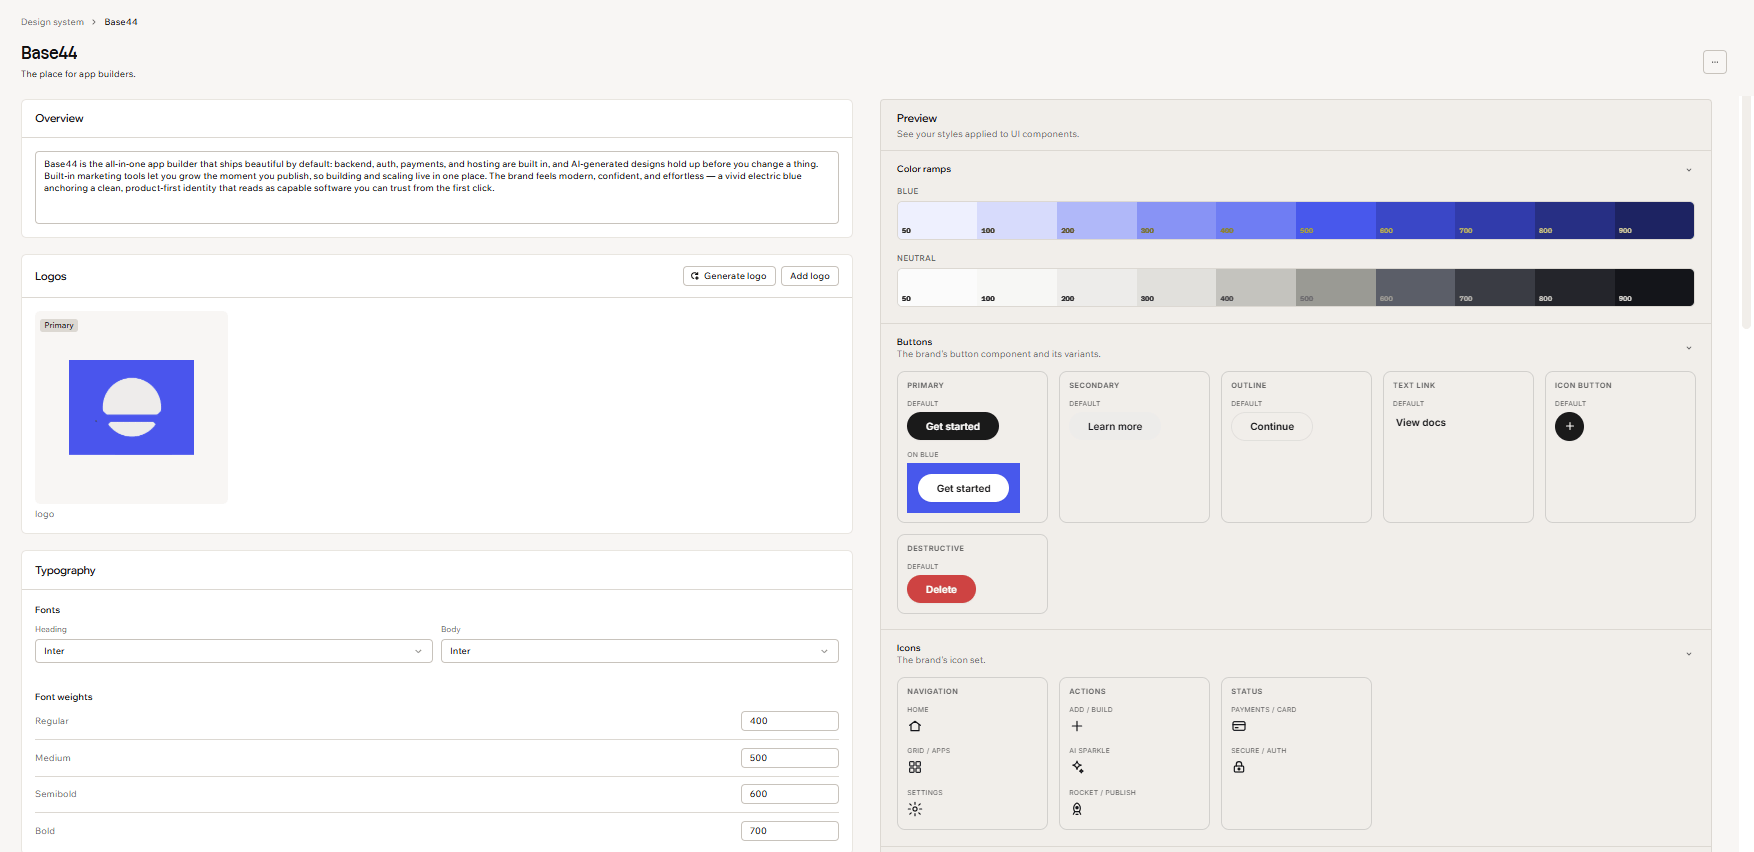 A design system covers three things:
* **Your brand basics:** Your logo, brand name, tagline, and a short description, plus your brand's core values, tone of voice, and design guidelines for how it should look.
* **Your look and feel:** Your colors, your fonts, how rounded your corners are, how much shadow sits under things, and how much space goes between them.
* **Ready-made pieces:** Buttons, icons, and cards that already match your brand, ready to drop into any app.
***
## Creating a design system
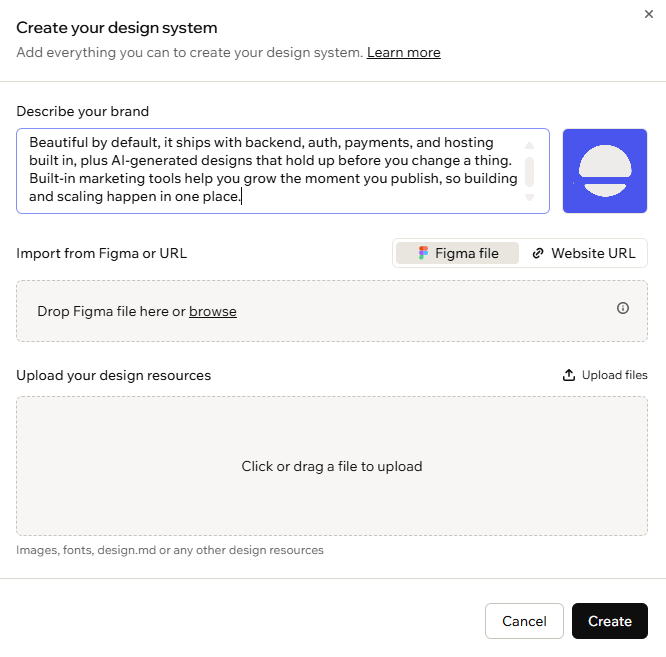
You create a design system from your workspace settings. In one form you can combine a short description, your logo, an import from Figma or a website, and your own design files, and Base44 generates a complete design system from whatever you provide.
**To create a design system:**
1. Click your workspace name at the bottom left, then click **Settings**.
2. Click **Design system**.
3. Click **Create**. If your workspace already has a design system, click **Create new design system** instead.
4. In **Create your design system**, add any of the following:
* **Describe your brand:** Write a short description of your brand, and add your logo in the square beside it.
* **Import from Figma or URL:** Switch between **Figma file** and **Website URL**, then attach a `.fig` file or paste a website address. Only use URLs where you have the rights to the content.
* **Upload your design resources:** Add images, fonts, a `design.md` file, or other design files, up to 10 files.
5. Click **Create**. Generating your design system can take a few minutes, and you can leave and come back while it runs.
6. Review the generated design system in the preview, then adjust anything you want.
A design system covers three things:
* **Your brand basics:** Your logo, brand name, tagline, and a short description, plus your brand's core values, tone of voice, and design guidelines for how it should look.
* **Your look and feel:** Your colors, your fonts, how rounded your corners are, how much shadow sits under things, and how much space goes between them.
* **Ready-made pieces:** Buttons, icons, and cards that already match your brand, ready to drop into any app.
***
## Creating a design system
You create a design system from your workspace settings. In one form you can combine a short description, your logo, an import from Figma or a website, and your own design files, and Base44 generates a complete design system from whatever you provide.
**To create a design system:**
1. Click your workspace name at the bottom left, then click **Settings**.
2. Click **Design system**.
3. Click **Create**. If your workspace already has a design system, click **Create new design system** instead.
4. In **Create your design system**, add any of the following:
* **Describe your brand:** Write a short description of your brand, and add your logo in the square beside it.
* **Import from Figma or URL:** Switch between **Figma file** and **Website URL**, then attach a `.fig` file or paste a website address. Only use URLs where you have the rights to the content.
* **Upload your design resources:** Add images, fonts, a `design.md` file, or other design files, up to 10 files.
5. Click **Create**. Generating your design system can take a few minutes, and you can leave and come back while it runs.
6. Review the generated design system in the preview, then adjust anything you want.
 You can import from a Figma file or a website URL, but not both in the same design system. When you attach a Figma file, you can attach all of its pages and frames or choose specific ones. Base44 processes the file to generate your design system and does not store the original file.
***
## Editing your design system
When you open a design system, you edit it in a two-panel editor. On the left are all of your brand and design settings. On the right, a live **Preview** shows those styles applied to real buttons, icons, and cards, the way they look in your app or website. As you change a setting on the left, the preview updates instantly.
Your design system's name and tagline sit at the top of the page. Click either one to edit it in place.
On the left, you can edit each part of your design system:
A short description of your brand. Base44 uses it to keep everything it generates on brand.
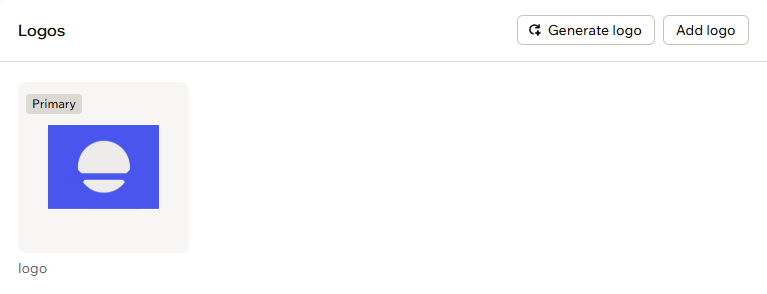
Add your brand logos, or generate one with AI. Click **Add logo** to upload a logo, or **Generate logo** to describe one and let Base44 create it. One logo is marked as **Primary**, and you can set a different one as primary from its **More actions** menu.
You can import from a Figma file or a website URL, but not both in the same design system. When you attach a Figma file, you can attach all of its pages and frames or choose specific ones. Base44 processes the file to generate your design system and does not store the original file.
***
## Editing your design system
When you open a design system, you edit it in a two-panel editor. On the left are all of your brand and design settings. On the right, a live **Preview** shows those styles applied to real buttons, icons, and cards, the way they look in your app or website. As you change a setting on the left, the preview updates instantly.
Your design system's name and tagline sit at the top of the page. Click either one to edit it in place.
On the left, you can edit each part of your design system:
A short description of your brand. Base44 uses it to keep everything it generates on brand.
Add your brand logos, or generate one with AI. Click **Add logo** to upload a logo, or **Generate logo** to describe one and let Base44 create it. One logo is marked as **Primary**, and you can set a different one as primary from its **More actions** menu.
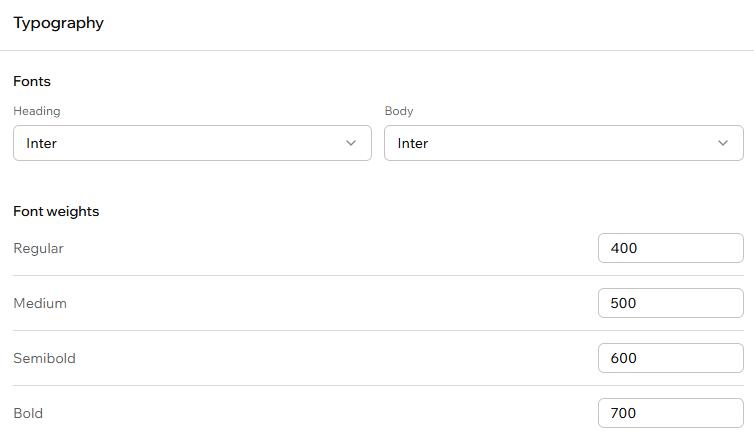
 Choose your heading and body fonts, or upload your own. You can also fine-tune the weight of each font style.
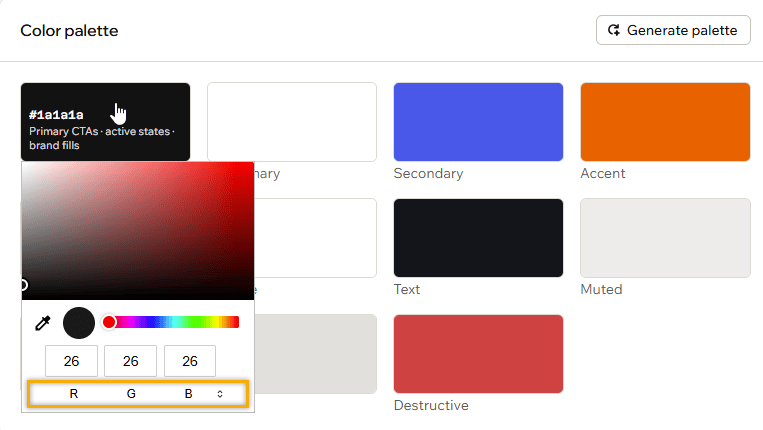
 Click a color to edit it, or click **Generate palette** and describe the colors you want.
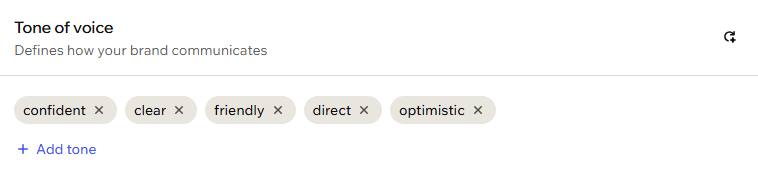
 Defines how your brand communicates. Click **Add tone** to add a trait, or click the generate icon to let Base44 suggest a new set.
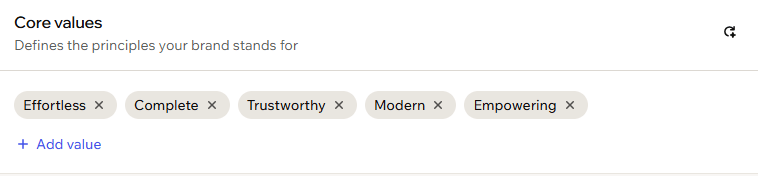
 The principles your brand stands for. Click **Add value** to add one, or click the generate icon to let Base44 suggest a new set.
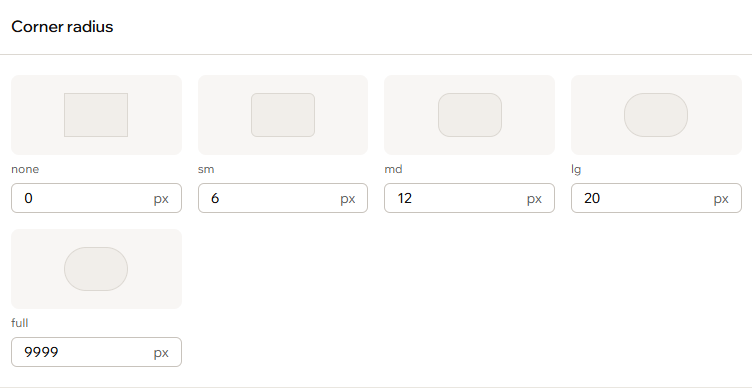
 Set how rounded your components look.
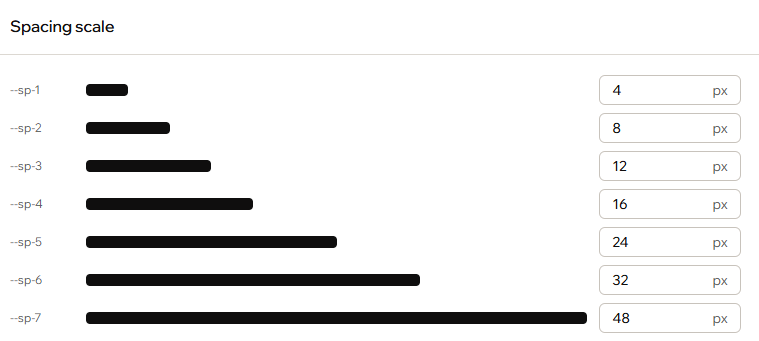
 Fine-tune how much space goes between elements.
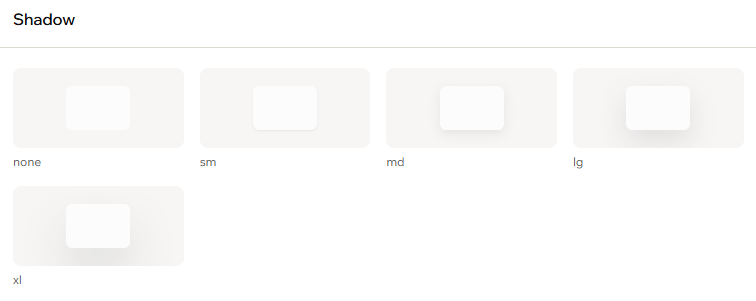
 Set how elevated your components look. Click a shadow to adjust its position, blur, spread, and color.
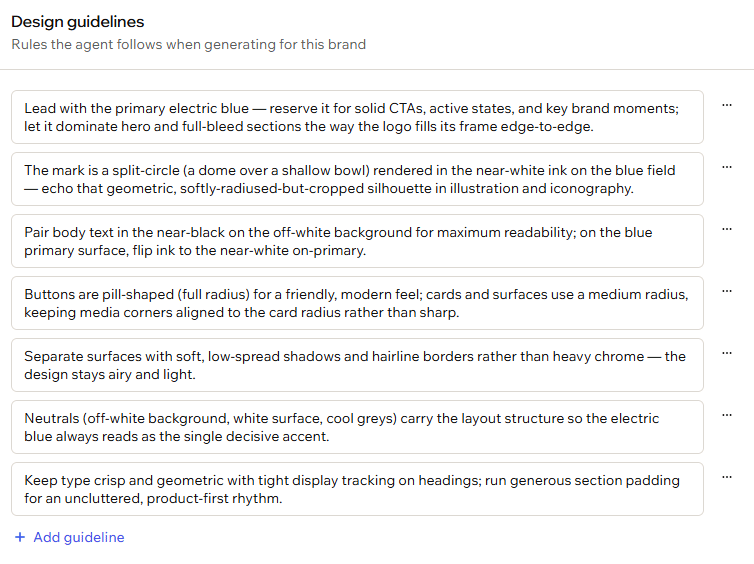
 Rules that keep your app's visual language consistent. Click **Add guideline** to add one, or open the **More actions** menu on a guideline to edit or delete it.
 Your edits are not applied until you save them. Click **Save changes** to keep them, or **Reset changes** to undo edits you have not saved yet. A design system needs a name and an overview before you can save it.
***
## Managing your design systems
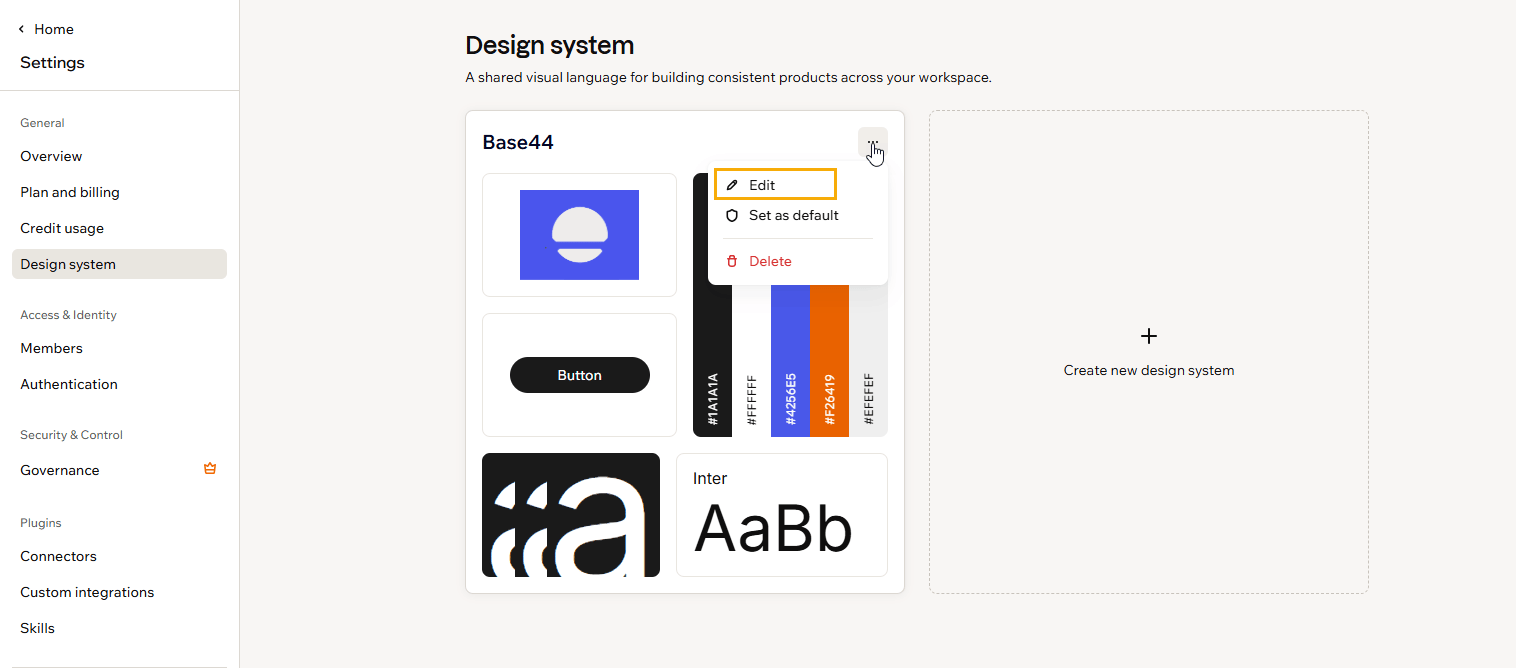
Manage a design system from its card in the **Design system** section. Open the **More actions** icon on a design system to edit it, set it as your default, or delete it.
**Who can manage design systems:**
* **Owners and admins:** Can create, edit, set the default, and delete any design system.
* **Editors:** Can create and edit design systems. Only owners and admins can set the default or delete a design system.
Your edits are not applied until you save them. Click **Save changes** to keep them, or **Reset changes** to undo edits you have not saved yet. A design system needs a name and an overview before you can save it.
***
## Managing your design systems
Manage a design system from its card in the **Design system** section. Open the **More actions** icon on a design system to edit it, set it as your default, or delete it.
**Who can manage design systems:**
* **Owners and admins:** Can create, edit, set the default, and delete any design system.
* **Editors:** Can create and edit design systems. Only owners and admins can set the default or delete a design system.
 ### Setting a default design system
Set a design system as your workspace default so new apps start with it automatically.
**To set your default design system:**
1. Click your workspace name at the bottom left, then click **Settings**.
2. Click **Design system**.
3. On the design system you want, click the **More actions** icon and click **Set as default**.
### Setting a default design system
Set a design system as your workspace default so new apps start with it automatically.
**To set your default design system:**
1. Click your workspace name at the bottom left, then click **Settings**.
2. Click **Design system**.
3. On the design system you want, click the **More actions** icon and click **Set as default**.
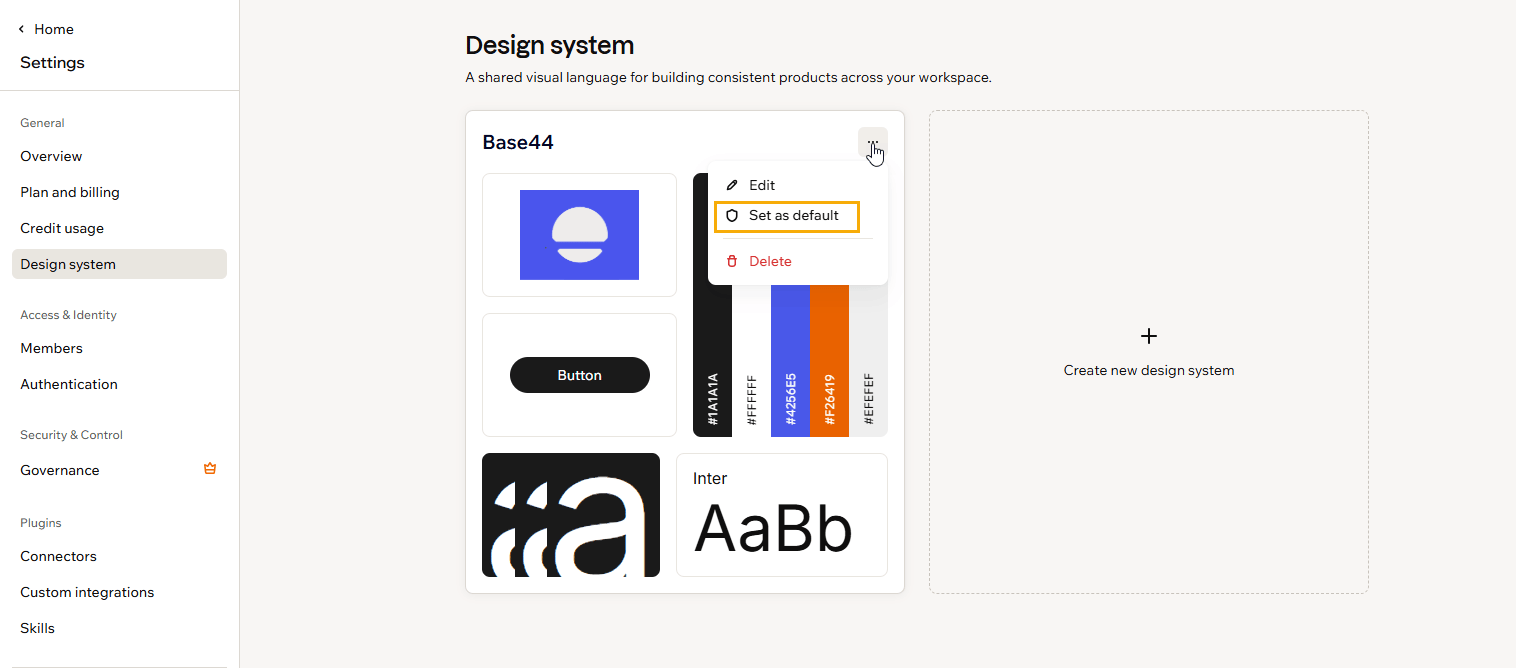 To stop using a design system as your default, open the same menu and click **Remove default**.
### Deleting a design system
Delete a design system you no longer need.
Deleting a design system from its card takes effect immediately, and it cannot be undone.
**To delete a design system:**
1. Click your workspace name at the bottom left, then click **Settings**.
2. Click **Design system**.
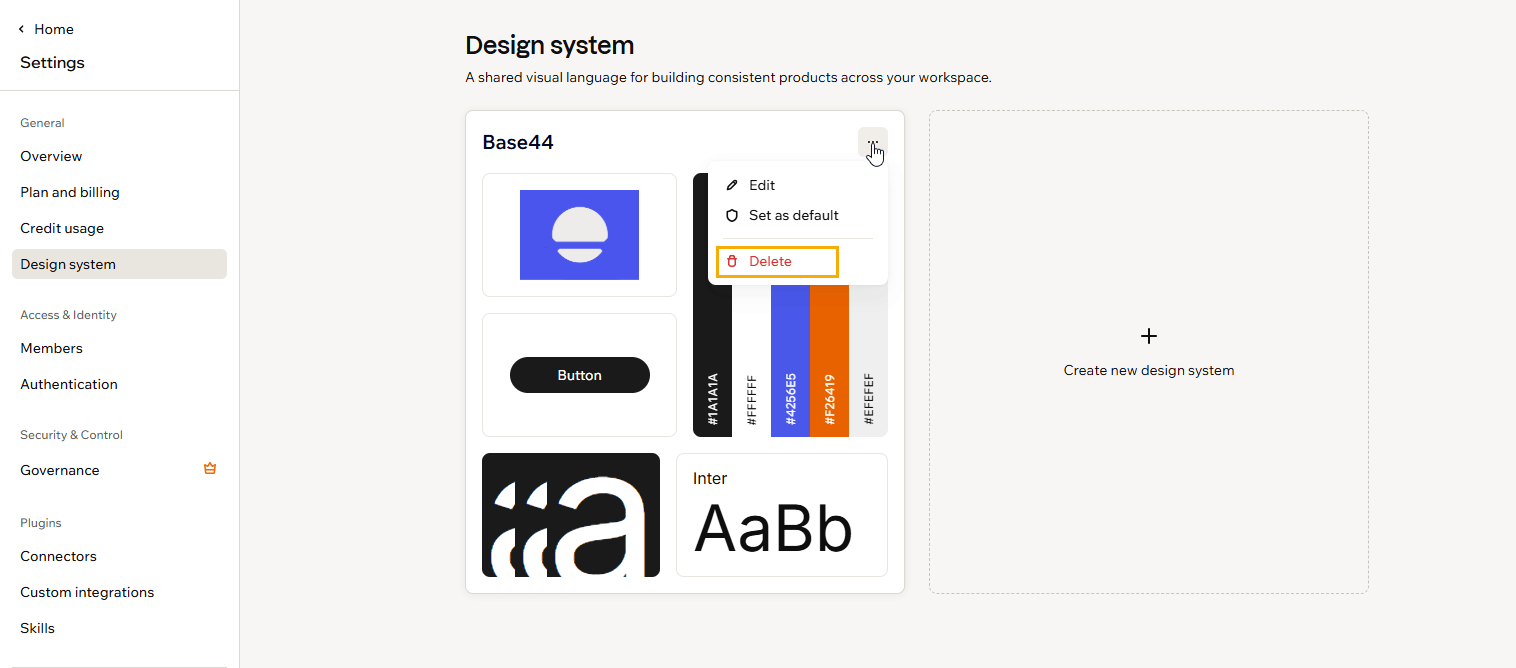
3. On the design system you want, click the **More actions** icon and click **Delete**.
To stop using a design system as your default, open the same menu and click **Remove default**.
### Deleting a design system
Delete a design system you no longer need.
Deleting a design system from its card takes effect immediately, and it cannot be undone.
**To delete a design system:**
1. Click your workspace name at the bottom left, then click **Settings**.
2. Click **Design system**.
3. On the design system you want, click the **More actions** icon and click **Delete**.
 ***
## Using your design system when building
When you start a new app, your default design system is preselected, so the app is built to match your brand from the first prompt. To choose a different design system, click the **Add** icon in the AI chat, select **Use a design system**, then pick the one you want.
***
## Using your design system when building
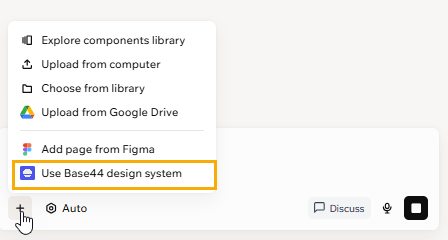
When you start a new app, your default design system is preselected, so the app is built to match your brand from the first prompt. To choose a different design system, click the **Add** icon in the AI chat, select **Use a design system**, then pick the one you want.
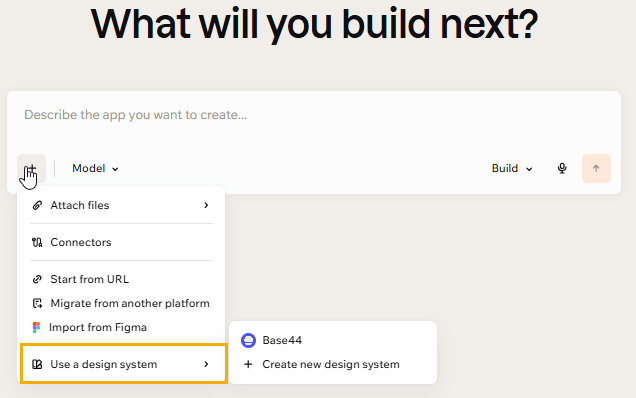 You can also apply a design system to an app you are already working on, from the same **Add** icon in the AI chat. When your workspace has one design system, the option shows its name, and clicking it attaches the design system to your next prompt.
 Applying a design system takes effect on a build turn in the AI chat. If your chat is set to a non-building mode such as **Discuss**, switch to **Build** first.
Applying a design system to an app that is already built rebuilds the app to match, rather than restyling it in place. Apply it early, or expect the app to be regenerated.
***
## FAQs
Click a question below to learn more about design systems.
No. Describe your brand in a few words, or import from a website, a Figma file, or your logo, and Base44 generates a complete design system for you. You can then adjust any part of it.
On the Builder plan and above you have 1 design system per workspace, so use a separate workspace for each client or project that needs its own brand. Enterprise workspaces have no limit.
Applying a design system takes effect on a build turn in the AI chat. If your chat is set to a non-building mode such as **Discuss**, switch to **Build** first.
Applying a design system to an app that is already built rebuilds the app to match, rather than restyling it in place. Apply it early, or expect the app to be regenerated.
***
## FAQs
Click a question below to learn more about design systems.
No. Describe your brand in a few words, or import from a website, a Figma file, or your logo, and Base44 generates a complete design system for you. You can then adjust any part of it.
On the Builder plan and above you have 1 design system per workspace, so use a separate workspace for each client or project that needs its own brand. Enterprise workspaces have no limit.